Easy Homemade Flour Tortillas
Making tortillas always seemed like something I would never have time for. It’s really not something that people do. When getting them at the grocery store is so easy and inexpensive, why bother making your own?
Well, have you ever noticed how store bought tortillas can be in your kitchen for months without molding? Unrefrigerated. One day, I thought about that and it got me thinking…that can’t possibly be good for us.
After some prioritizing, I decided to try my hand at making my own tortillas from scratch. I was really surprised at how easy it was to make them! Now, I make them frequently and can’t imagine going back to store bought ones.
How to Make Flour Tortillas
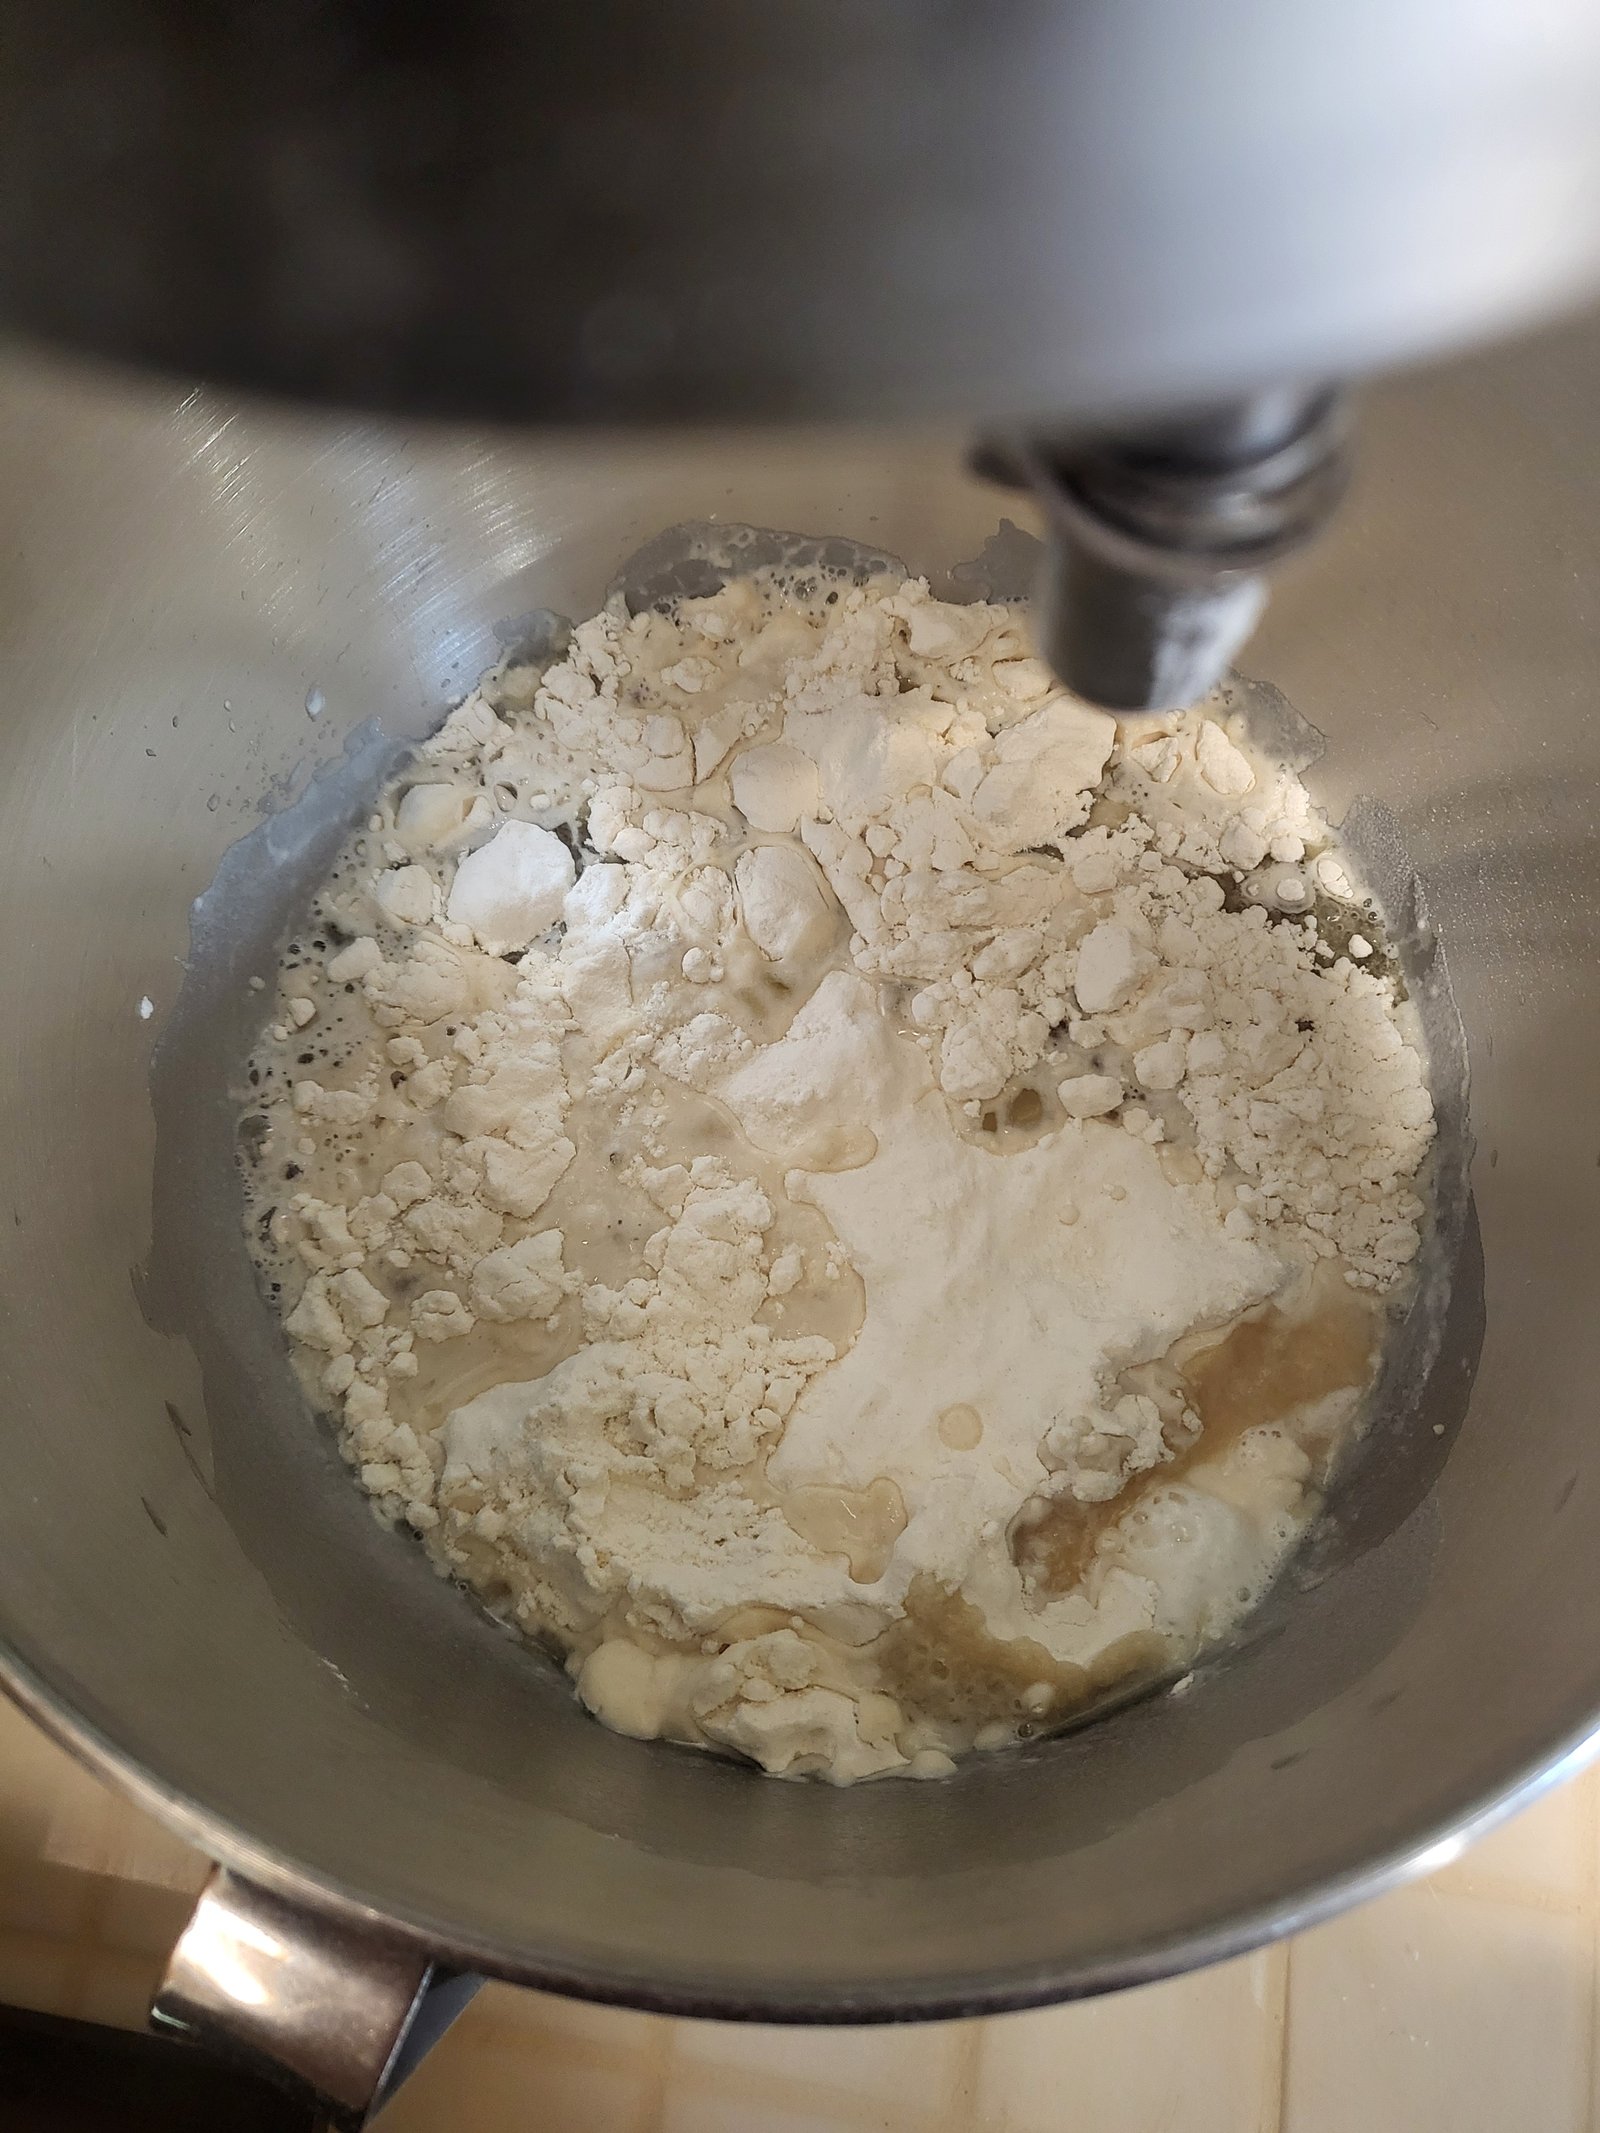
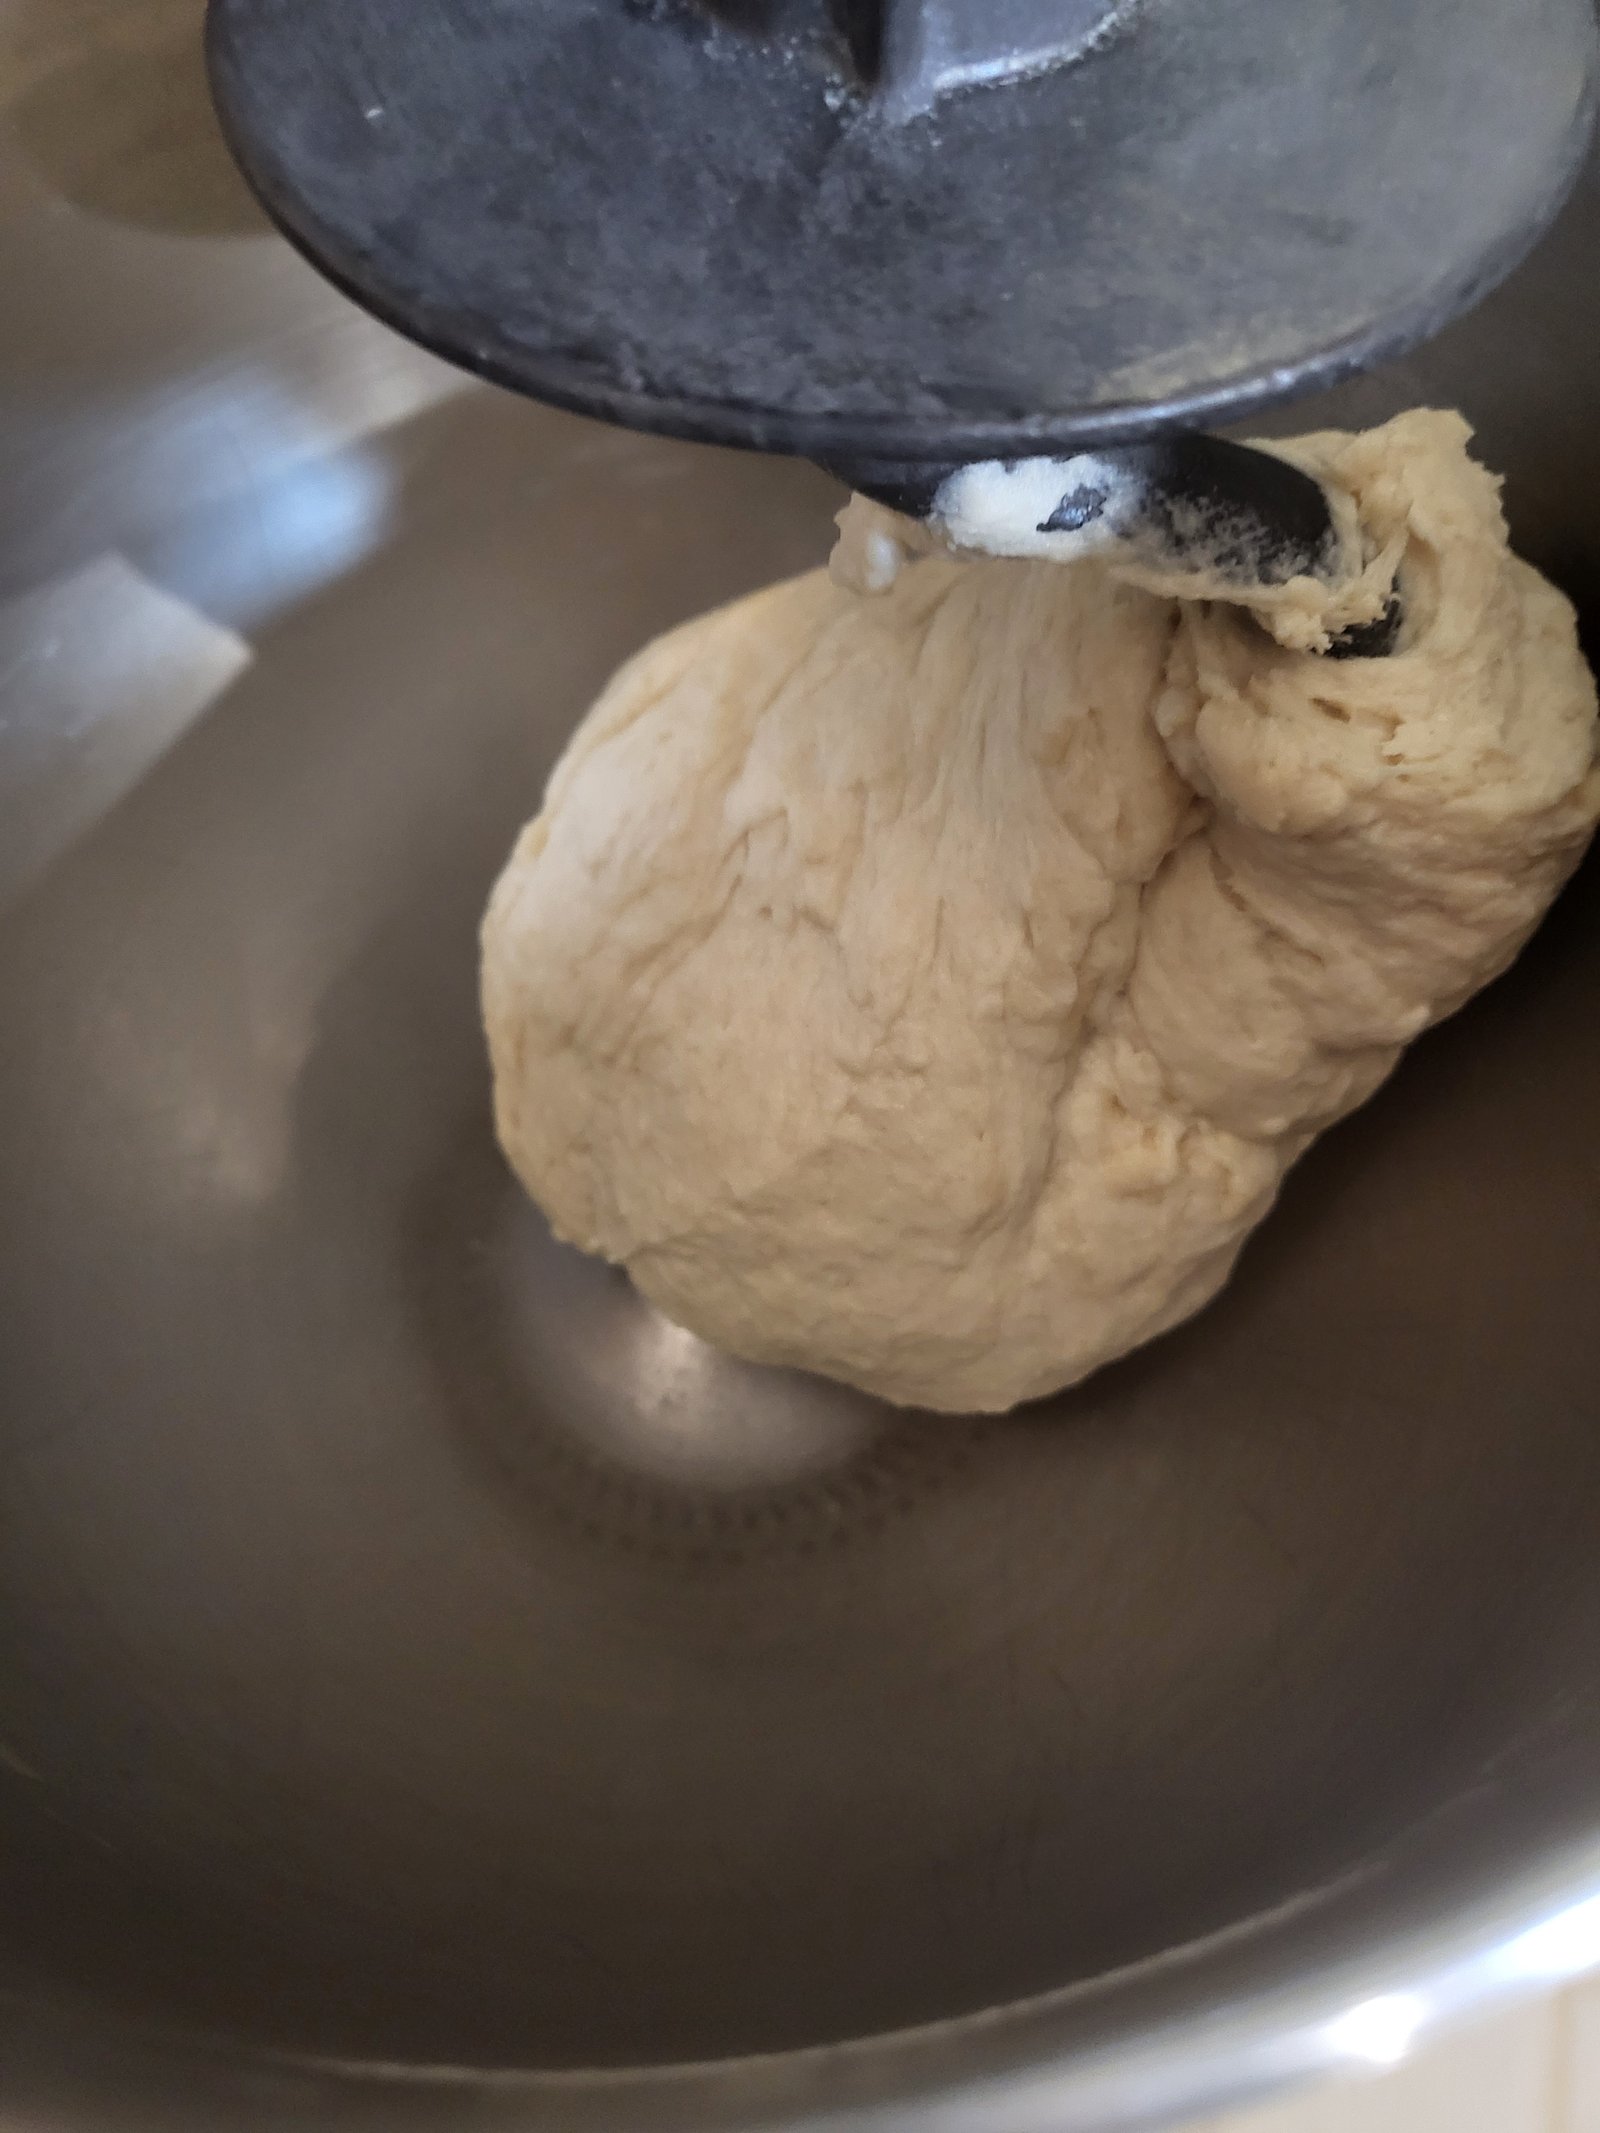
The first step to making your own tortillas is to make the dough. I make it simple…just add all the ingredients to the bowl of a stand mixer fitted with the dough hook and mix until a soft dough is formed. If there’s any still sticking to the bottom of the bowl, mix it for a little longer. Sometimes, the dough will be very sticky and no matter how much you mix it, it still sticks. In that case, add a few tablespoons of flour and it should stiffen up a bit.
On the other hand, if your dough is too stiff and your machine is struggling, add a tablespoon of water to help the dough be less stiff.
You can also mix by hand if you don’t have a stand mixer. You’ll want to start by mixing the dry ingredients together. Then make a well in the center and add the water. Slowly mix together and follow the same guidelines for dryness or stickiness as needed. It should be easy to work with, but not stick to your hands.
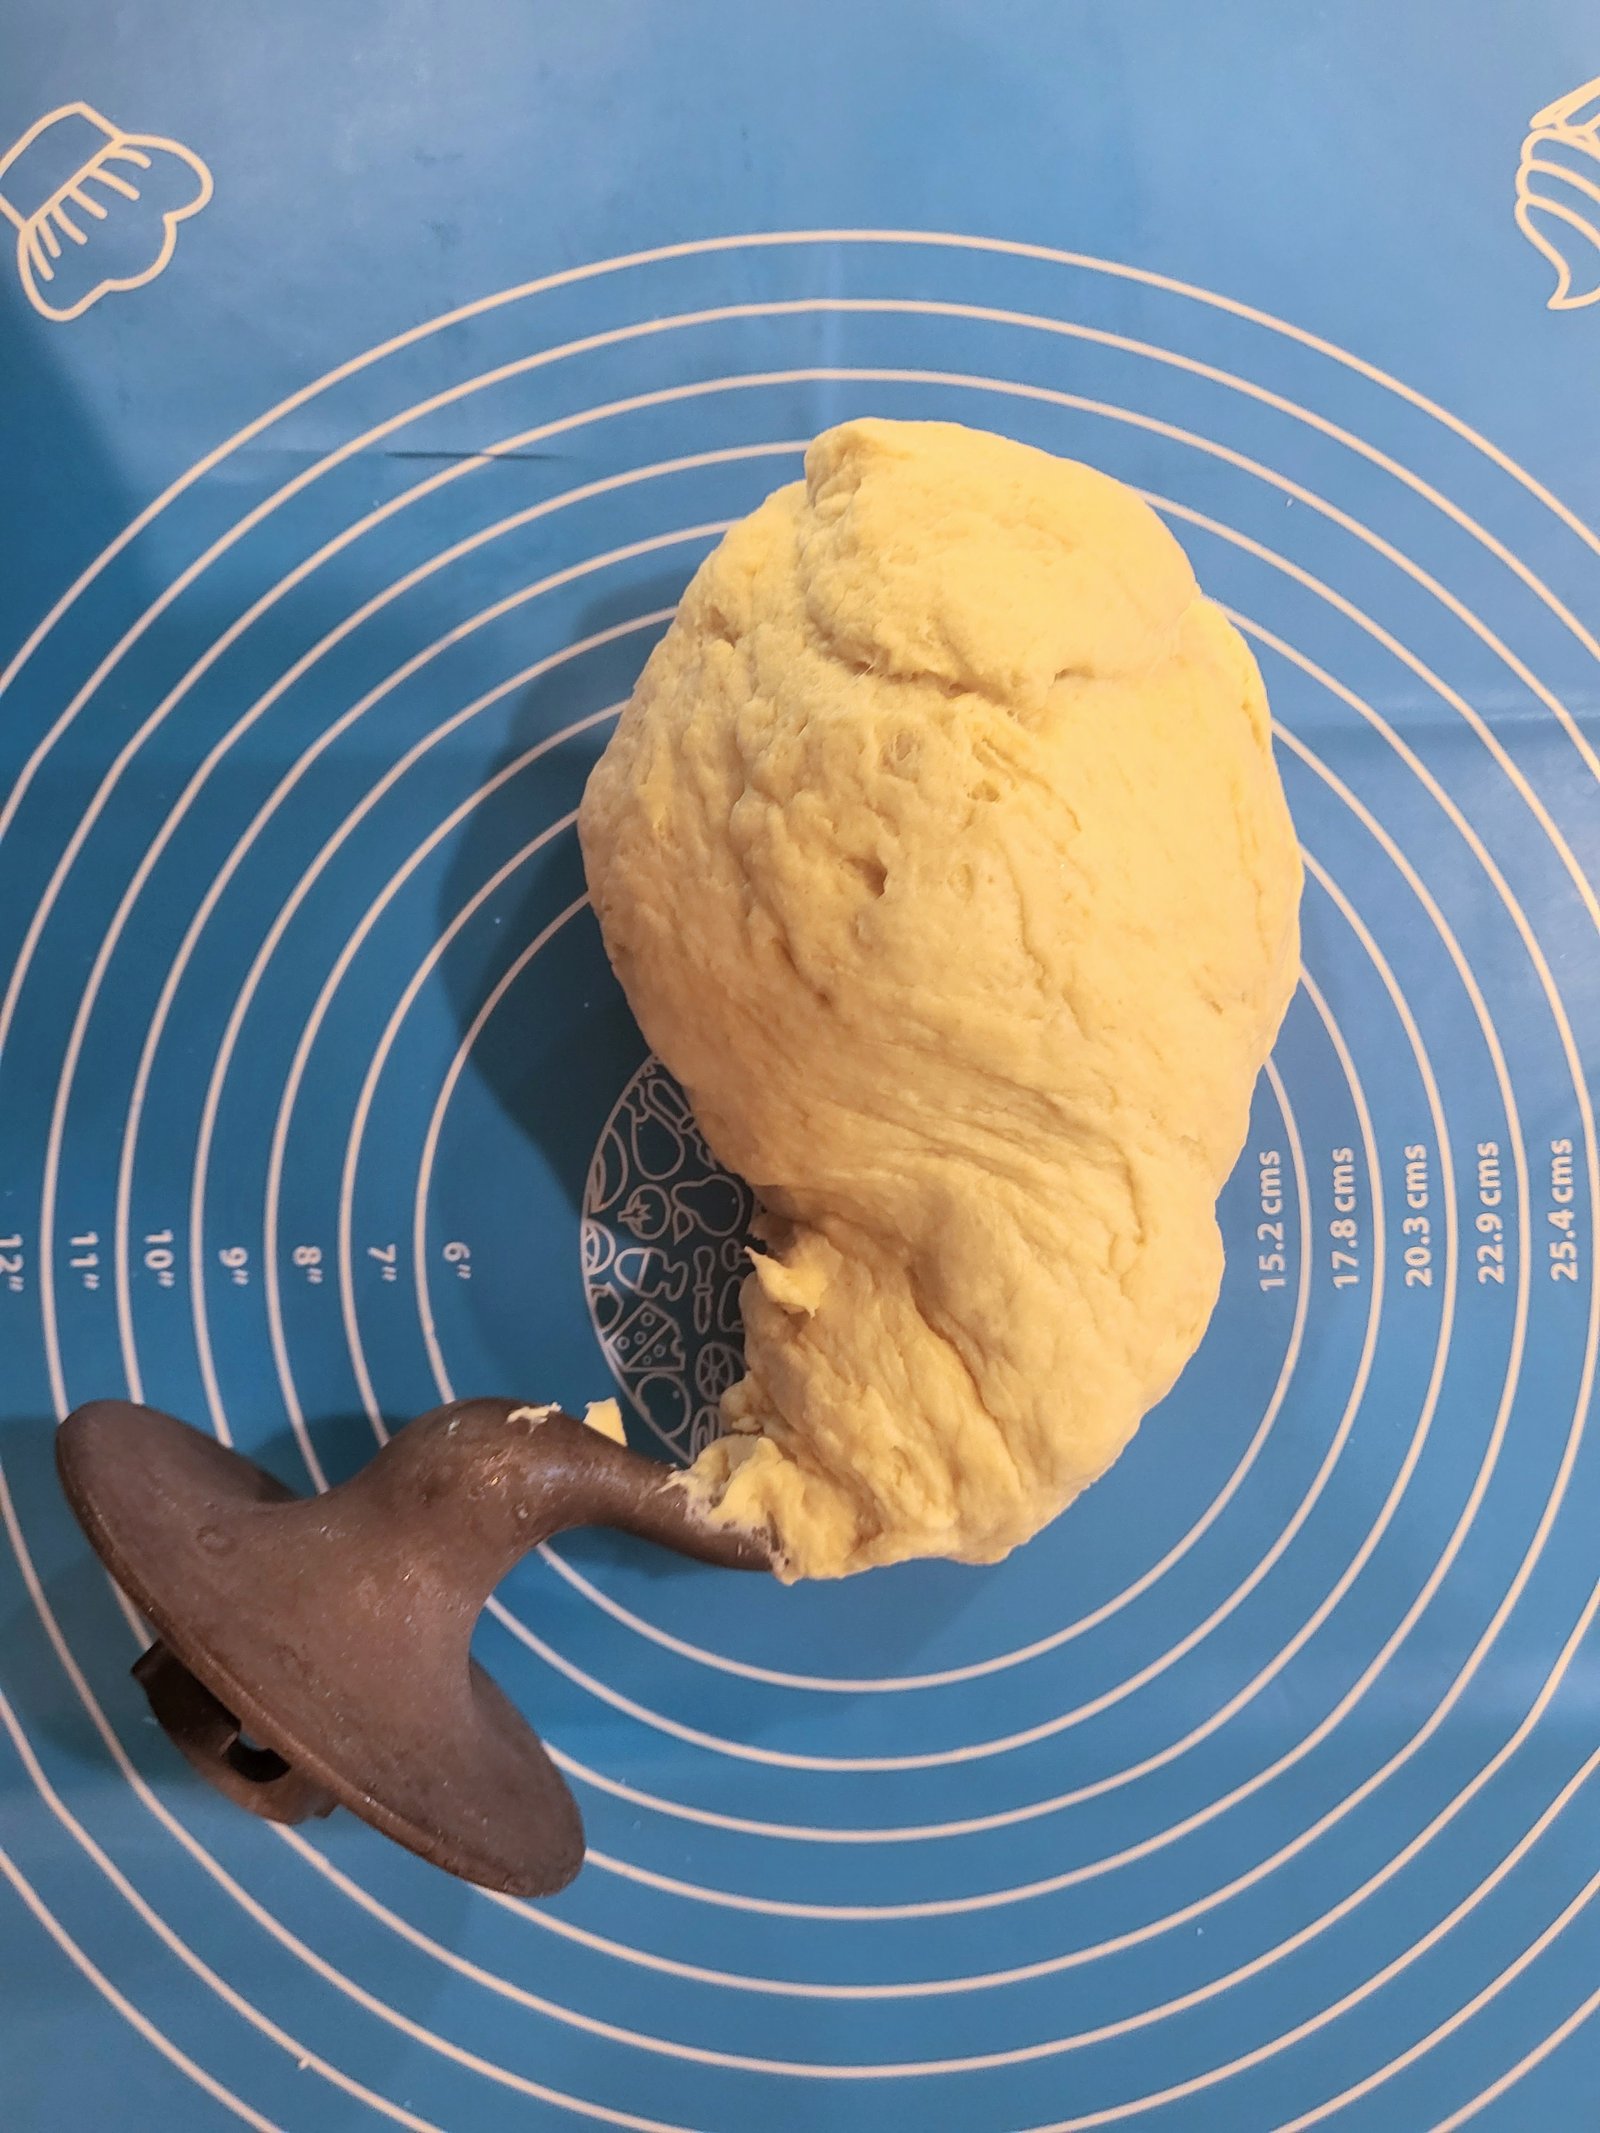
Divide the Dough
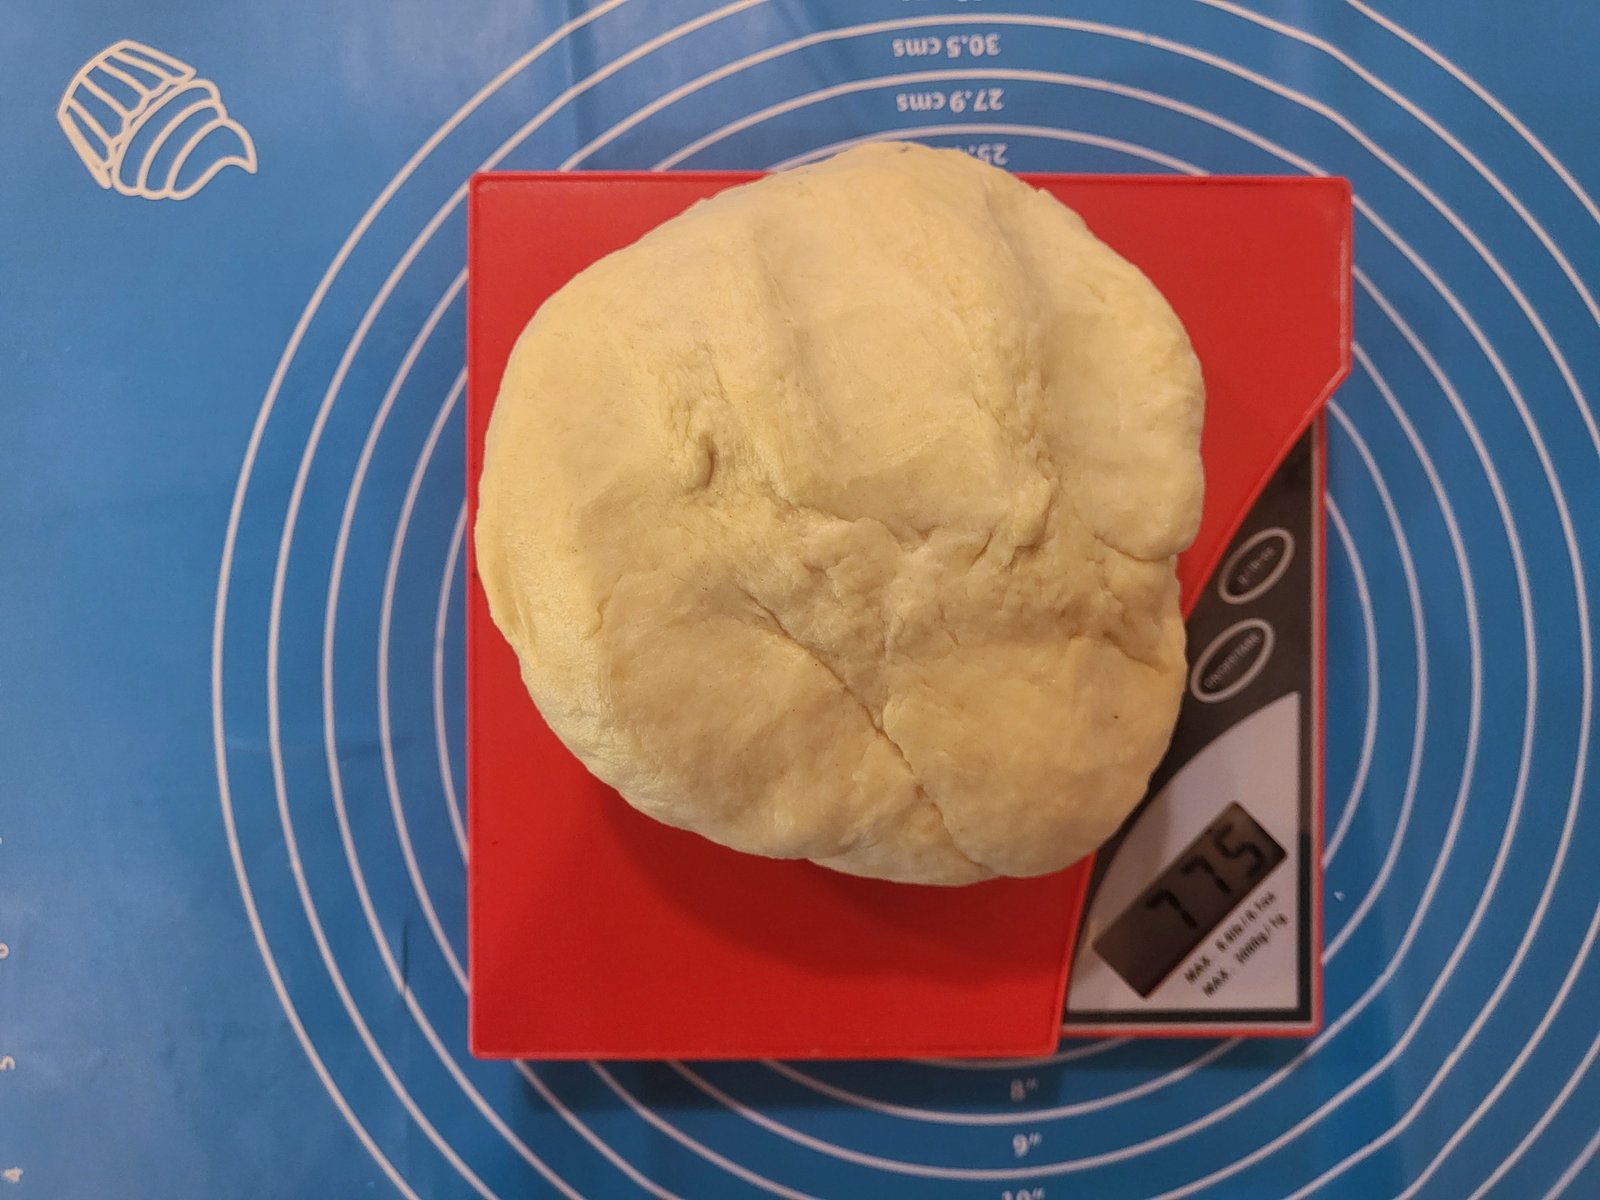
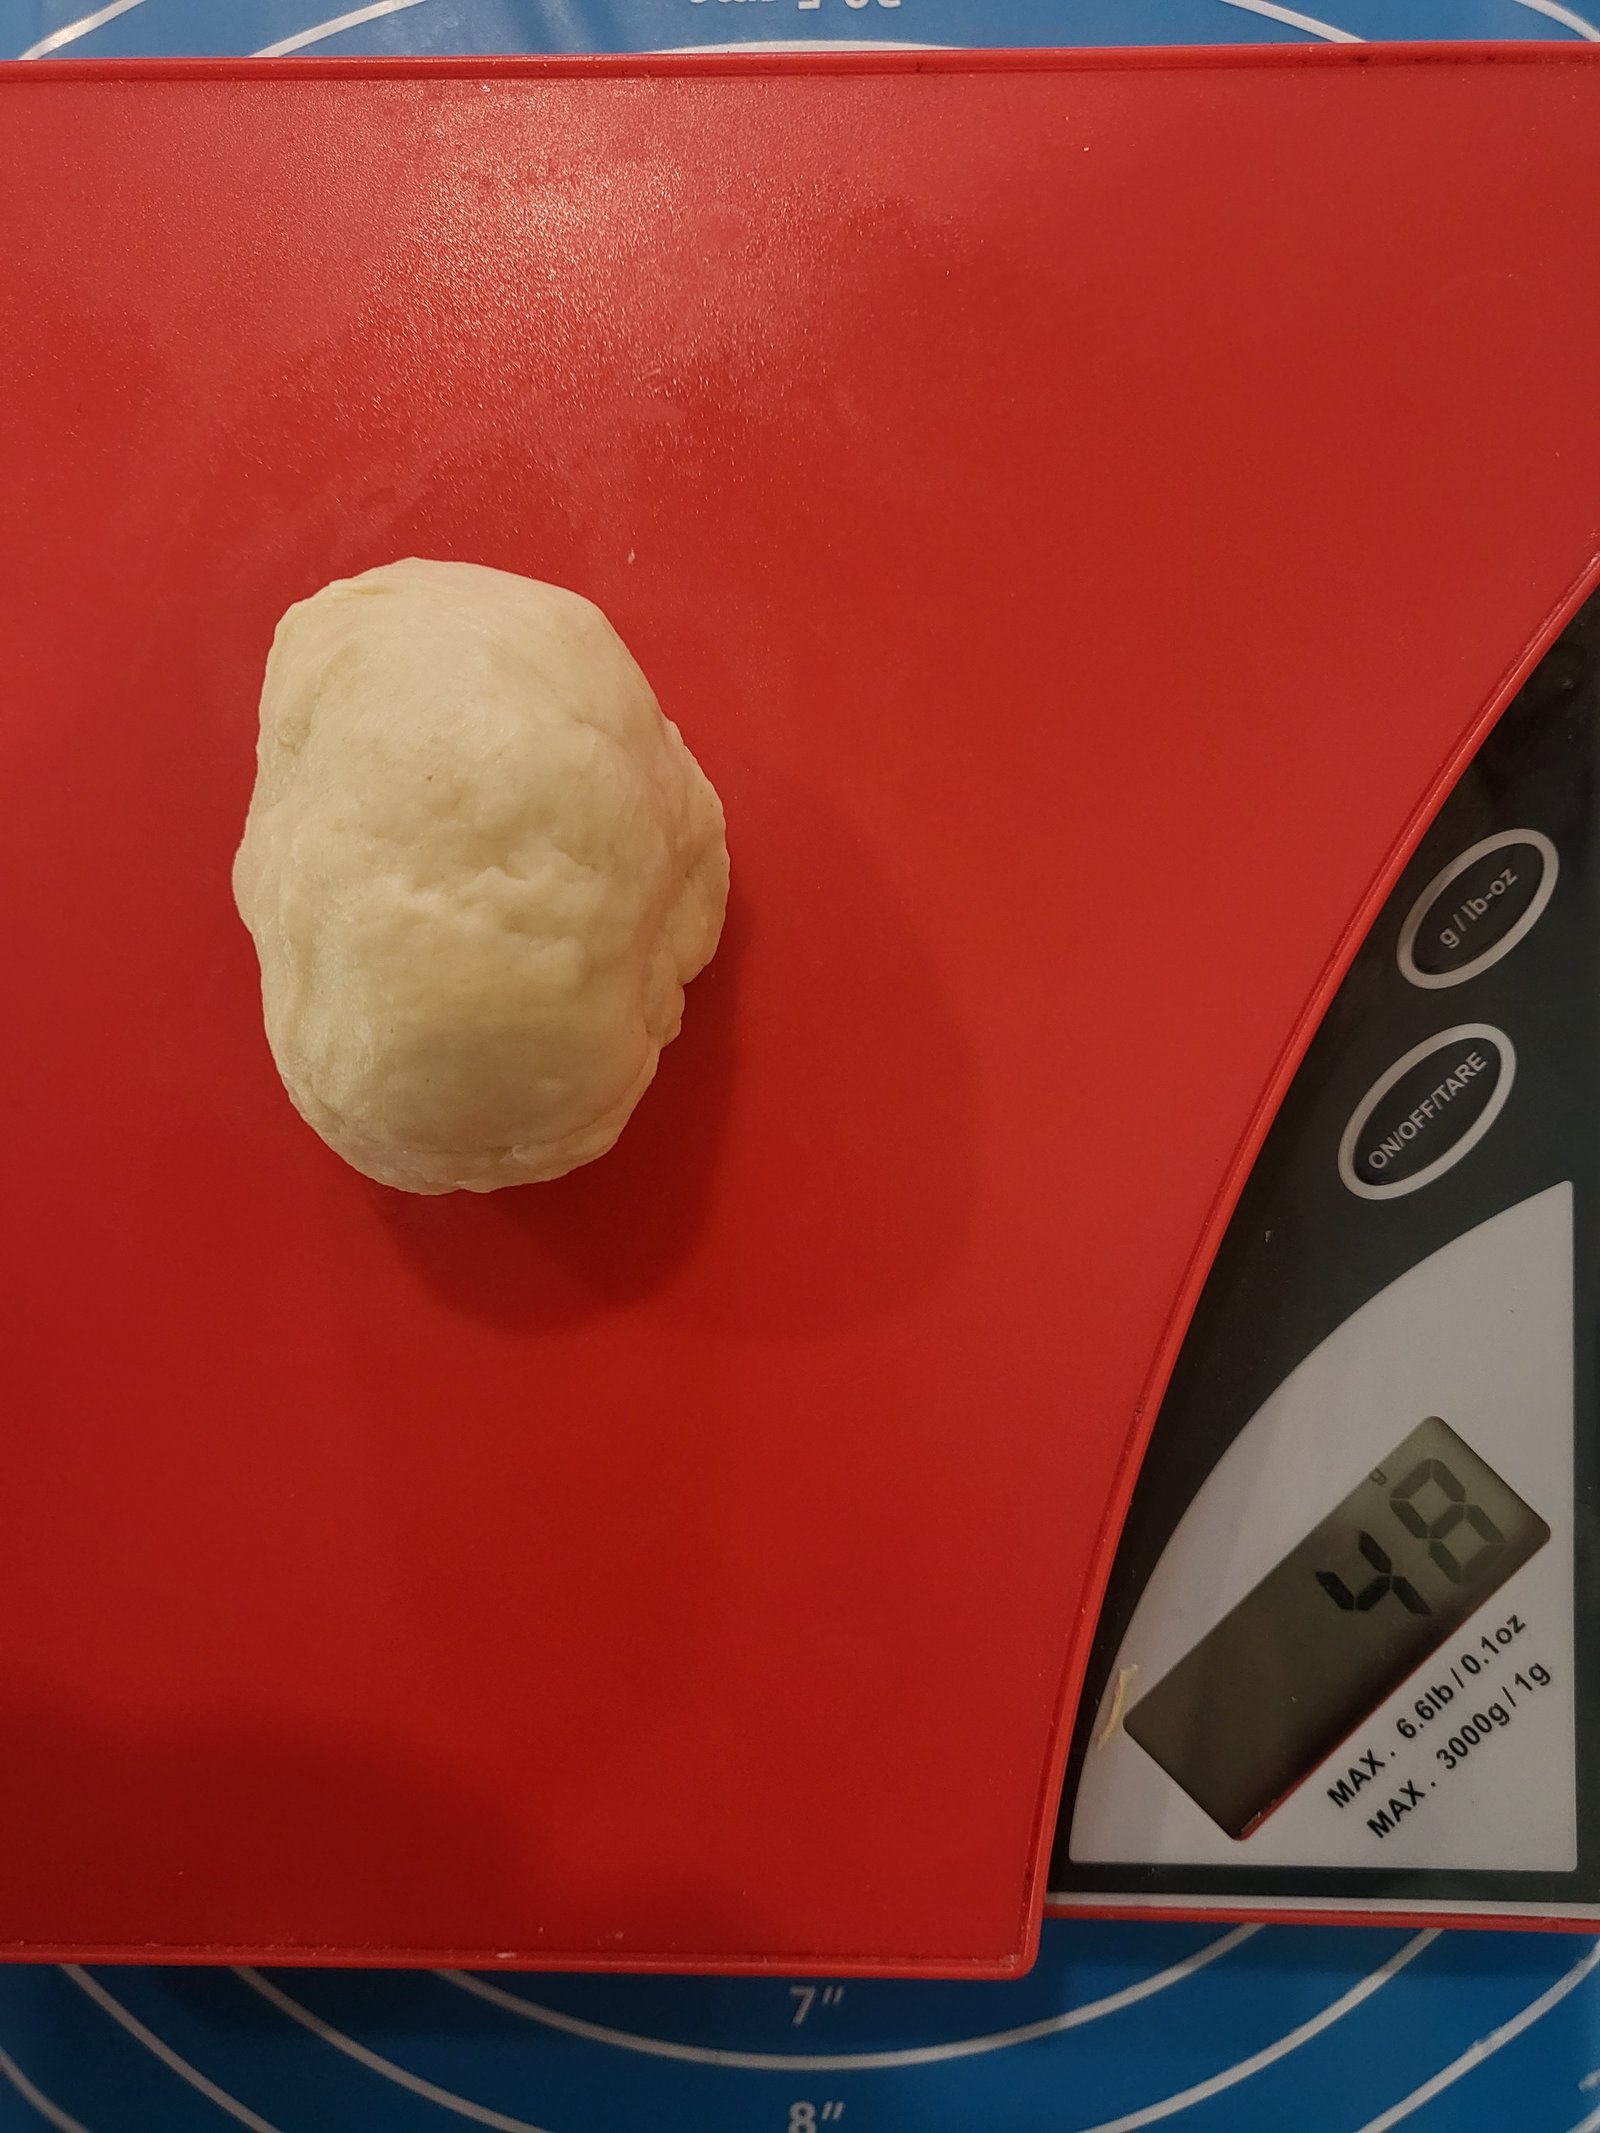
Now that you have the dough made, divide it into 16 equal sections. Some people are great at eyeballing things like this. I’m not one of those people. When I tried this, I ended up with various tortilla sizes and they weren’t consistent at all. Now, I use a small kitchen scale like this one. I like to use grams because it’s way easier to do the math when dividing into 16 portions, but you can use ounces if that works better for you.
My dough ball weighed 775 grams. After dividing that by 16, I needed each portion to weigh approximately 48 grams.
Every time I weighed out a 48 gram portion, I made it into a ball. This will make it easier when you need to press it later.

Shape the tortillas
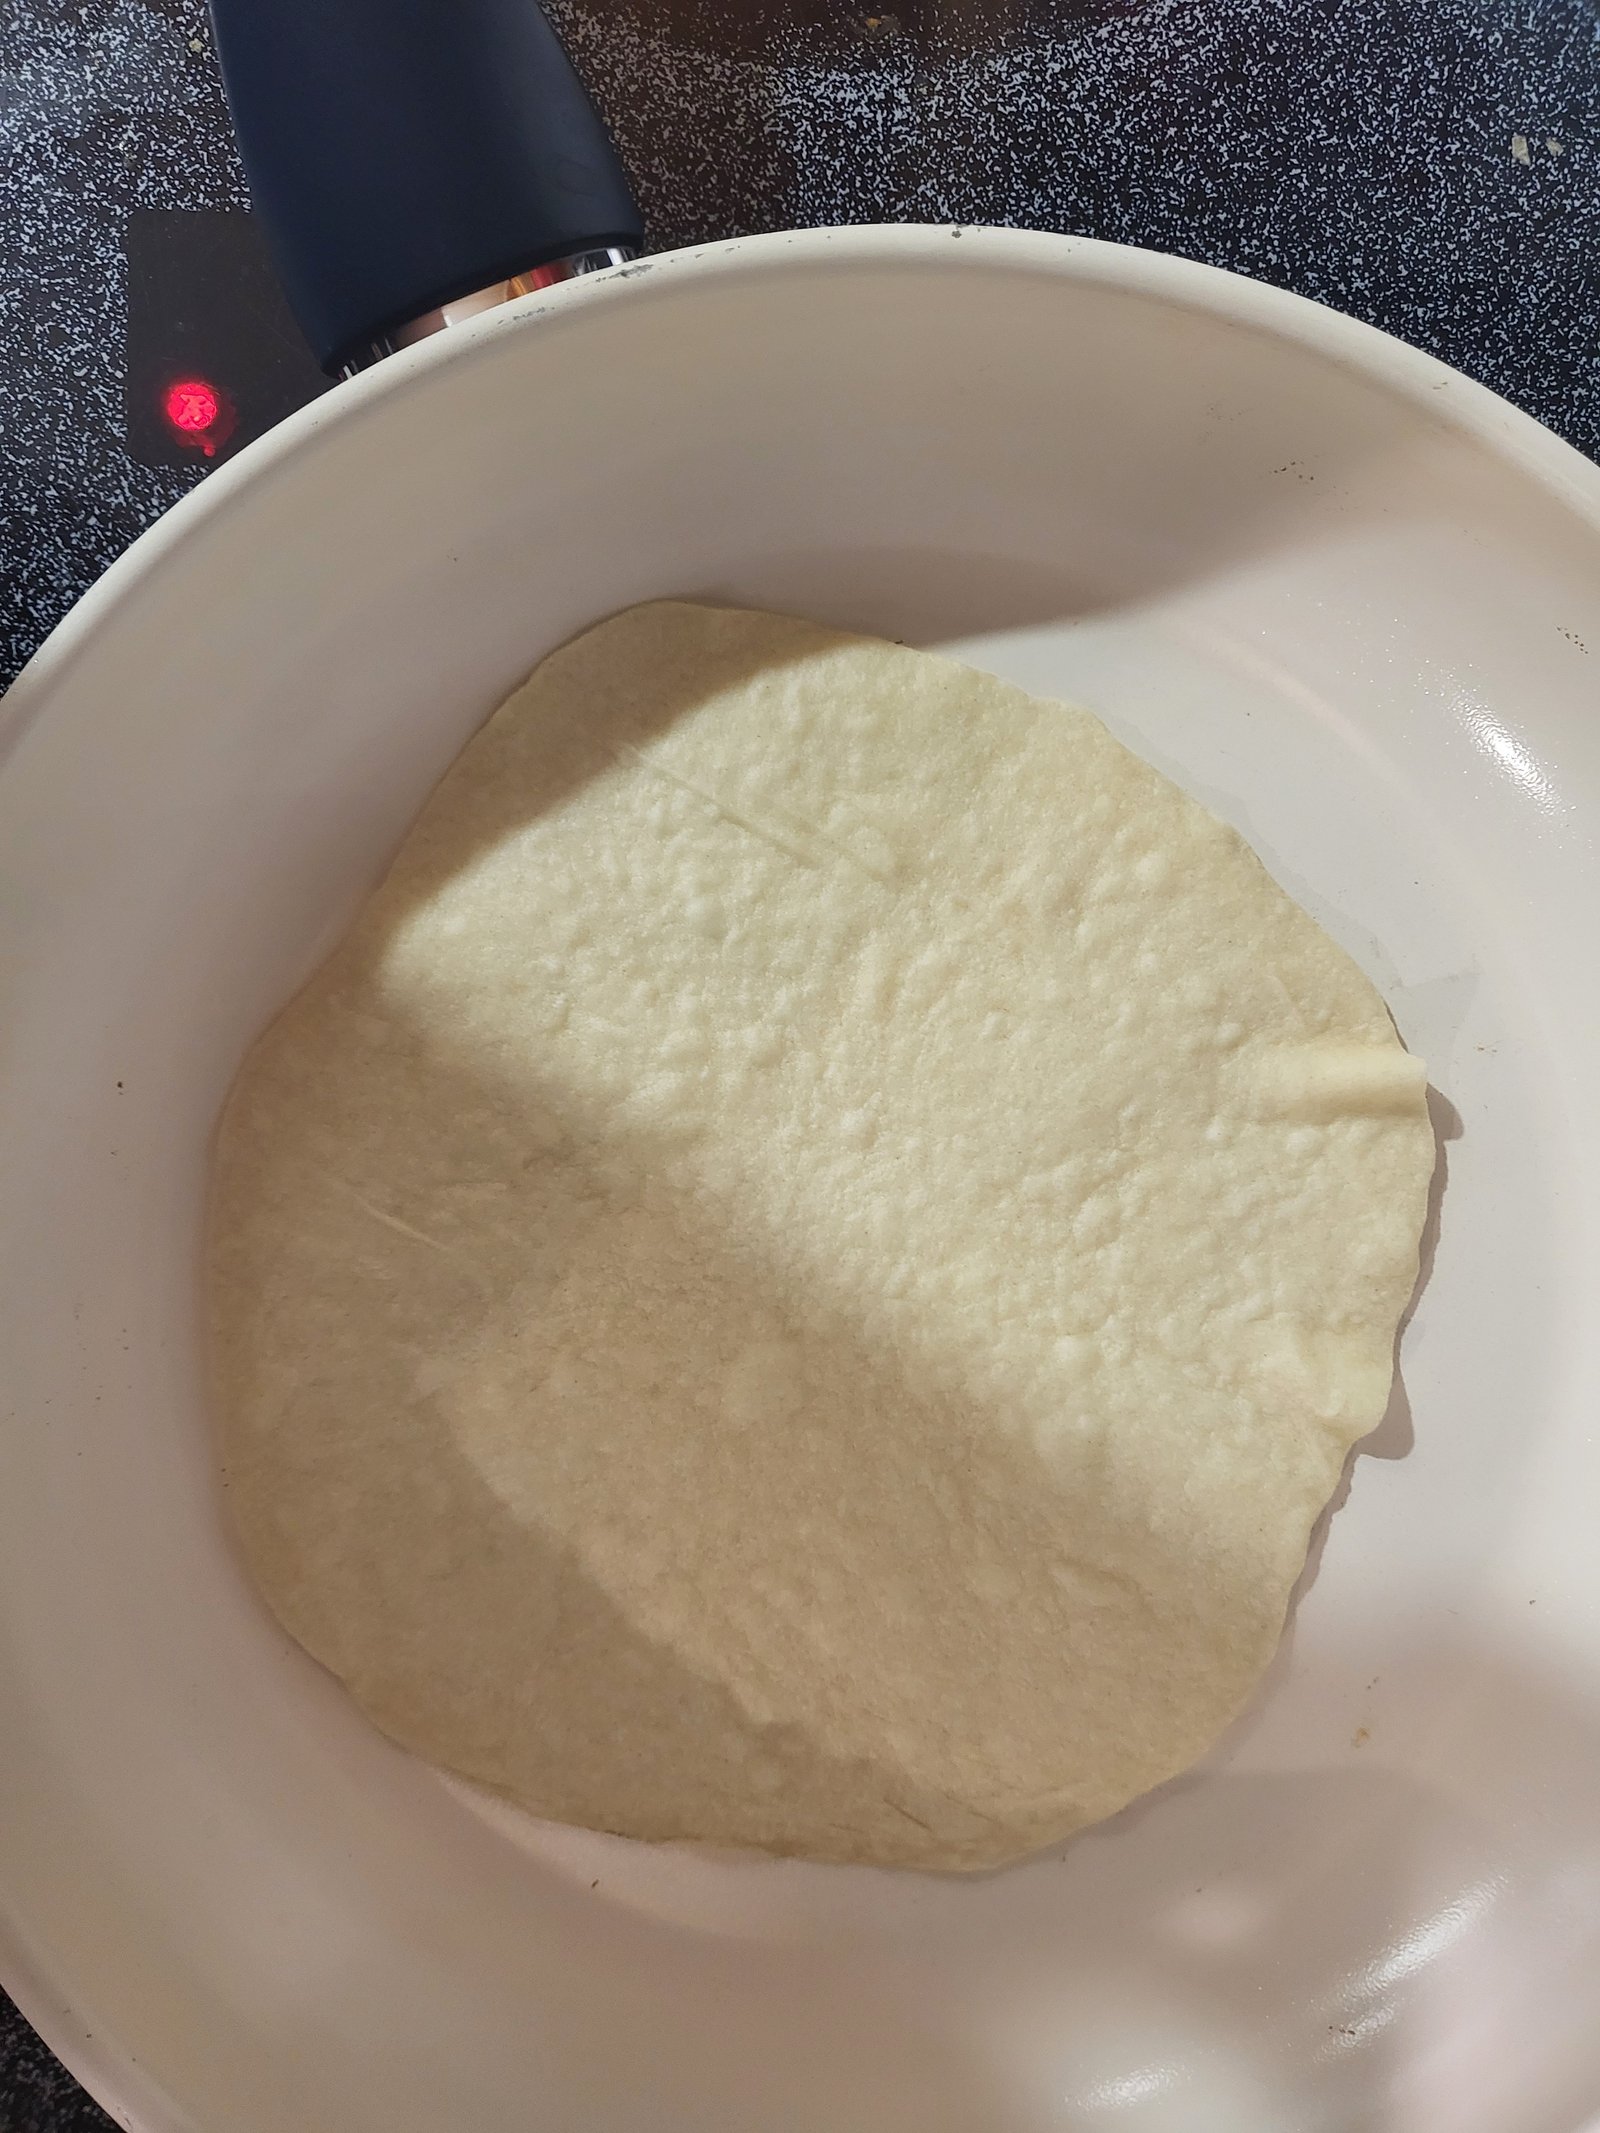
Next, you need to roll out the dough as thin as can be. The first time I did this, I struggled a bit. I didn’t get them thin enough and making them even remotely round proved to be much more difficult than I had imagined. There are two things that helped me with this.
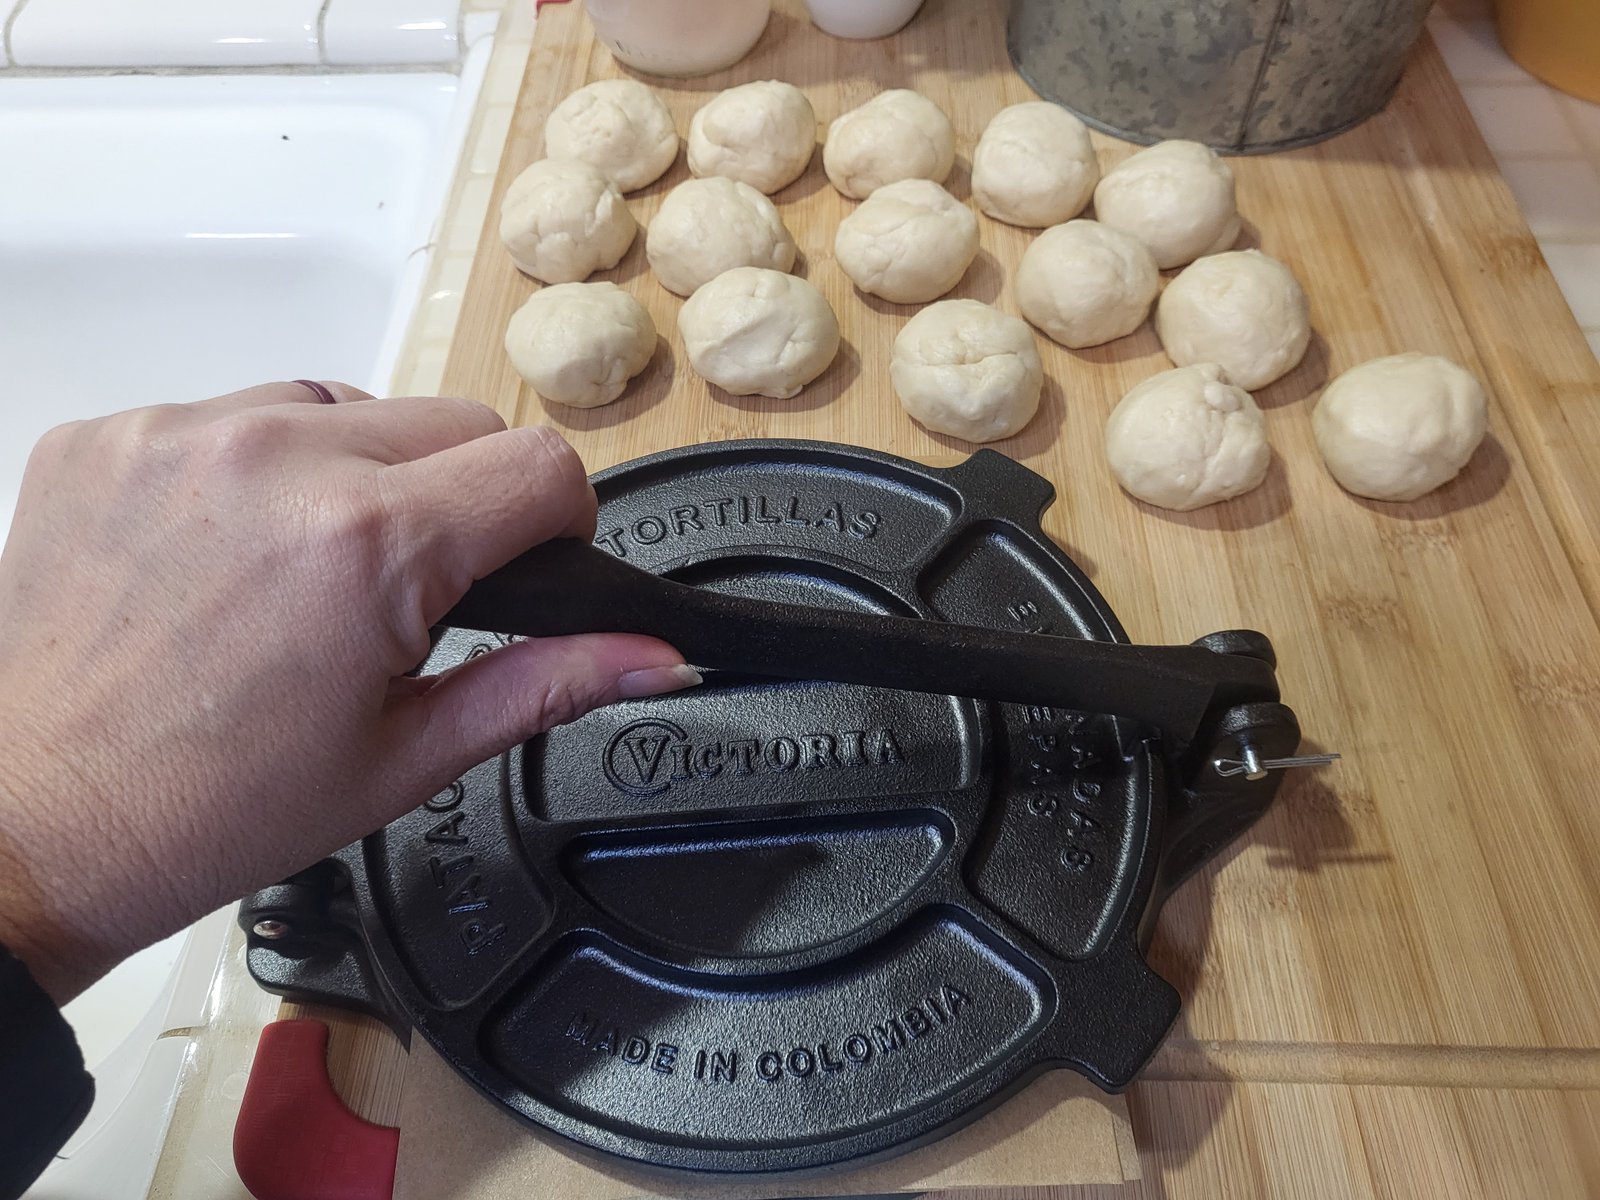
1. A tortilla press
2. Rolling the dough in all directions
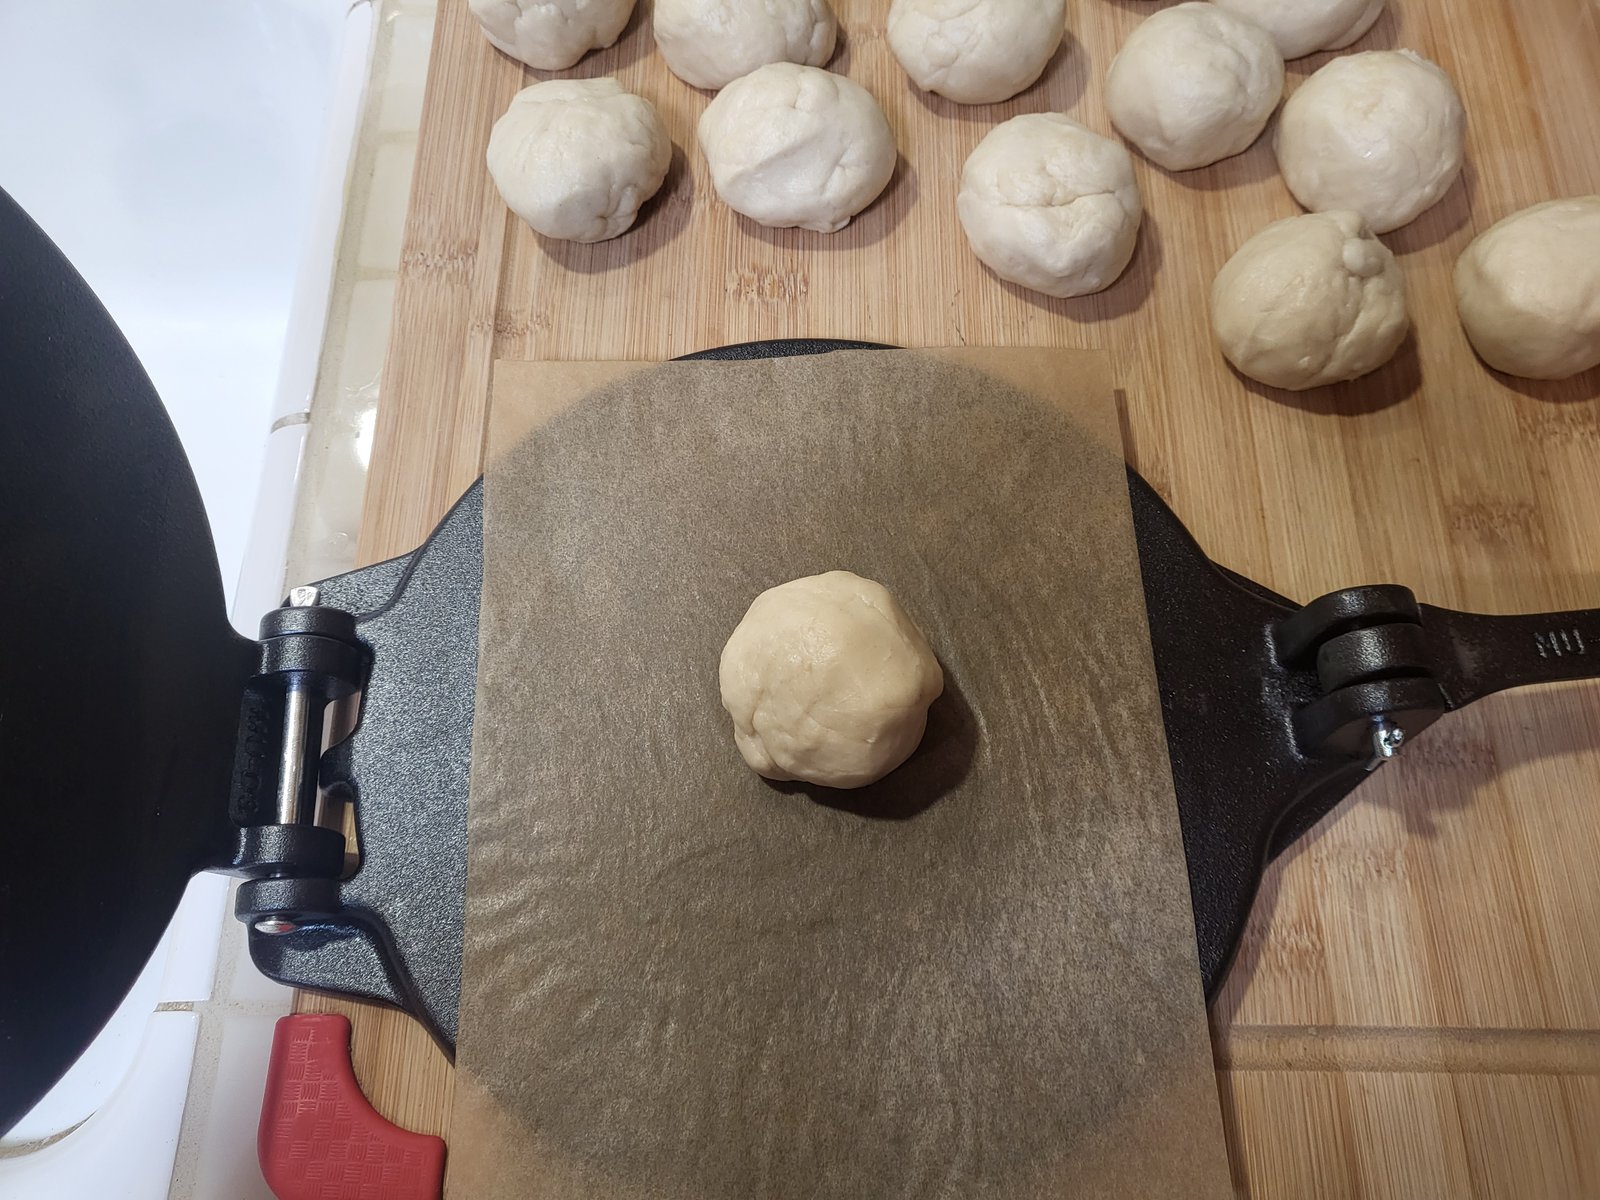
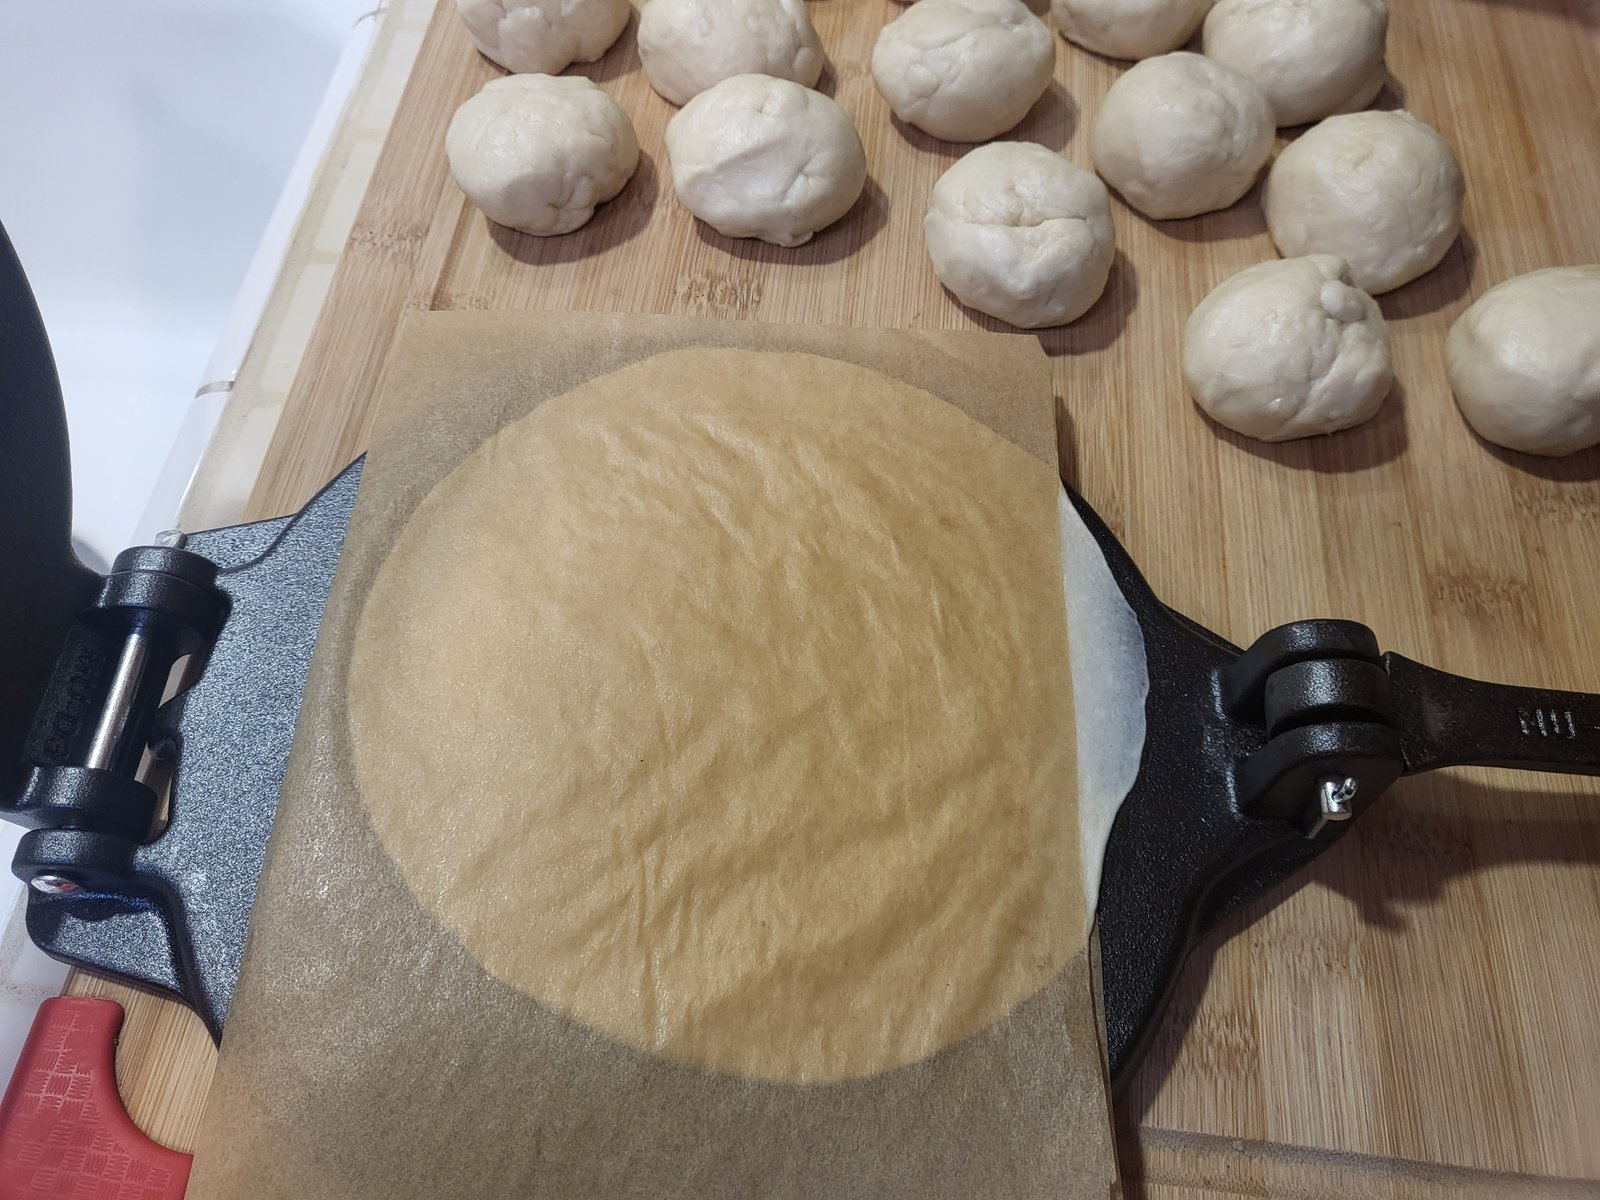
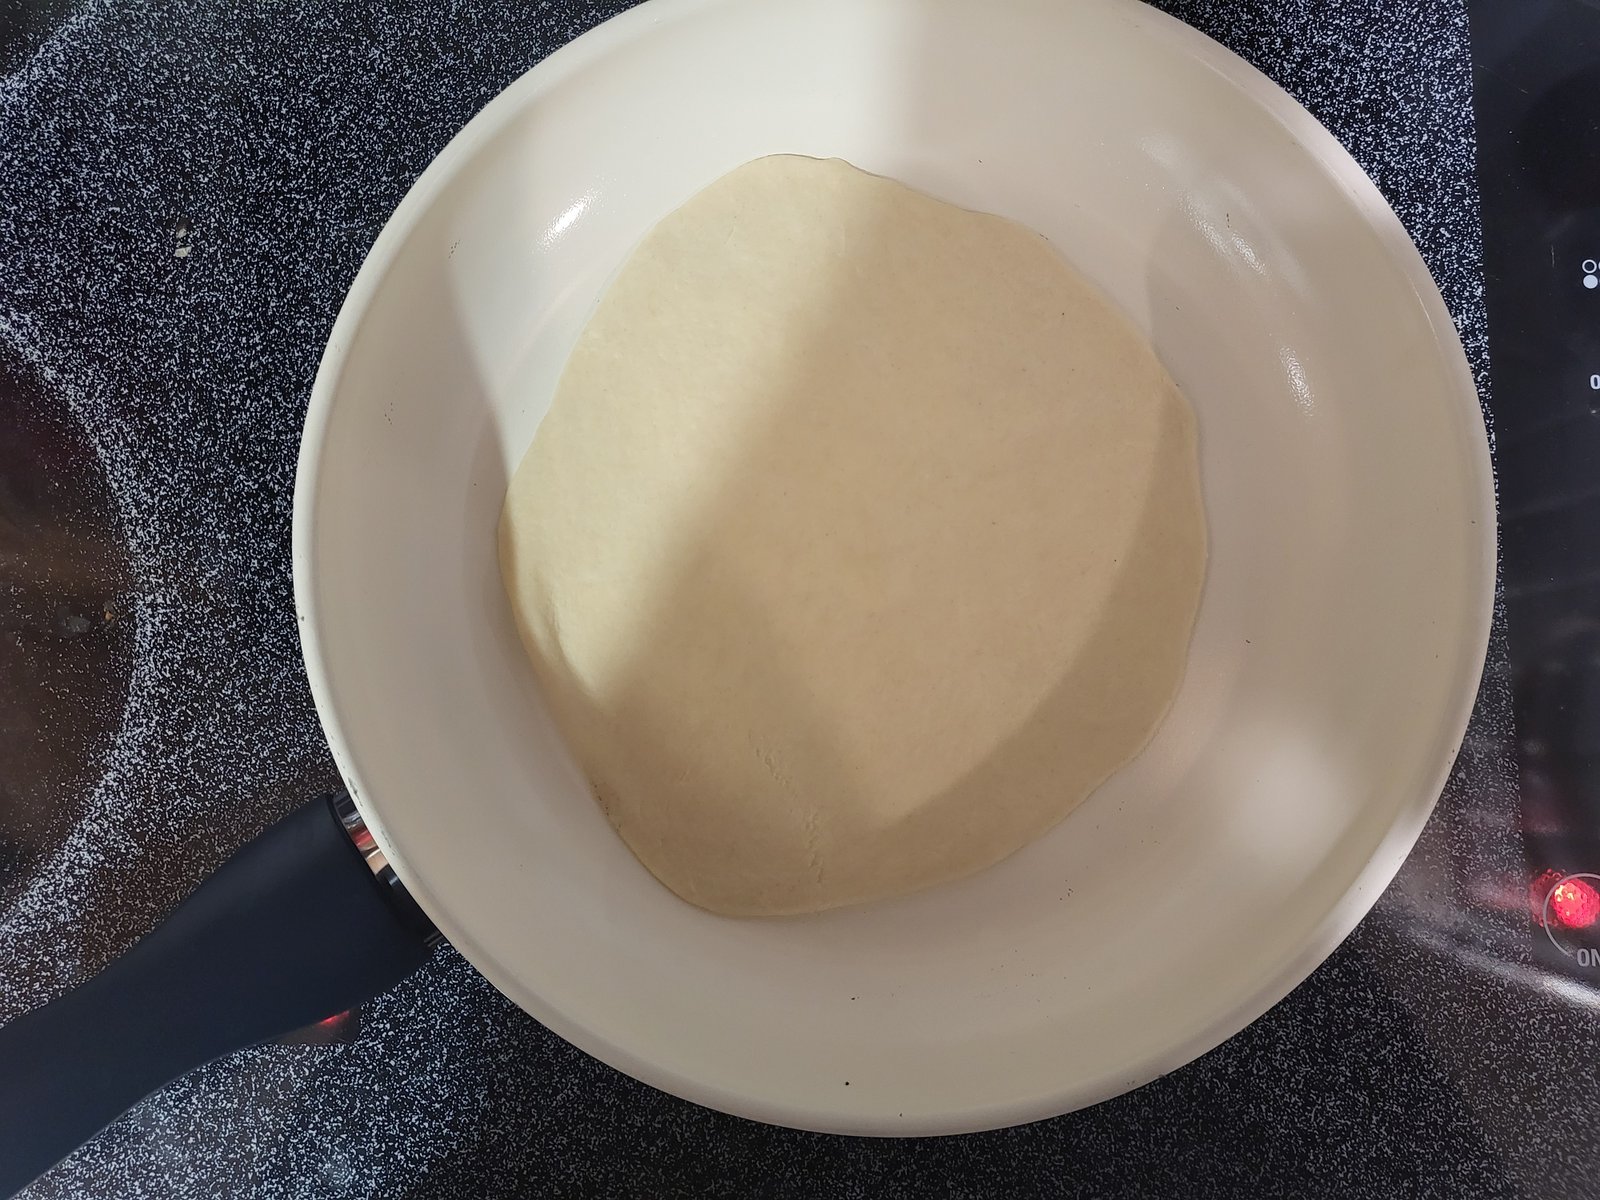
I start with the tortilla press. It was made with corn tortillas in mind, but I find that starting with the press helps tremendously when I’m trying to roll out a round tortilla. First, I’ll press the dough in the tortilla press to flatten it into a round disk. Then, I’ll let that sit for a few minutes to allow the gluten to relax a little. This helps the dough stay rolled out rather than shrinking immediately when I let it go.
I found that a workflow using 4 dough disks in a rotation works well for me. Here’s what I mean…the flow I use. At first, I start with 3 pressed dough disks, then…
1. Press a dough ball between two pieces of parchment paper.
2. Roll out a disk that has been sitting the longest.
3. Place rolled-out disk on the pan to cook.
4. While that one is cooking, press another disk.
5. Flip the tortilla in the pan.
6. Roll out the next pressed disk.
7. Remove the cooked tortilla from the pan and add the one you just rolled out.
8. Repeat steps 1-7 until all 16 tortillas have been cooked.
I know it looks like a lot, but it really goes pretty quickly. If this workflow doesn’t work for you, that’s totally fine. Just try things and find what does work for you!
Cook the tortillas
Cooking the tortillas is really straightforward. The hardest part is getting them into the pan without letting them fold. With a little practice, it gets much easier. By the time you’re done with half the batch, you’ll be a pro.
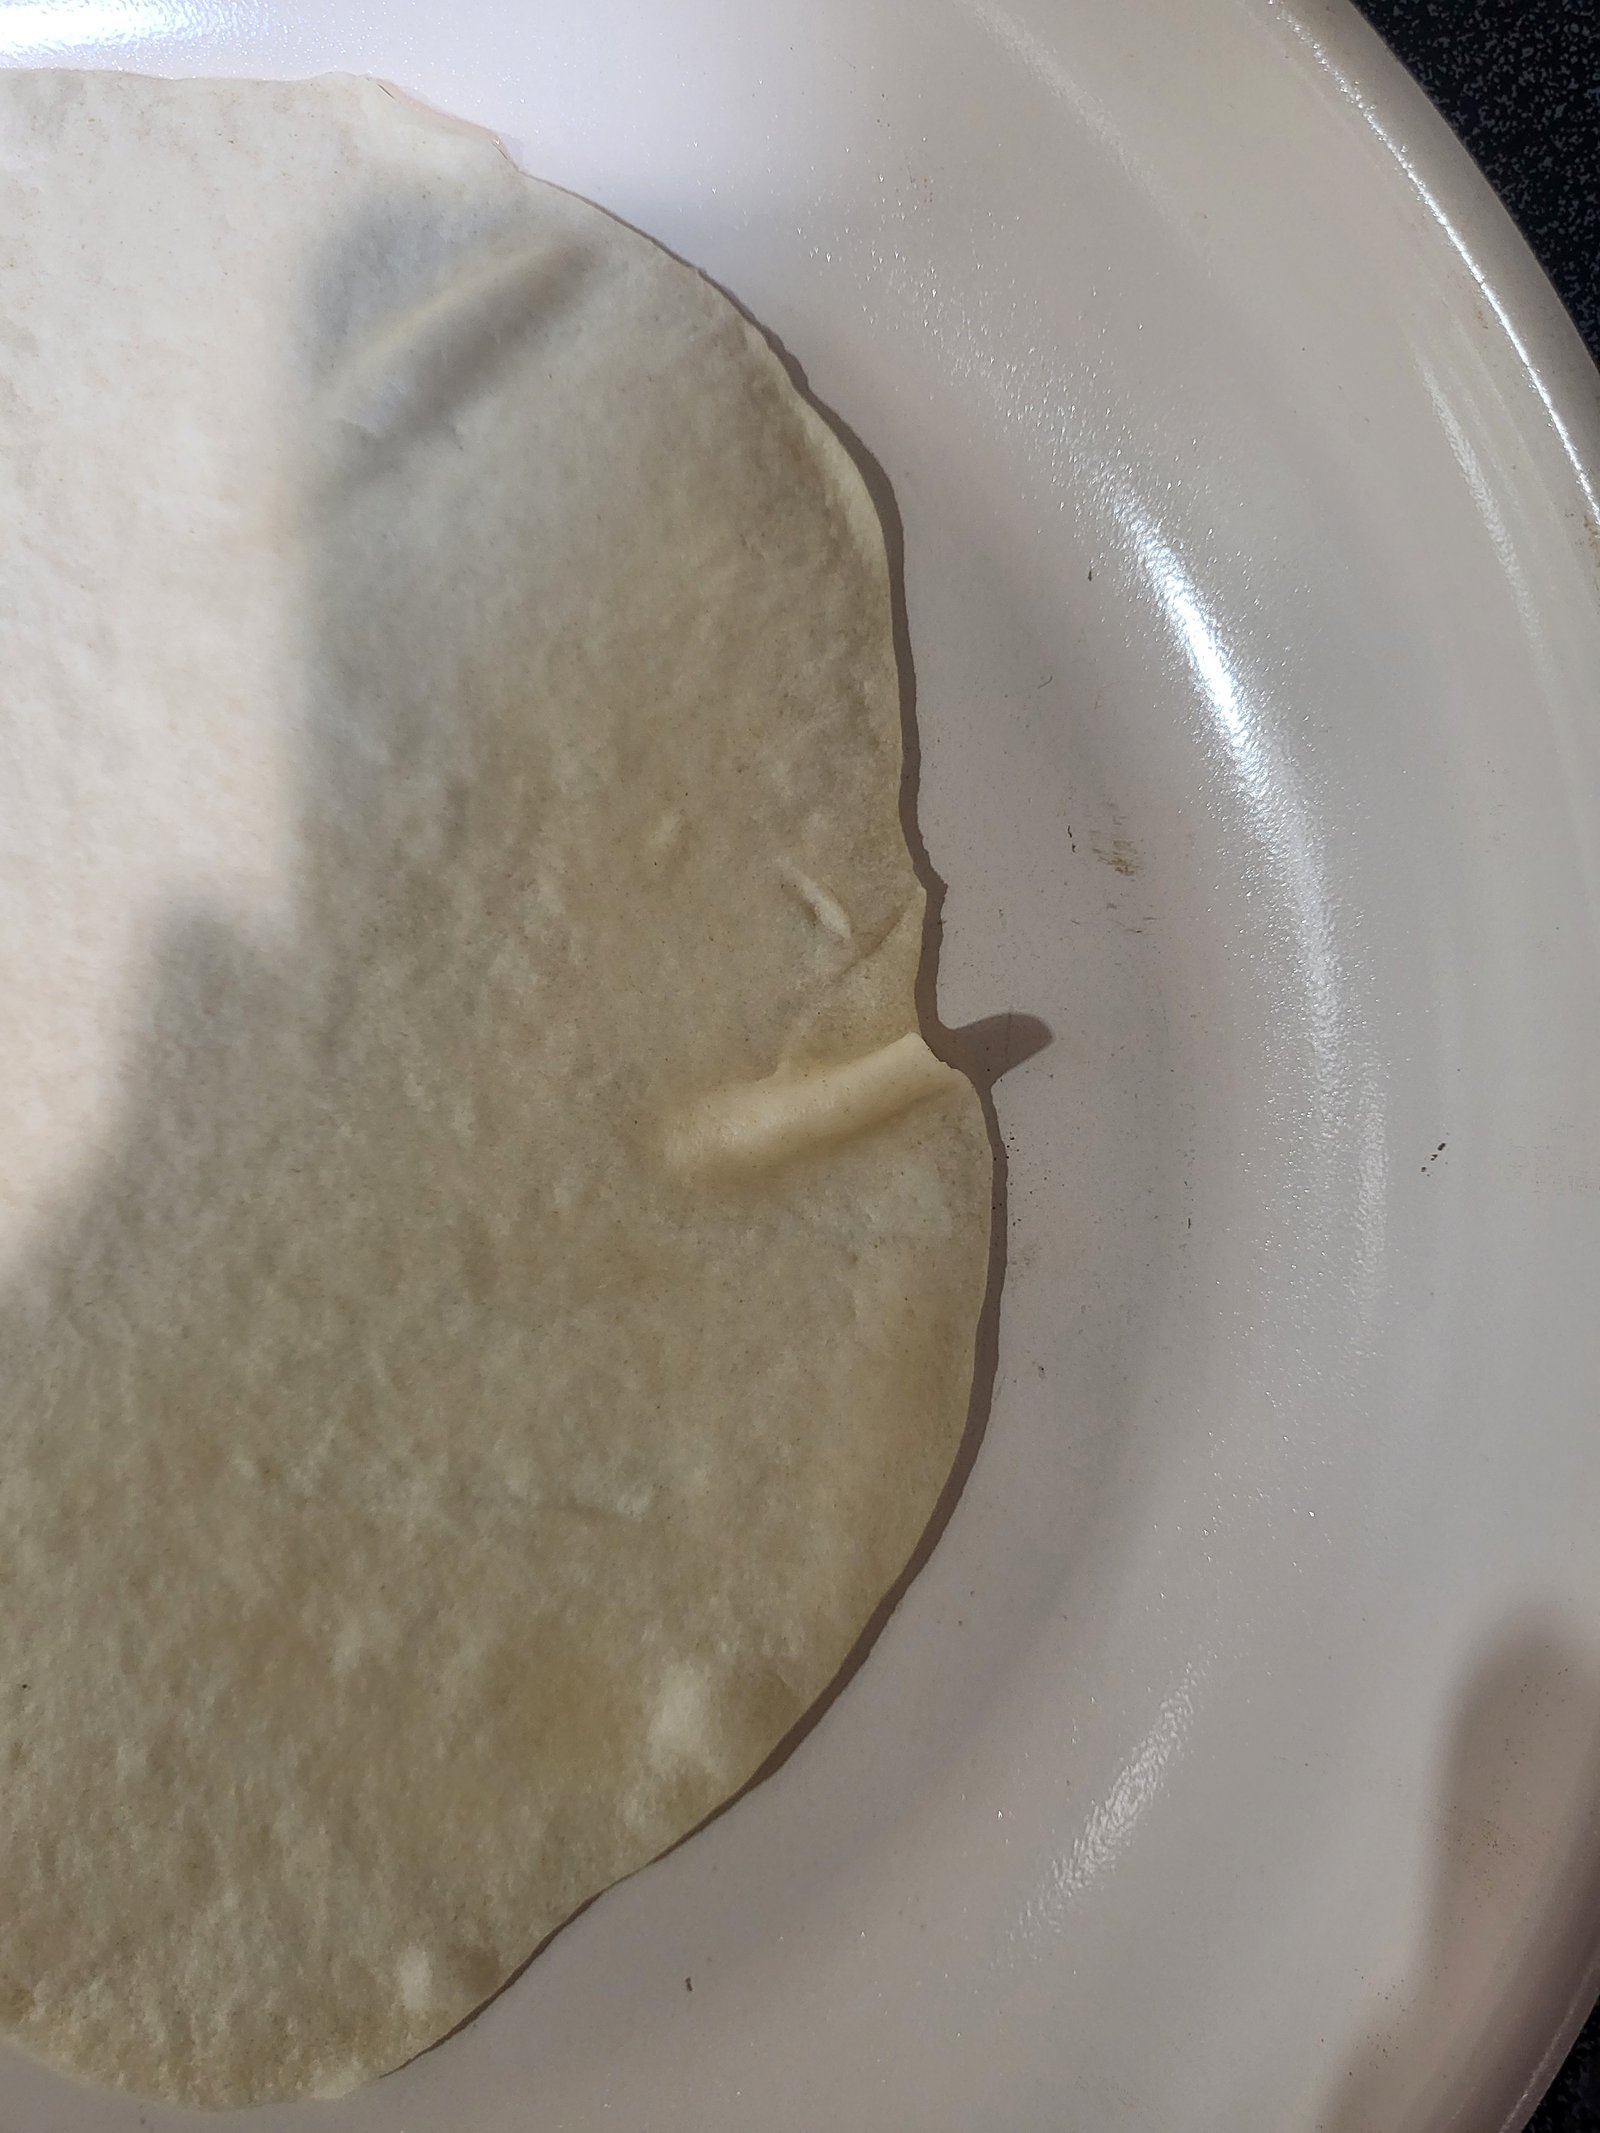
Let your pan preheat at medium. I use an electric stove and need to heat the pan a little more. Gas stoves will likely be on low-medium. Electric will be medium-high heat. Add a little oil to the pan (I use a spray avocado oil) and add the rolled out tortilla.
I usually end up with a wrinkle or two. It’s easiest to let it be and not try to smooth it out. I’ve found that when I smooth one wrinkle, it simply creates another.
Flip it
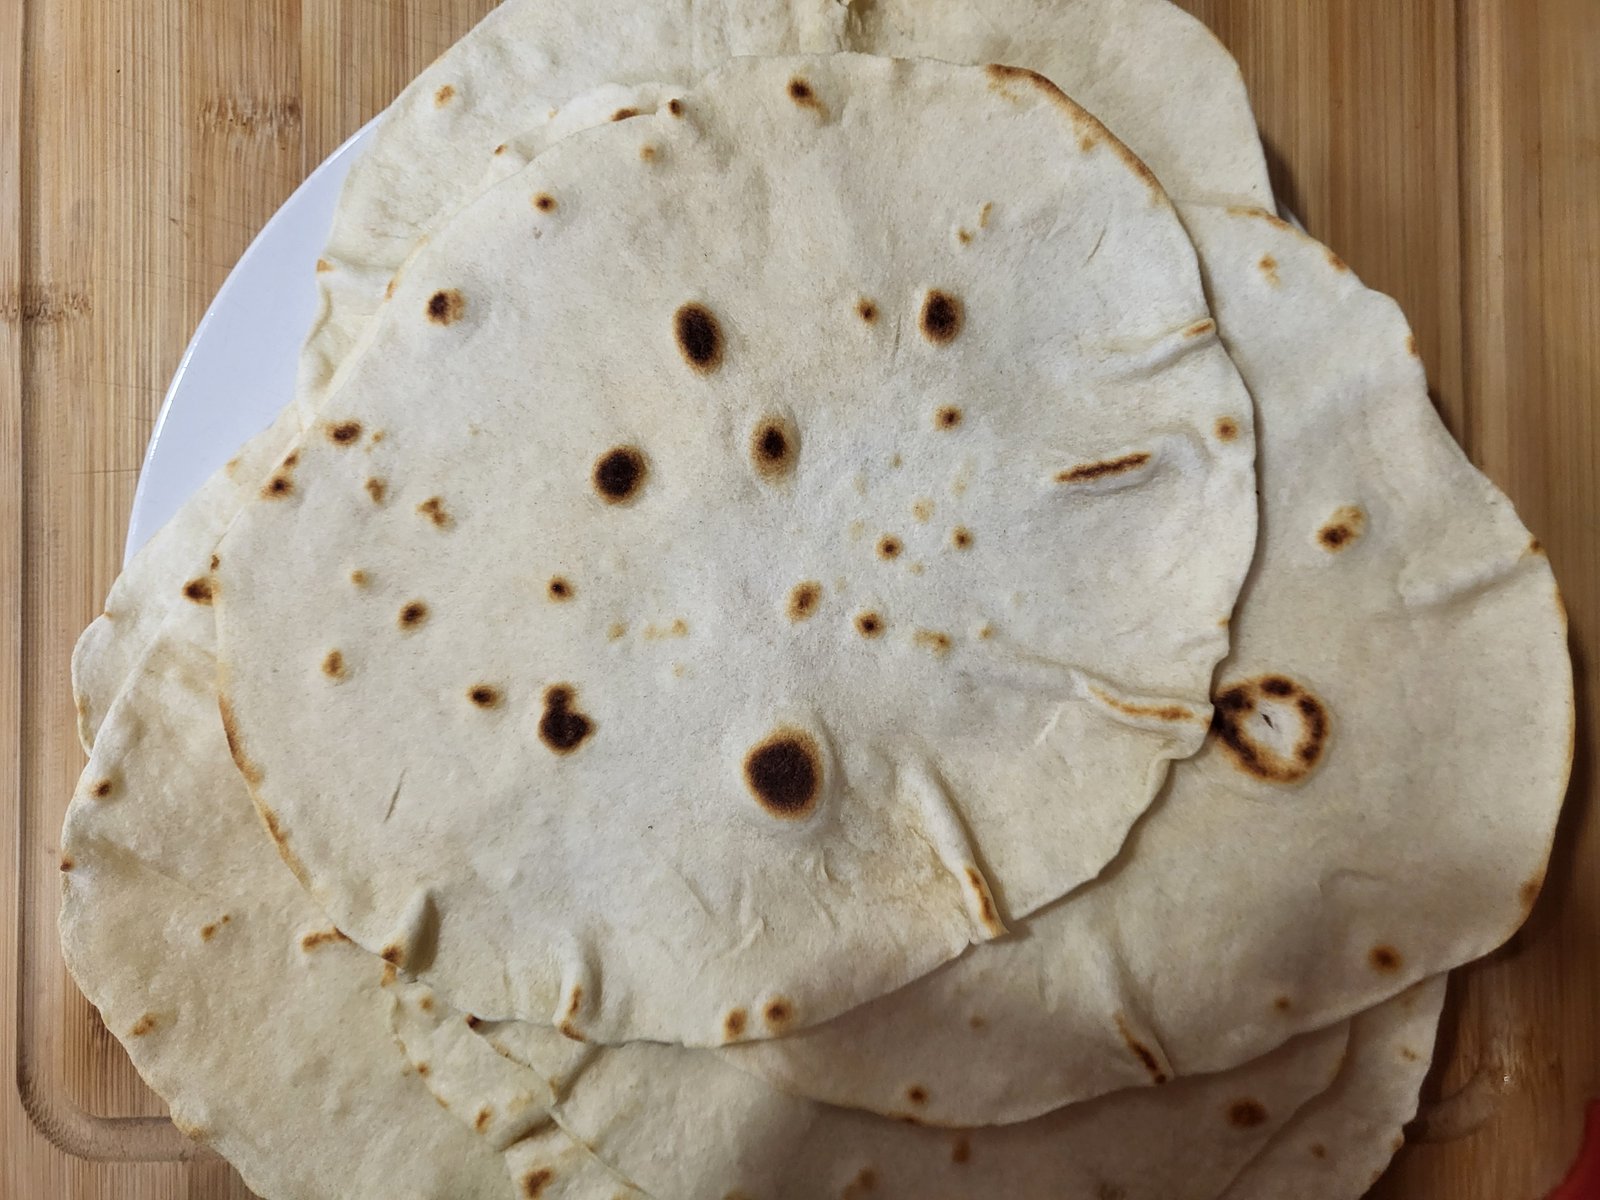
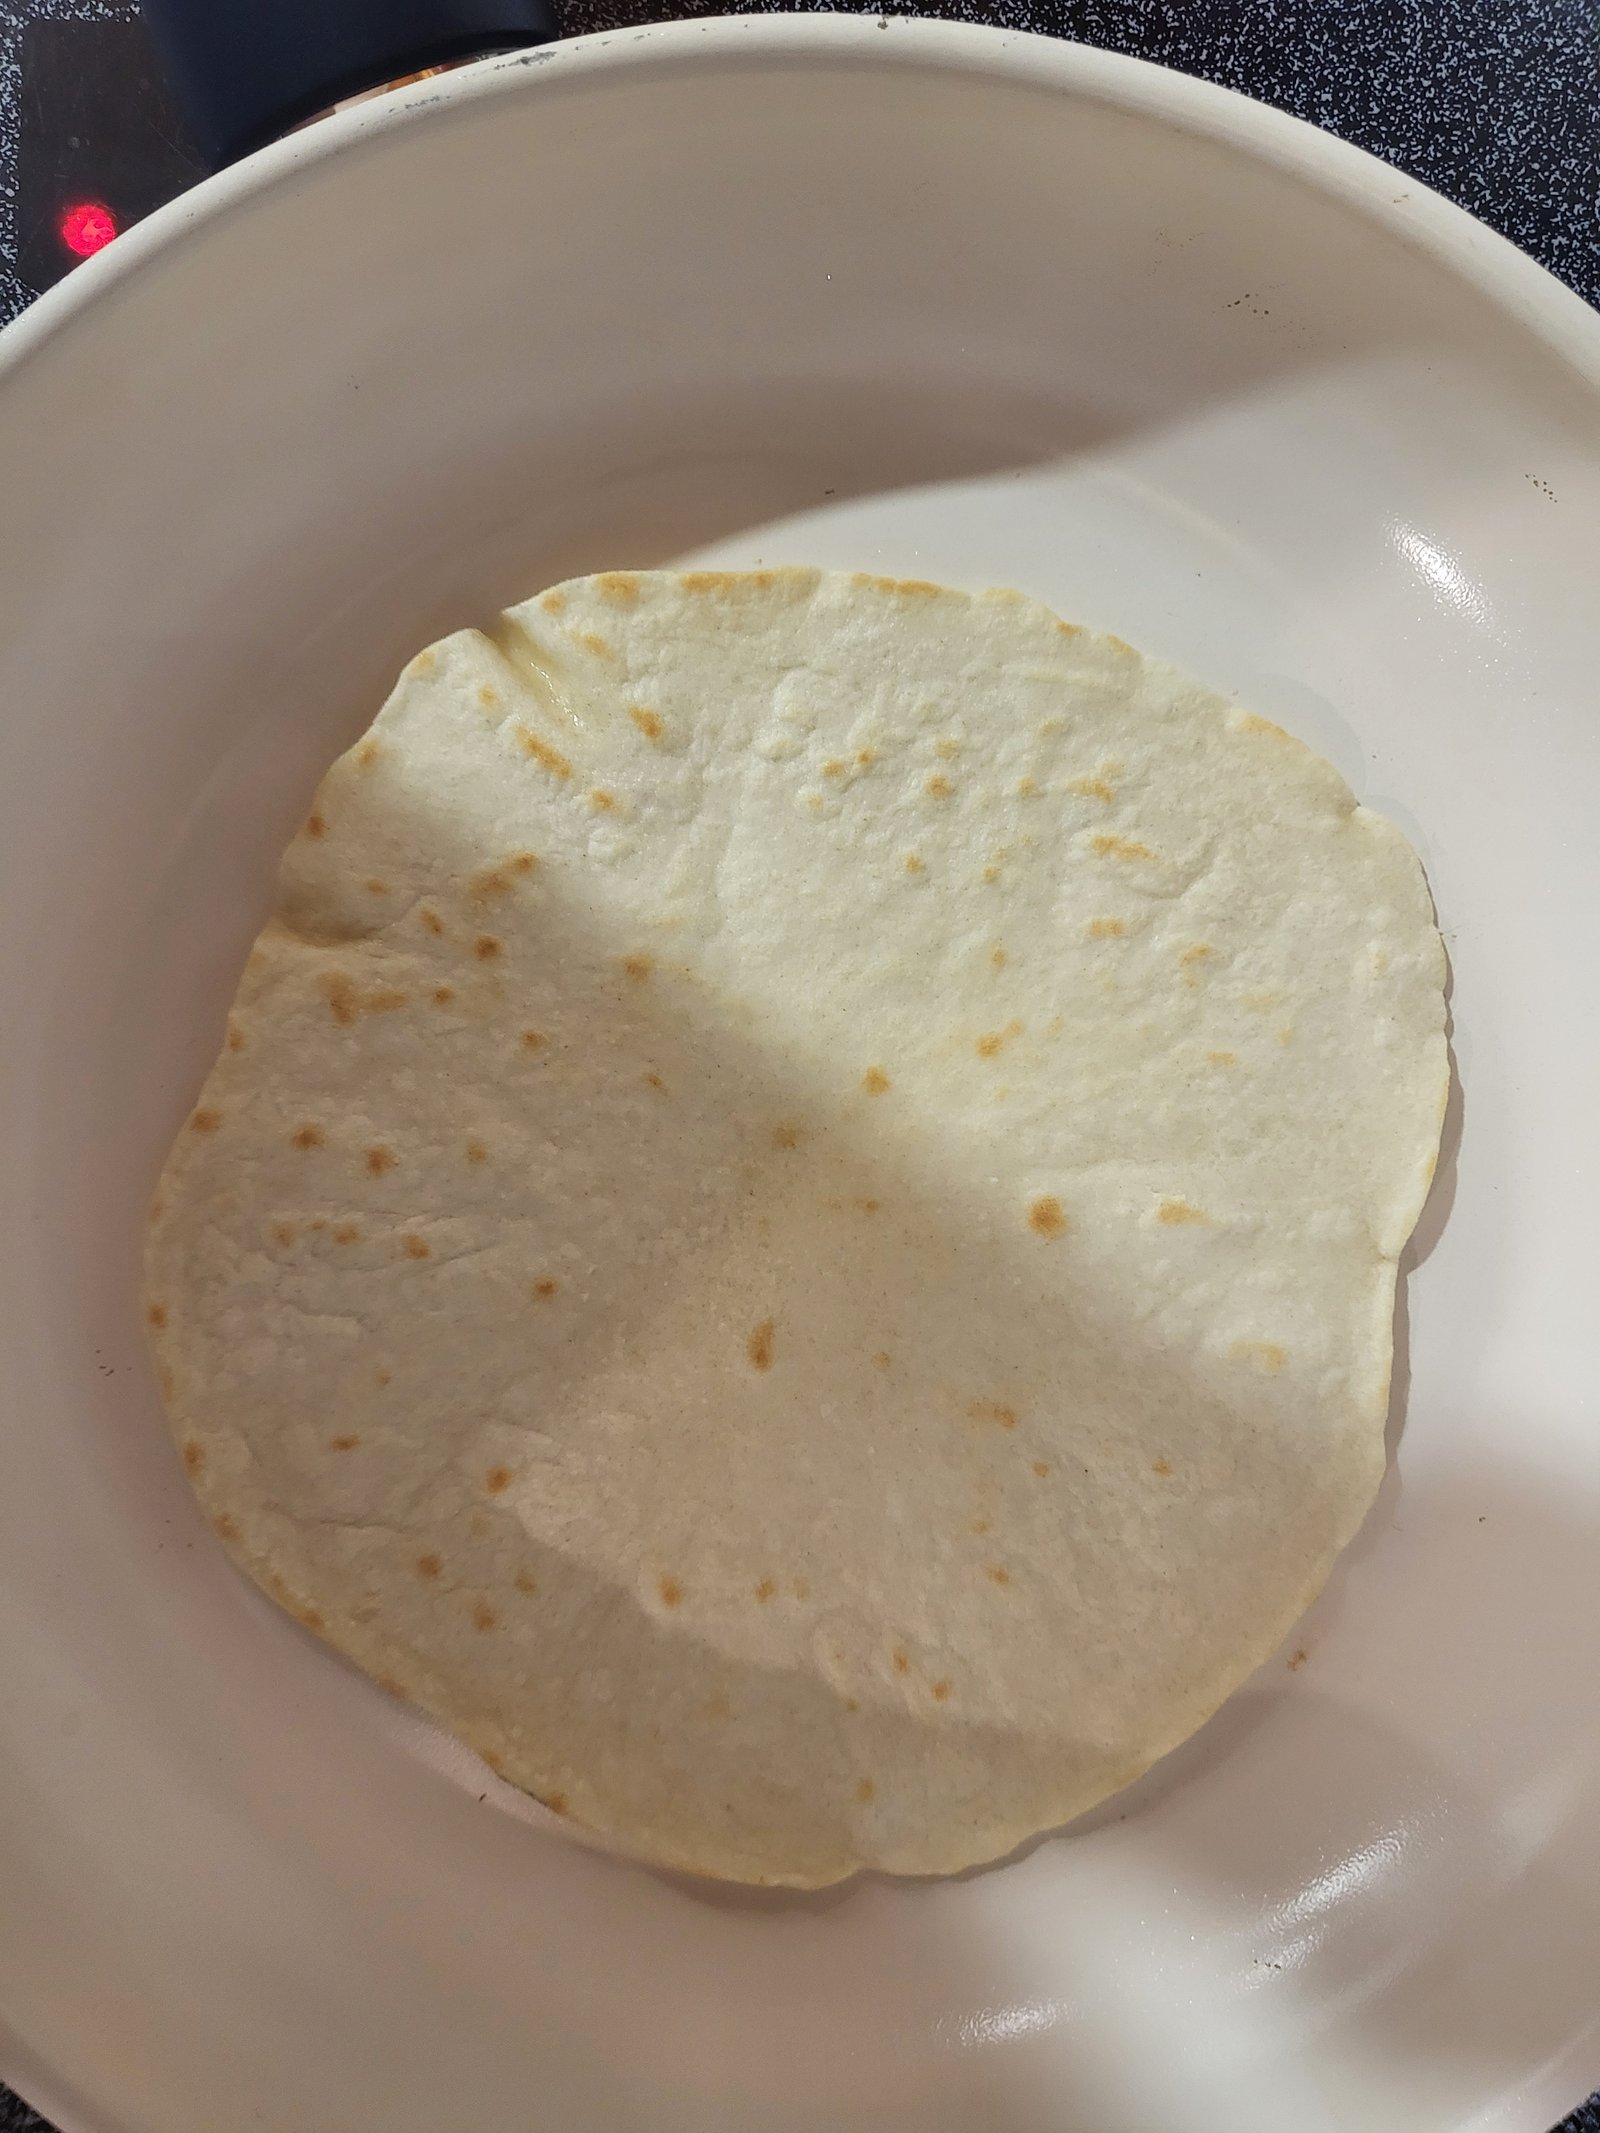
After a minute or two (it doesn’t take long at all), flip the tortilla like a pancake. This is when you’ll see those darker brown spots that will look just like the ones you see on store-bought tortillas. Seeing this always makes me happy. Probably because it lets me know I’m doing it right.
If you don’t see any brown spots, you need to cook it for a little longer. Give it an extra 30-60 seconds and try again.
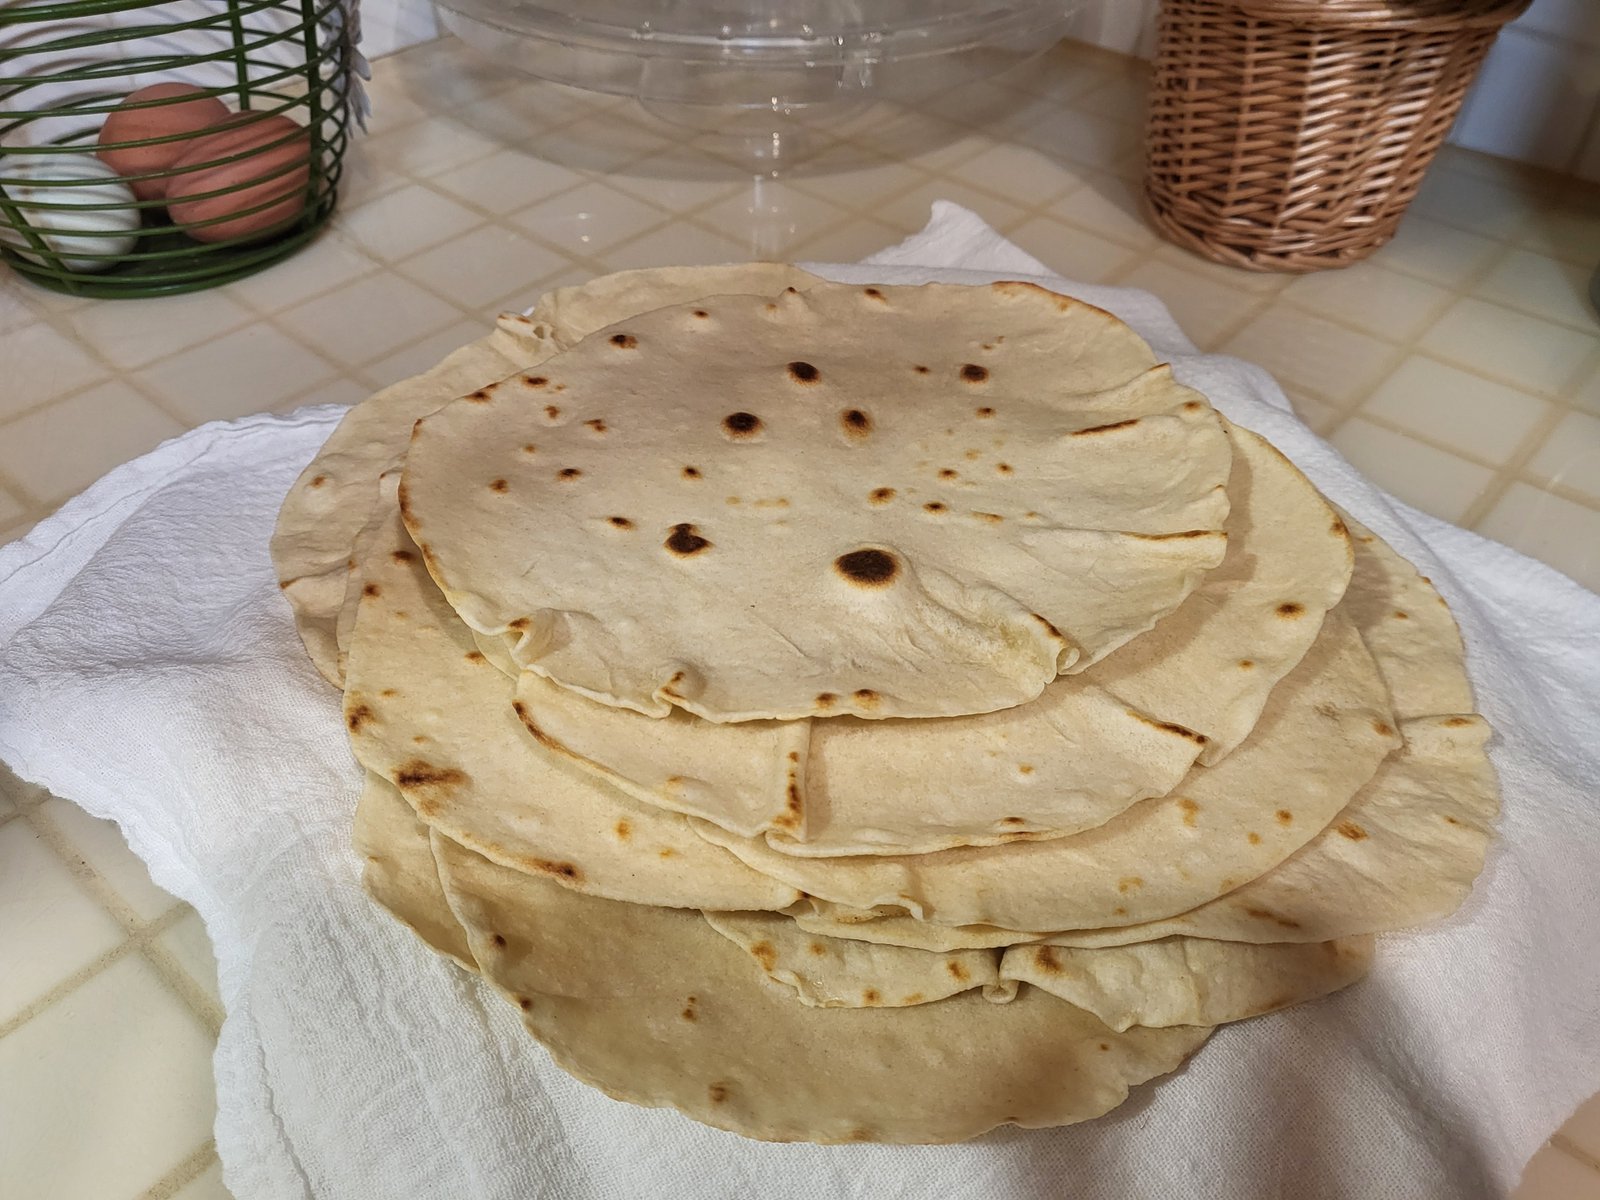
In almost no time at all, you’ll have a stack of tortillas ready for whatever meal you’d like to make with them. Let them cool, then store them in the refrigerator or use them right away.
I like to use mine to make taquitos (home made are the best!) or quesadillas. They also freeze easily for future use. I wouldn’t recommend storing them in the cupboard like you might with store bought tortillas. These fresh tortillas contain none of the abundant preservatives that store-bought ones have and will get moldy within just a few days. It’s best to freeze them if you want to keep them on hand.
Enjoy your freshly made tortillas!
Posts I Think You’ll Love…
Most Recent Posts
-
How To Bake With Fresh Milled Flour
Fresh-Milled When I first started using fresh-milled flour, I assumed it would behave similarly to store-bought flour. I was wildly…
-
10 Foods I jar to Make Dinner Easy
Easy peasy Dinner First of all, let me be clear: I don’t can food because I’m waiting for an apocalypse….
-
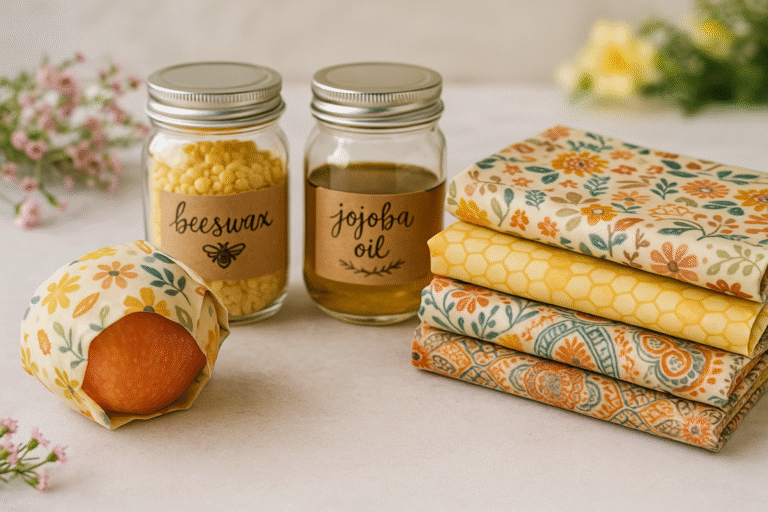
How To Make Beeswax Food Wraps
How To Make Your Own Beeswax Wraps I still remember the first time I used a beeswax wrap instead of…