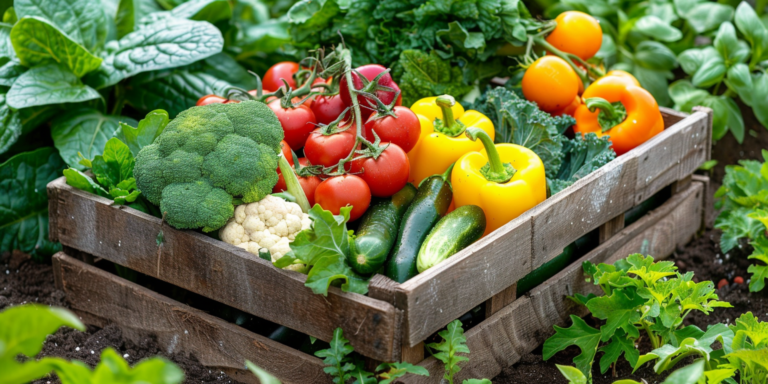
Grow and Harvest Quinoa
Growing and harvesting quinoa is easy and a great way to know exactly how your grains were grown. I find it’s easier to harvest than oats and can be used in much the same way. Quinoa is great as a breakfast porridge or as a rice-like dish. With just a few tools you probably already have in your kitchen, you can grow, harvest and eat quinoa grown right in your own garden.
Is Quinoa Actually Good For You?
Yes! Quinoa is good for you in many ways. Quinoa is considered a complete protein because is has all the amino acids your body needs. It also has almost twice as much fiber as other grains and 8 grams of protein per cup (cooked).
Another great thing about this grain is that it takes your body a long time to digest it, so it keeps you feeling full for longer. This slower process helps keep blood sugar levels from rising, making it a great grain for diabetics. For me, it simply helps me eat less, which is always a good thing.
Finally, quinoa is naturally gluten-free, making it ideal for people who need to cut gluten from their diet. Many packaged quinoa brands are processed in facilities that also process gluten grains, so growing your own is an even better option.
Growing Quinoa
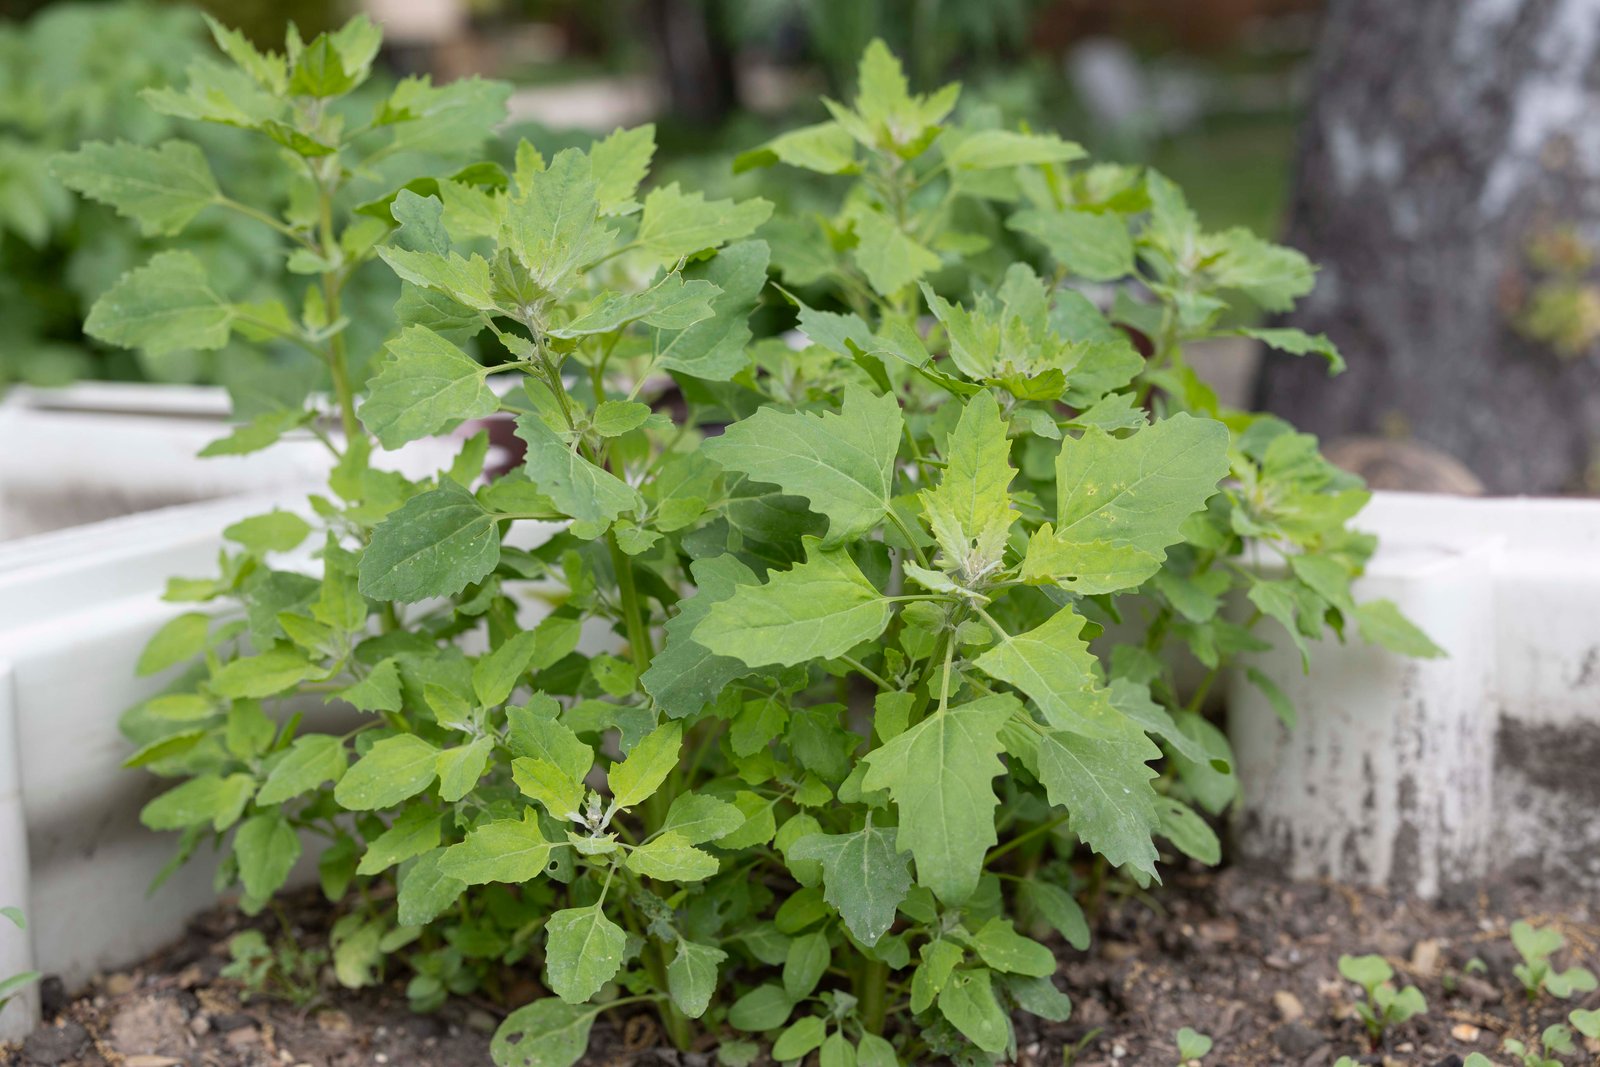
Growing quinoa is incredibly easy. It’s drought tolerant and has very few pests to worry about. You just need a little garden space, some water and lots of sunlight.
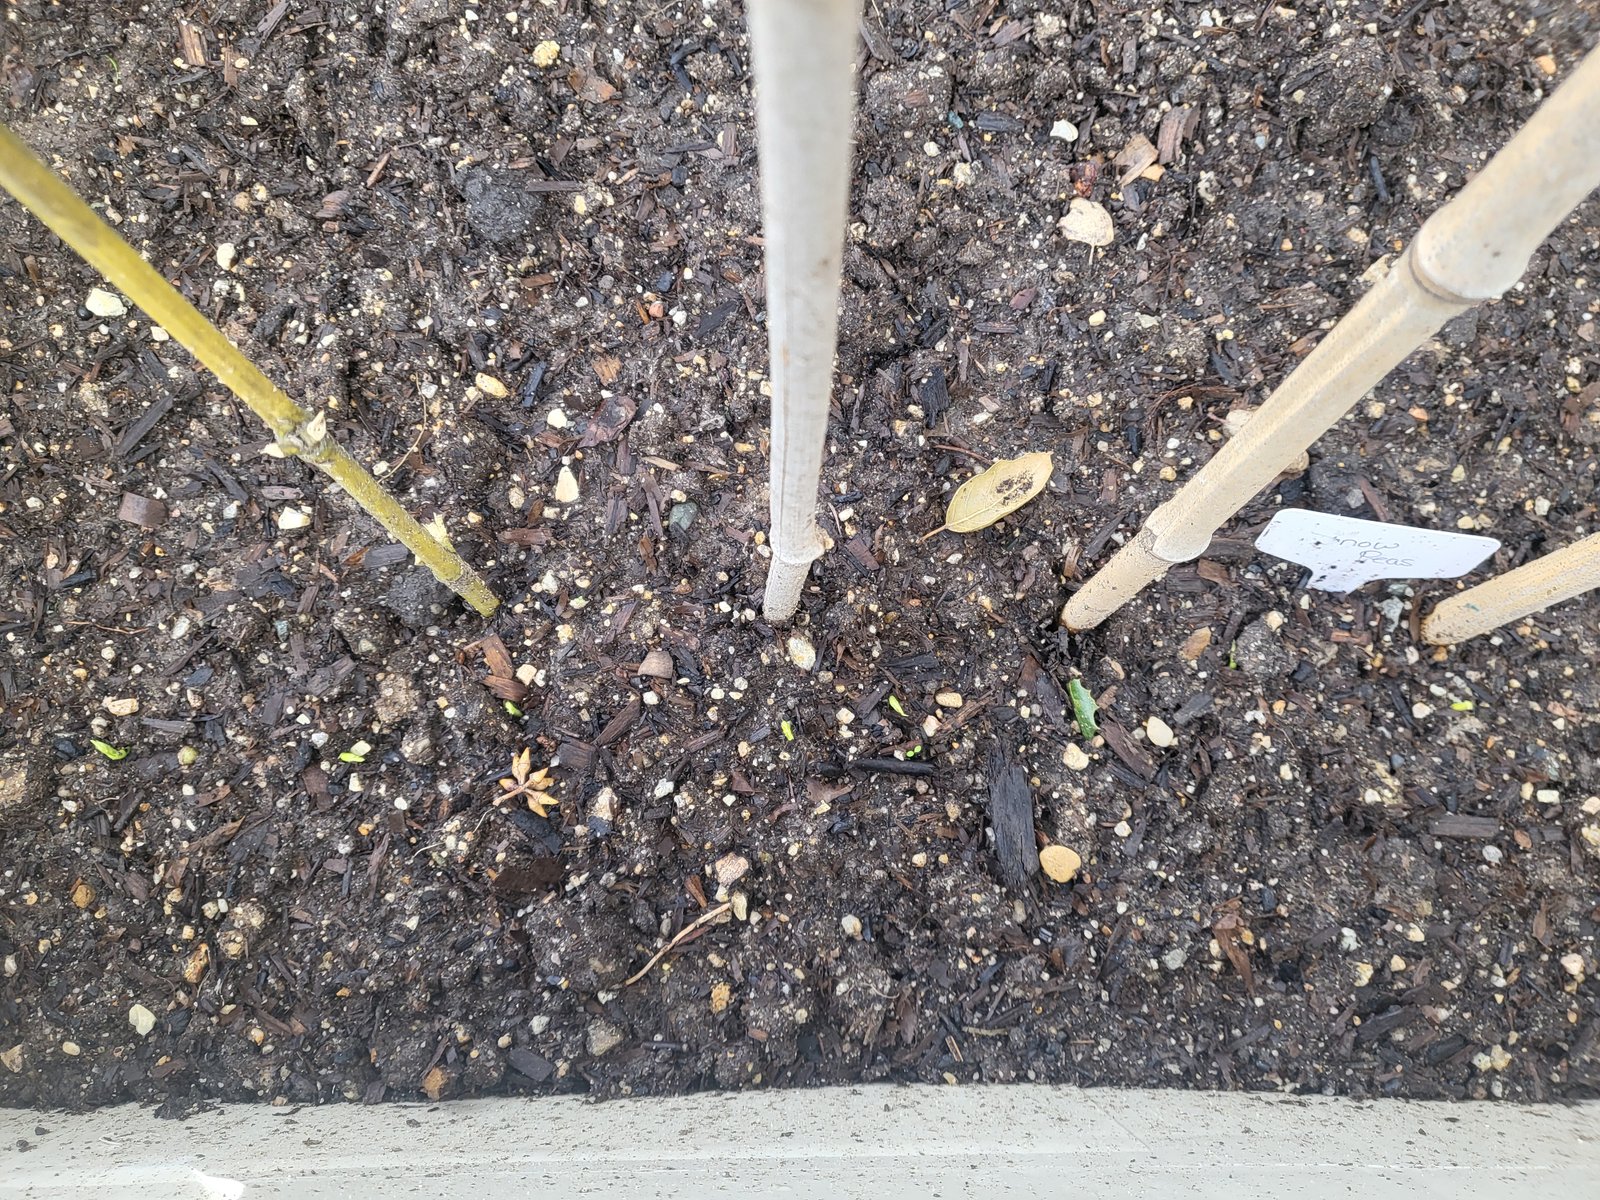
Quinoa seeds can be started indoors if you live in a short season area, but I direct sow in the garden after the last frost. Quinoa won’t tolerate freezing temperatures, so be sure to wait until the danger of frost has passed. Plant the seeds just a quarter inch deep and keep the soil moist until they germinate (usually in 4-7 days). Once the seedlings are about 2 inches tall, thin to 12-18 inches apart.
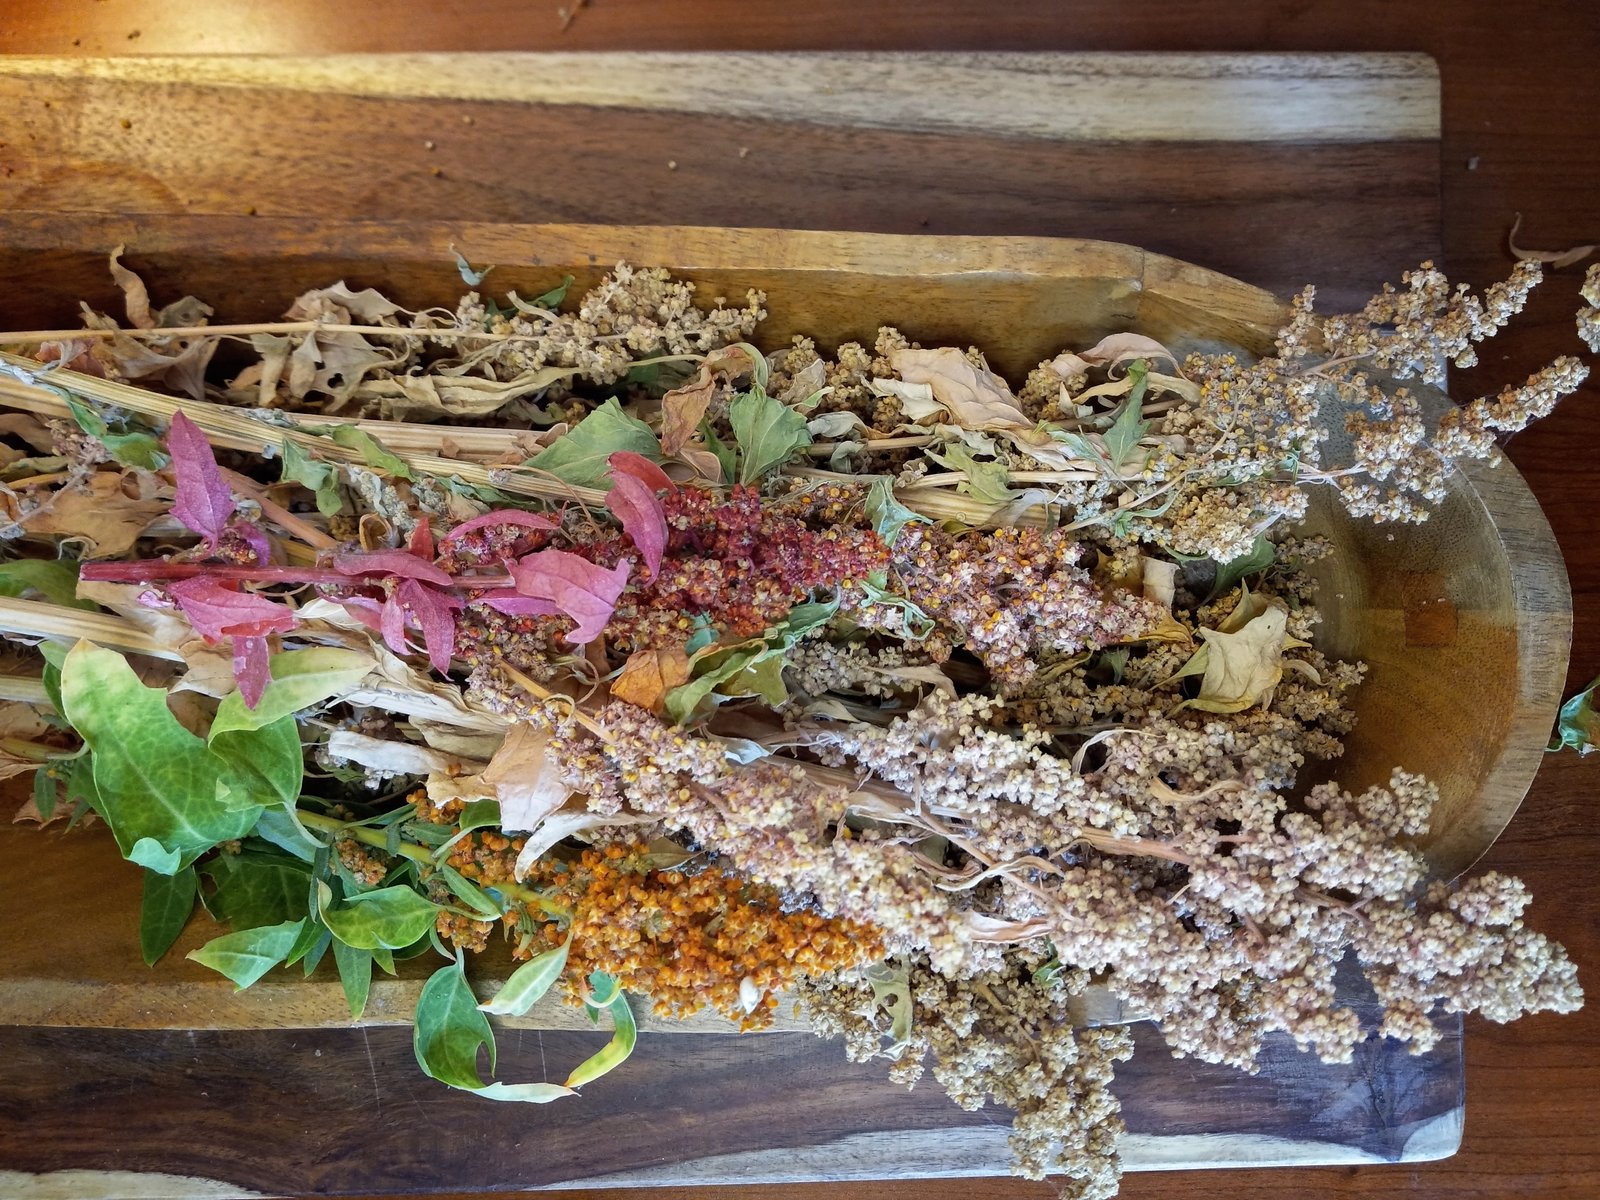
Water regularly throughout the season. When you notice the leaves starting to die and fall off, you’ll know it’s almost ready to harvest and you can stop watering them. The seed pods will continue to dry as the plant dies. I usually wait until the remaining leaves are dry and brittle before harvesting my quinoa.
Harvesting Your Crops
Now that your quinoa is ready to harvest, you can get to work preserving it. Before you head out to the garden, make sure you have clean, sharp pruners and a basket to hold the stalks you cut.
The stalks should be pretty dry by now, so they cut really easily. I like to cut them just below the seed clusters, leaving a long stalk still in the ground. Then, you can go back through and pull out the seedless plants when you’re done. You can also cut them at the dirt level and leave the roots to decompose over winter. I have very long growing seasons, so I like to pull out the roots to make room for new crops as soon as possible.
When it’s time for harvest, not all the plants will be at the same stage of dryness. That’s okay. Cut them anyway. If the seeds aren’t quite dry enough, leave them in a warm place to dry for a few days or even weeks. After they’re completely dried out, they’re ready to be separated from the plant and stored for the year.

Preparing Your Quinoa Seeds
Now comes the fun part. Well, I think it’s fun, but I was made for harvest season. I really thrive with the harvest tasks and I absolutely love it!
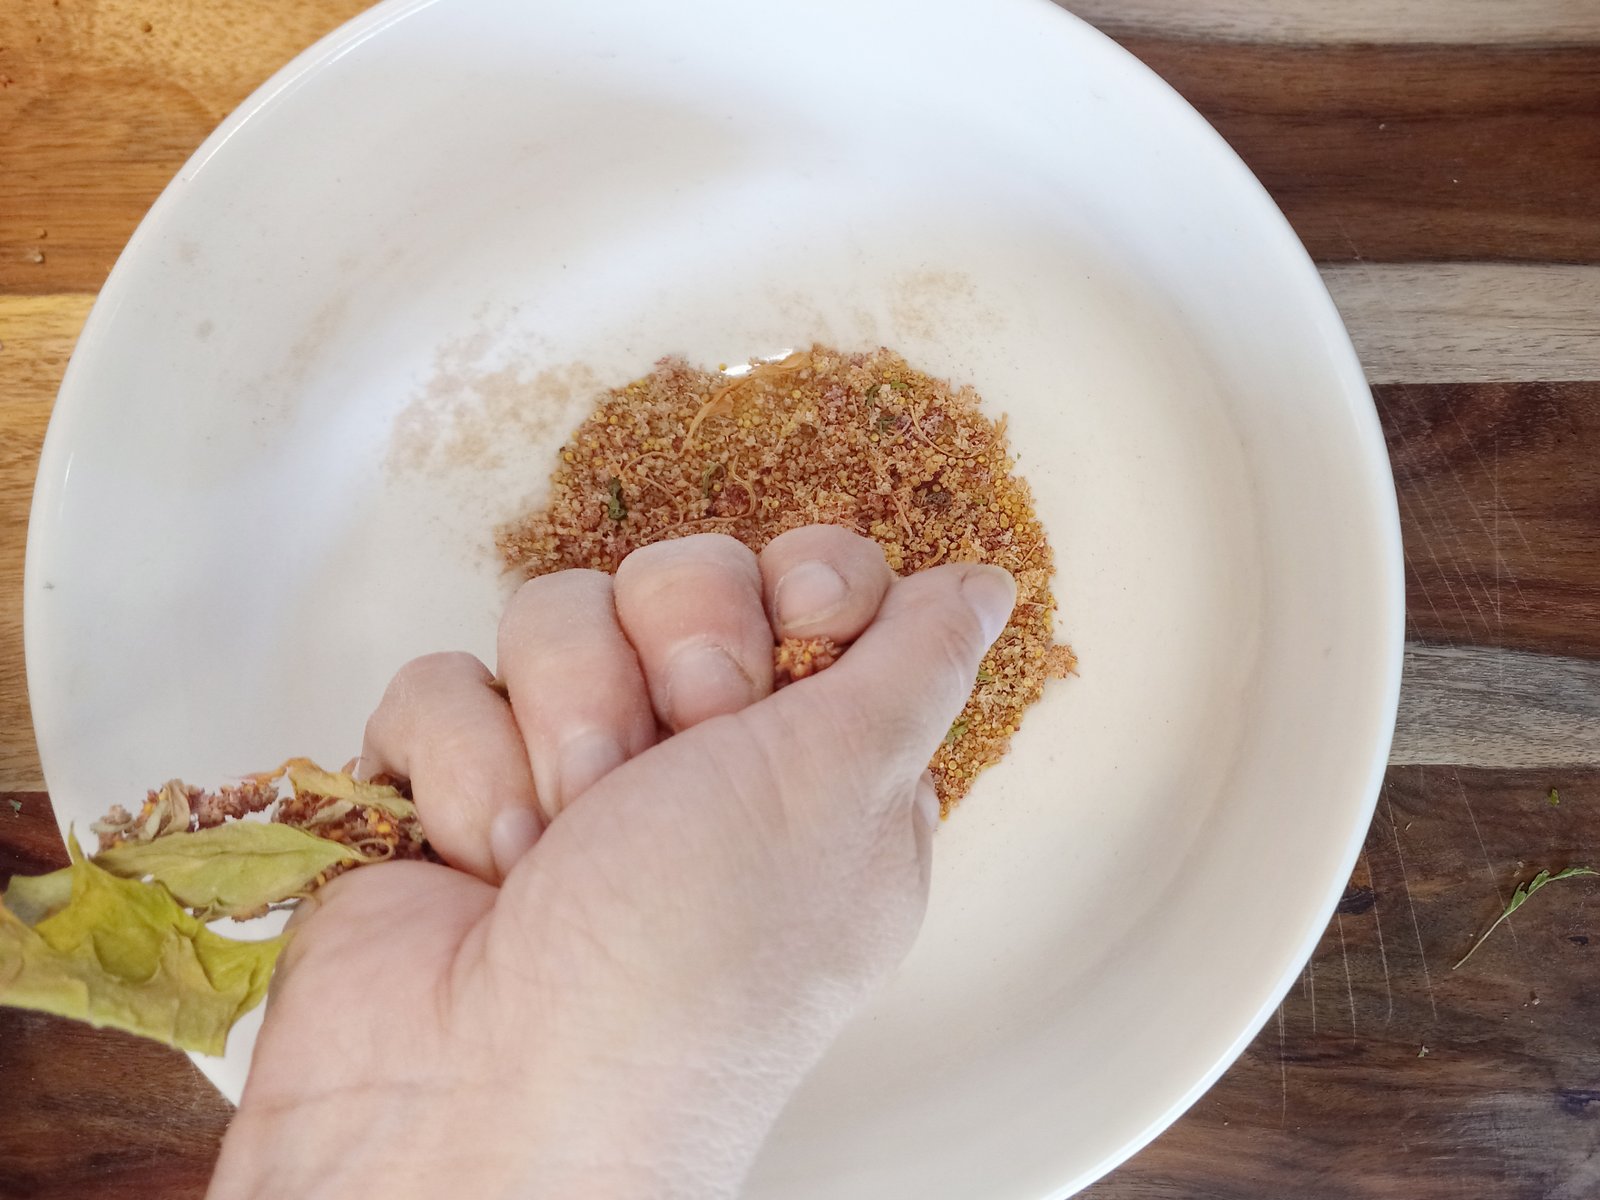
Now, you need to separate the seeds from the stalks. To do this, you just need to gently squeeze the dried seed heads over a bowl. If they want to stick to the plant, you can rub your fingers over them a little more roughly to break them off. Don’t worry about the leaves and sticks that get into the bowl at this point. Right now, you’re just trying to get the seeds off the plant, so you can separate everything.
After you’ve finished with all your seed heads, you should have a bowl of seeds with a bit of plant material mixed in.
Sifting The Seeds
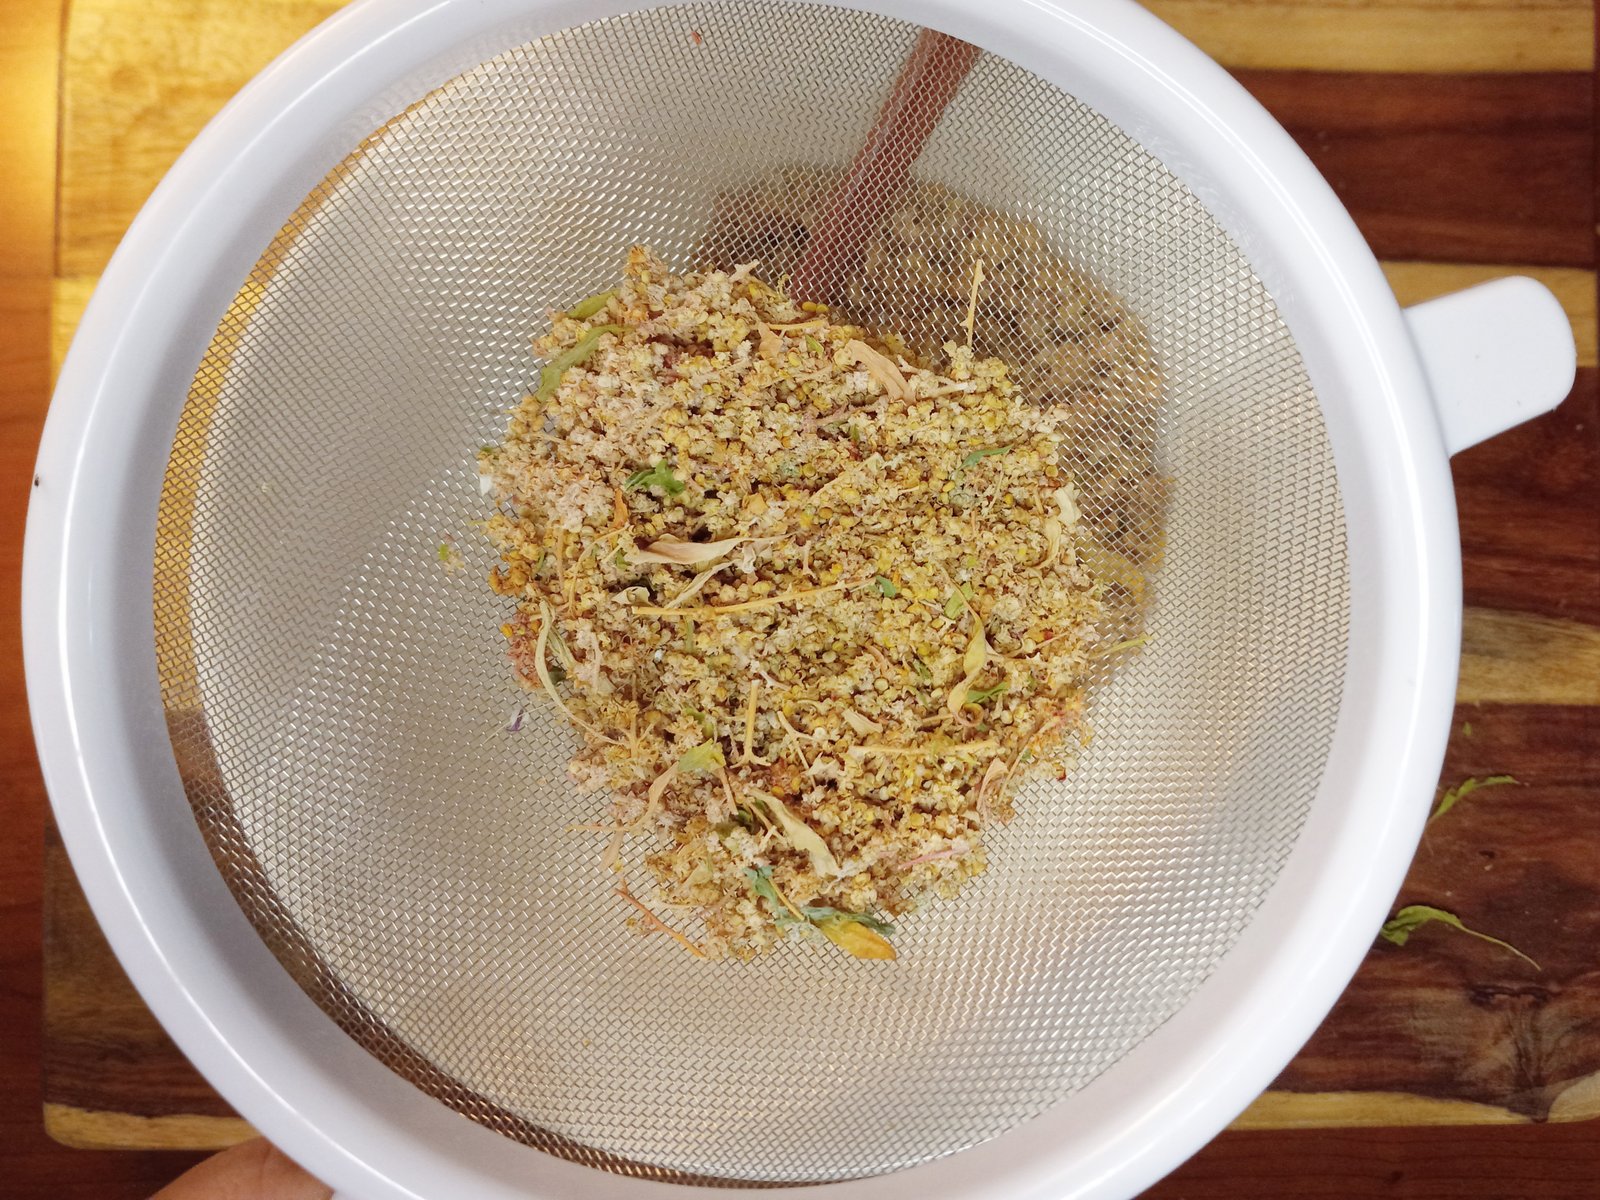
I use a fine mesh strainer to separate the quinoa seeds from all other plant material and it goes rather quickly. First, scoop some of the seeds from your bowl into the mesh strainer. Using your hands, break up the material even more, releasing more seeds. Then, pressing on the seeds and plant waste, rub along the bottom of the strainer. This gets the plant material to push through the bottom of the strainer, while the seeds remain as they are to large to go through.
Every once in a while, I tap the strainer on my hand to sift out the small bits and make the larger pieces gather at the top. Then, the top layer of lighter plant material and bits of sticks can simply be scraped off and discarded. The video below shows how I do this straining process.
Repeat this process until all that’s left in your strainer is the seeds. The process can be a little tedious, but it’s wonderfully rewarding when you look down at your strainer and see a pile of delicious quinoa seeds, ready to go.
Get the Seeds
First, get the seeds off the stalks. Make a fist around the seed head and squeeze to get the seeds to release.
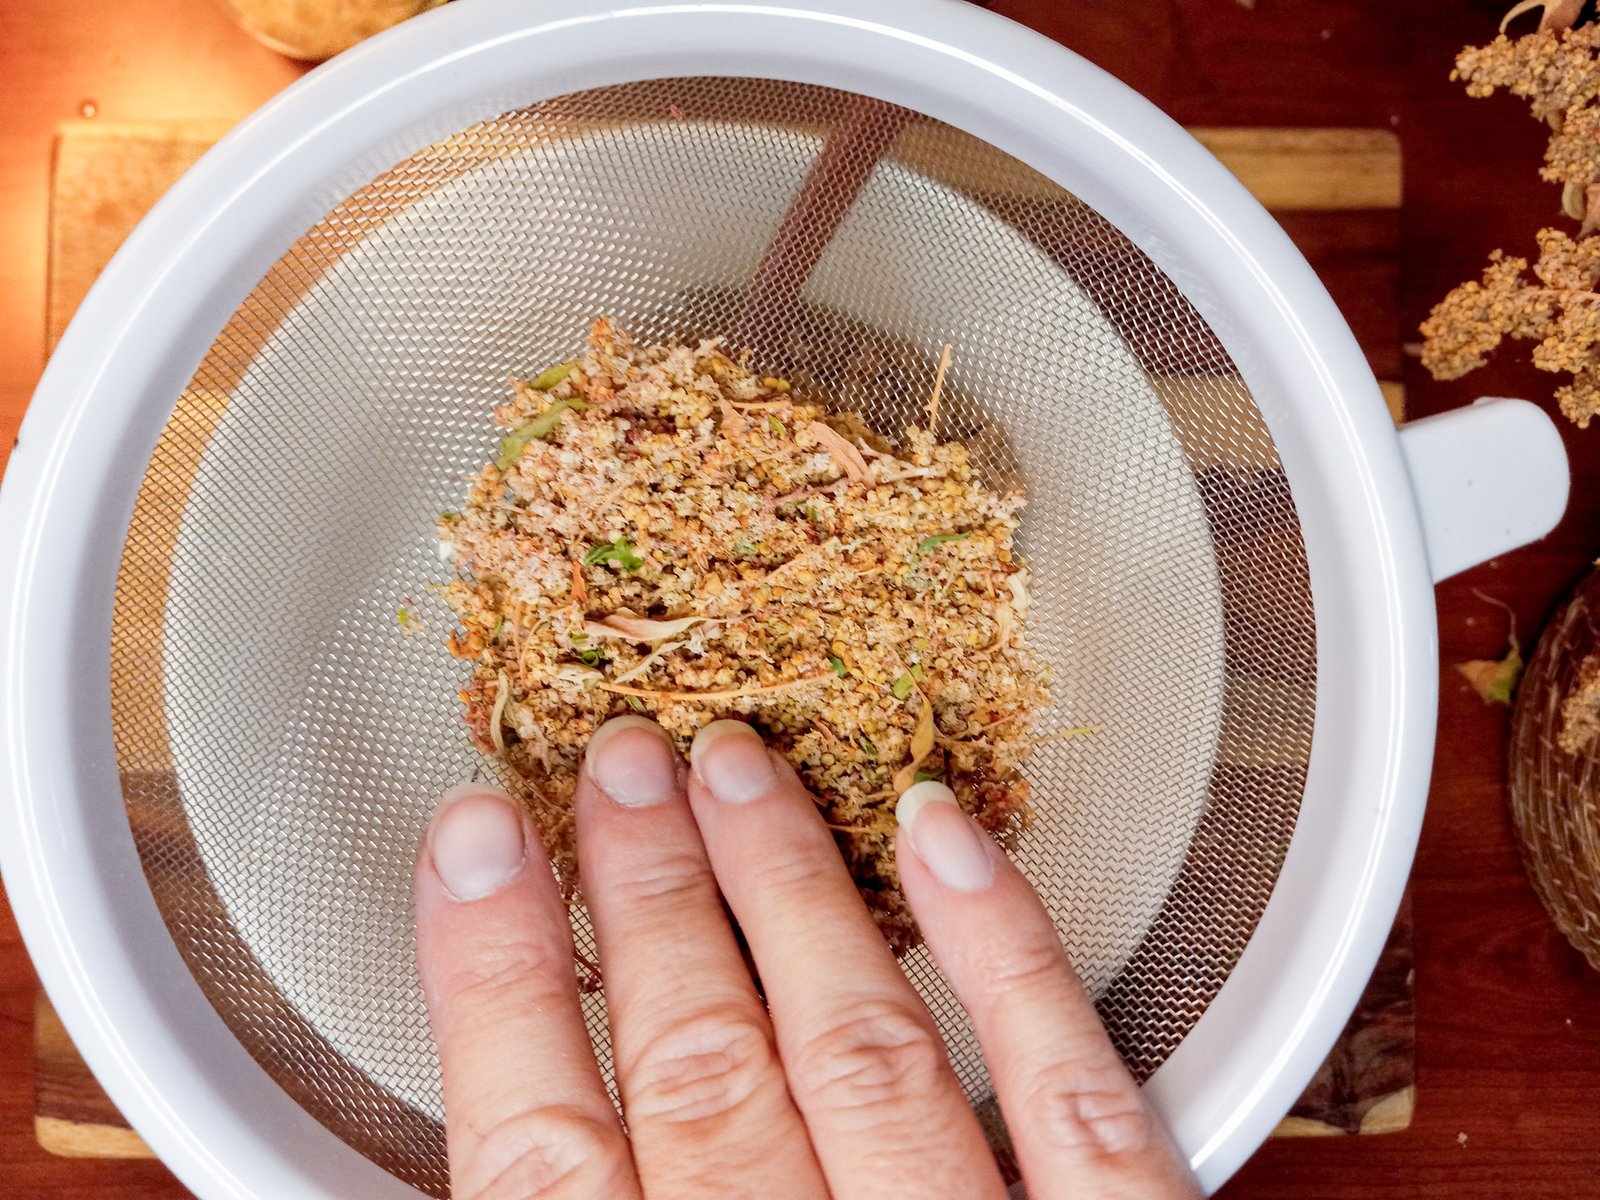
Sift
press your hand and rub the seeds to break down the plant debris and cause it to sift through the strainer.

Gather Seeds
Continue to stir and strain until you have only clean quinoa seeds in your strainer.
Long Term Storage
The final step to preserving your quinoa harvest is to prepare it for long term storage. Cooked grains should never be canned, but you can vacuum seal your harvest to preserve freshness.
I like to vacuum seal jars rather than use plastic bags, but either method will work. For this batch, I’m using 4 oz jars for my harvest because they hold just enough for me to make a meal for my family of four. These jars are also known as jelly jars, quarter pint, or even gift jars.
I also use an electric jar sealer for dry goods that I want to preserve. For quinoa, you just need to fill the jars almost full, add the canning jar lid (not the band) and seal them for 40 seconds with the sealer. And just like that, you’ve got your quinoa harvest preserved and ready to use throughout the year. No more trips to the store at the last minute as you
