Home Harvesting
Now that you’ve grown your fruits and vegetables, they’re ready to be harvested. Harvesting is one of my favorite things to do. It’s amazing how much food a single plant can produce. I can’t help but dream of all the ways I can use the food I’m harvesting. From canning to dehydrating and eating them fresh, the options are exciting. But before you can do anything with the food, you need to harvest it.
There are lots of tools available to make harvesting easier as well as techniques that will help keep your harvest fresh for longer. Since you likely won’t be spraying your harvest with any preservatives or chemicals to stop the aging process, keeping your fruits and vegetables fresh will be very important.
So let’s talk about the tools and techniques that will make your abundant harvest easier to gather and better able to be preserved for long term storage.
Helpful Tools For Home Harvesting
Foraging Bag
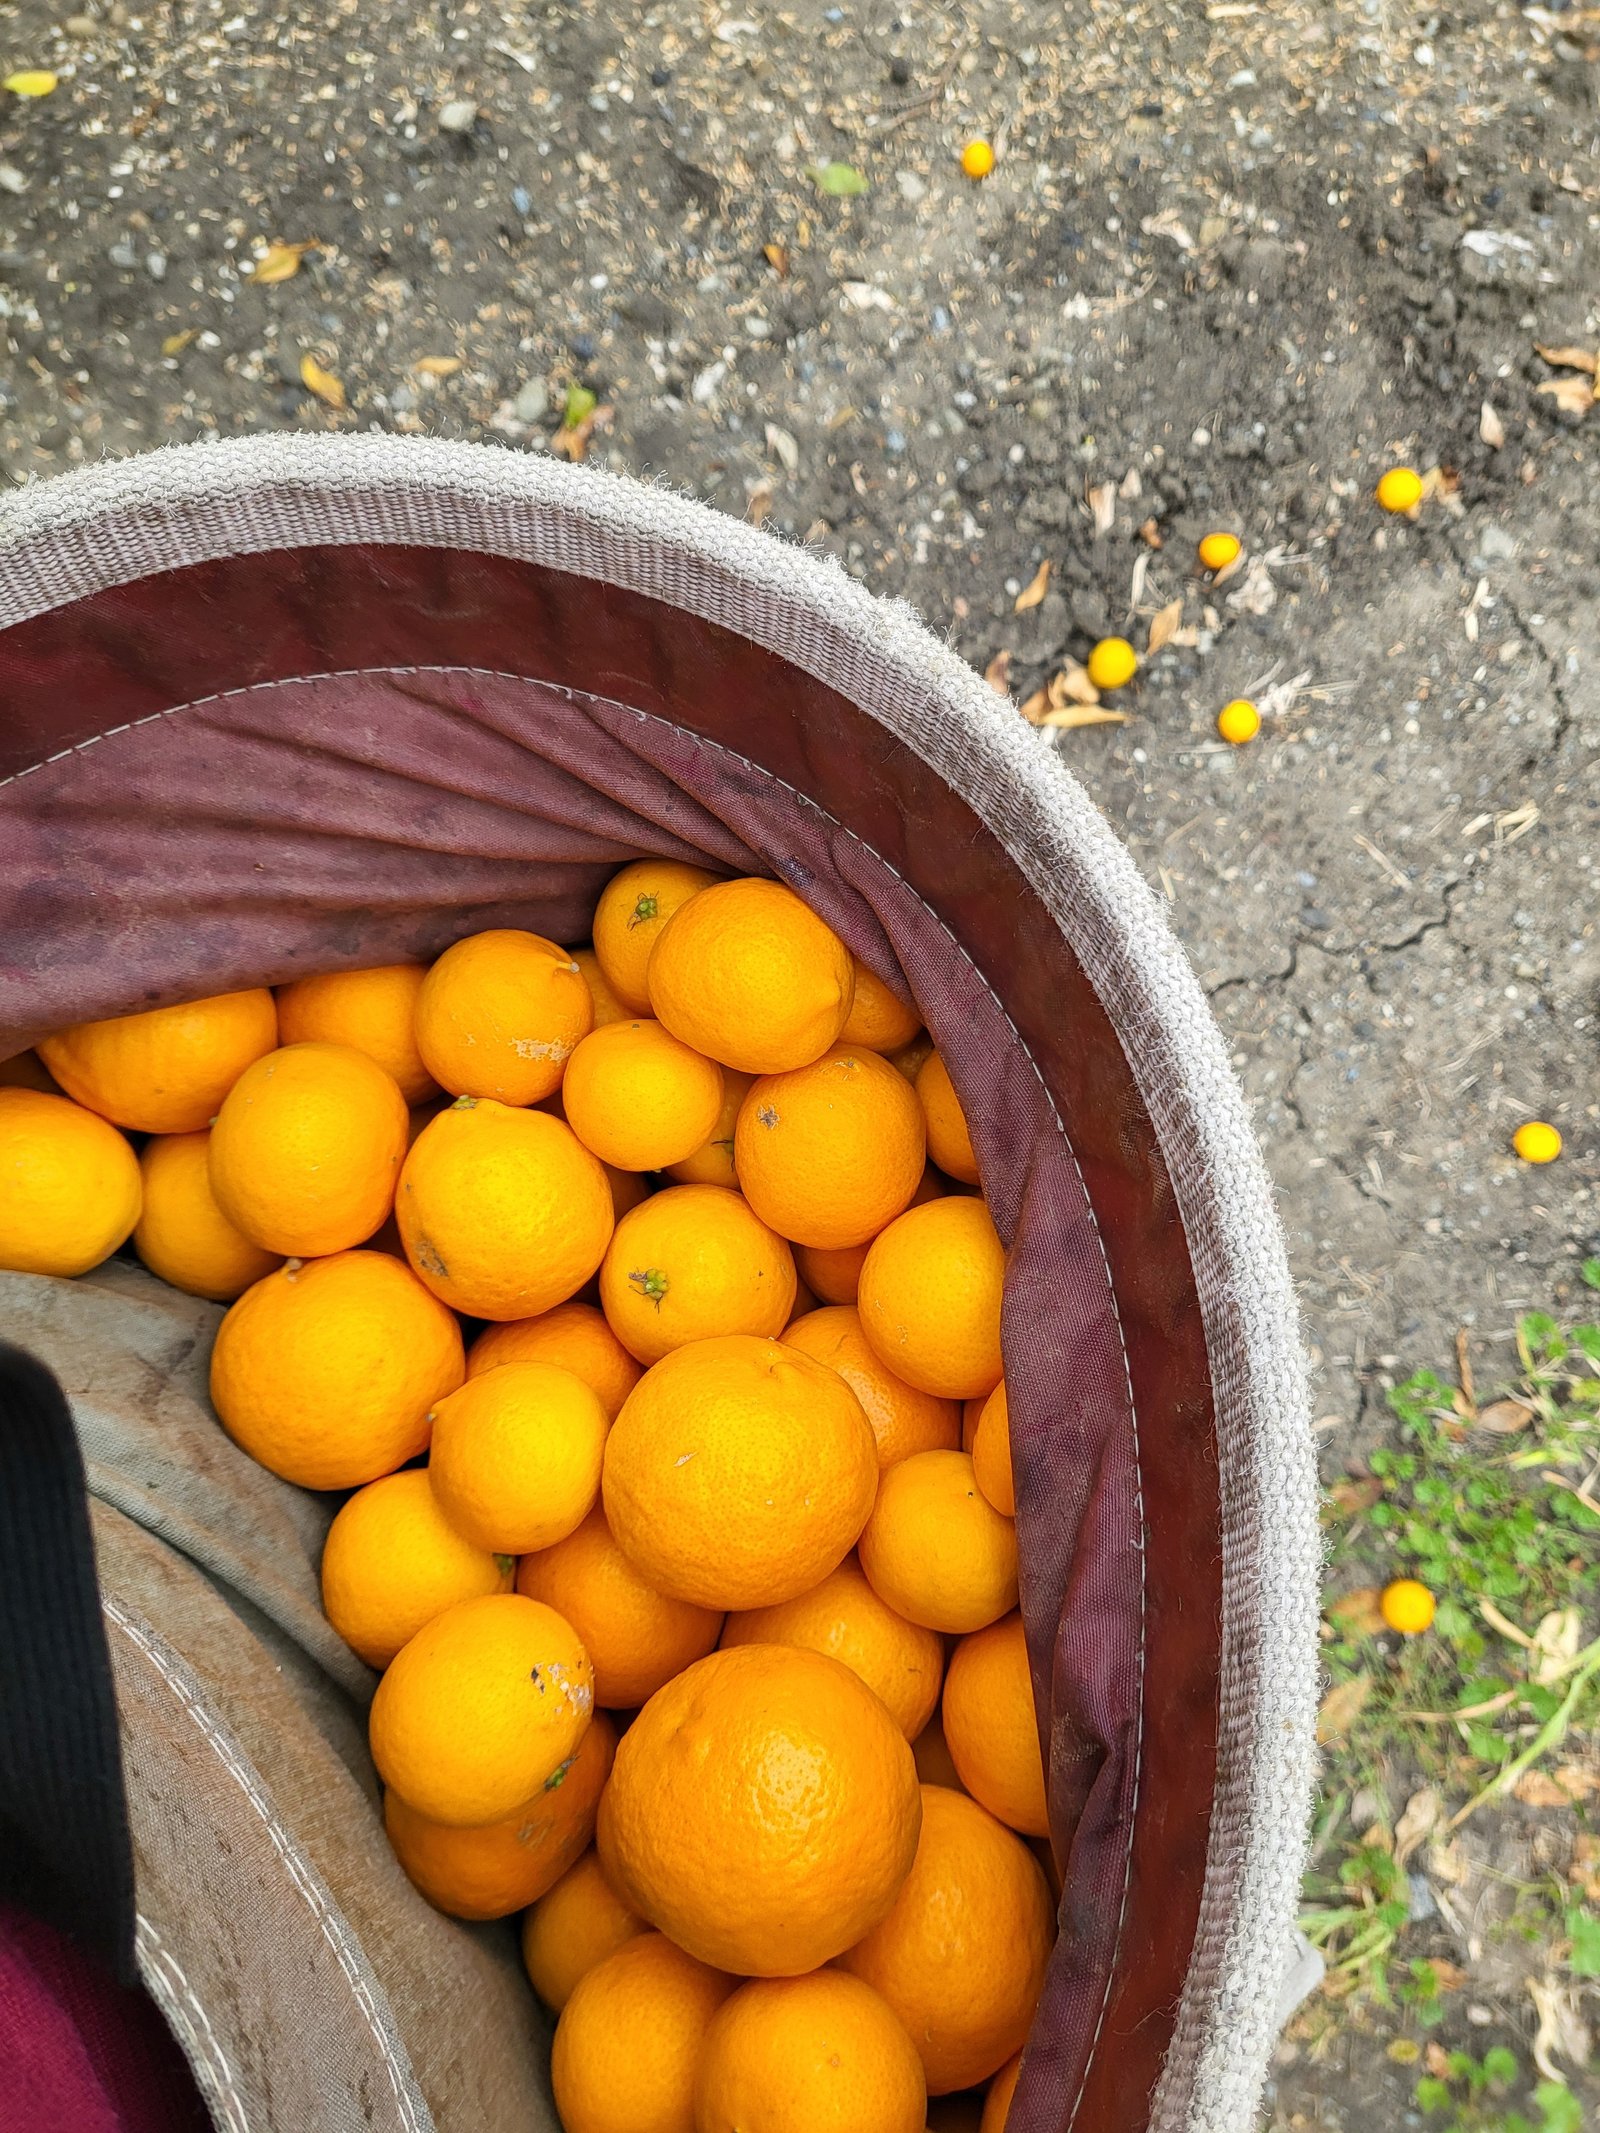
A foraging bag, or harvest bag, is at the top of my helpful home harvesting tools list. These bags are designed so that you simply unclip the sides and the fruit falls right out the bottom. You never have to remove the bag or tip it over. Then, you simply clip it again and go back to picking your harvest! They are simply genius.
You can find them on Amazon or you can make your own.
Clippers
Clippers will help you cleanly remove the fruit or vegetables. Depending on the fruit, you might need to make sure there is no stem to puncture holes in the rest of the fruit. Some will open up when pulled from the plant, so you’ll want to use clippers to keep the fruit or vegetables fresh.
Other times, the stem will simply be too thick to harvest without clippers. Squash is a great example of this. I like these ones on Amazon. They’re inexpensive, but they get the job done.
Gloves
A good pair of gloves is essential in the garden, especially when using clippers or harvesting from prickly plants. Pomegranates, blackberries and stinging nettle should definitely be harvested with gloves on.
Ladders
Ladders and step stools will help you harvest from the taller plants. I like to use step stools more because I’m terrified of heights, but if you’re comfortable on a ladder, feel free to use them. Old school harvest ladders will fit much easier, but must be leaned against a sturdy branch as they only have one side.
Baskets
Baskets and buckets are handy for transporting your harvest. Once you gather your fruits and vegetables, you’ll need to take them to your kitchen or root cellar or whatever else you have for food storage. Baskets are perfect for this job.
I like to make my own pine needle baskets, but I also have some large harvest baskets that I found at a rummage sale. You need to have a variety of sizes. Raspberries will need a small basket, while oranges and apples will need something very large. Just be sure you can lift it when it’s full.
Fruit Pickers
Fruit pickers are little baskets that you can put on the end of a pole to collect fruit. They are great for harvesting apples while keeping your feet on the ground. The baskets will only hold a handful of fruit, so you need to empty them frequently, but they allow you to move around the tree very quickly.
Home Harvesting Techniques
No matter what you’re harvesting, you need to make sure you aren’t damaging the plant or the food you’re getting from it. Some plants will keep producing after you harvest and others won’t, but you should do your best to care for each type.
Fruit trees will produce year after year, so you don’t want to damage the branches. Some fruit will come off easily like apples, pears and nectarines. With those, you just gently tug at the fruit and it comes right off with the stem attached. Citrus is a little different. While you can pull citrus off like other fruits, you might want to use clippers instead. Sometimes, some of the peel can stay behind, which leaves an opening in the fruit. By the time you’re ready to eat your orange, it may be completely rotten if some of the peel was left on the tree. It’s best to use clippers and clip the stem very close to the fruit.
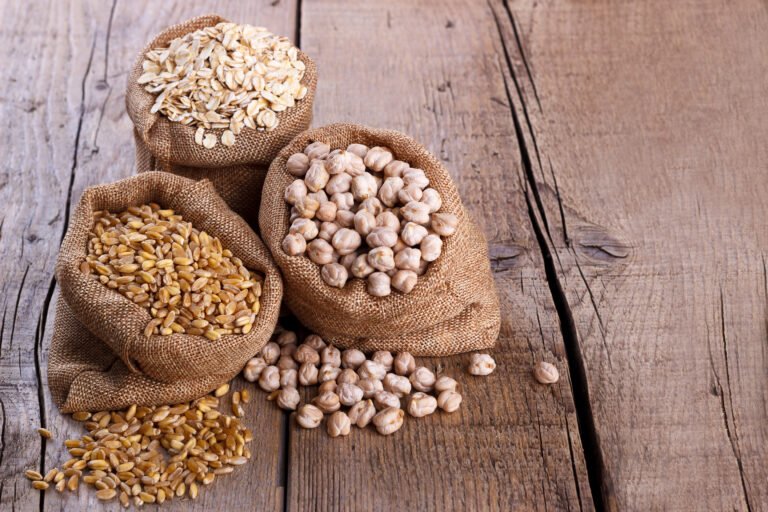
Beans can be snapped off the plant by hand, but you need to cut the stem of squash. Garlic and onions will need to be loosened before pulling and potatoes will need to be dug out. Radishes pull out easily. Some grains will need to be bagged to harvest, like quinoa. Oats, however, will be cut and bundled to harvest.
Before harvesting your crops, research some different options and see what has worked well for other people. What works for one person might not be the best method for you and having options will make the job much easier. Over time, you’ll learn what works best for you in your garden. In the meantime, have fun experimenting and trying different methods.
Time Requirements
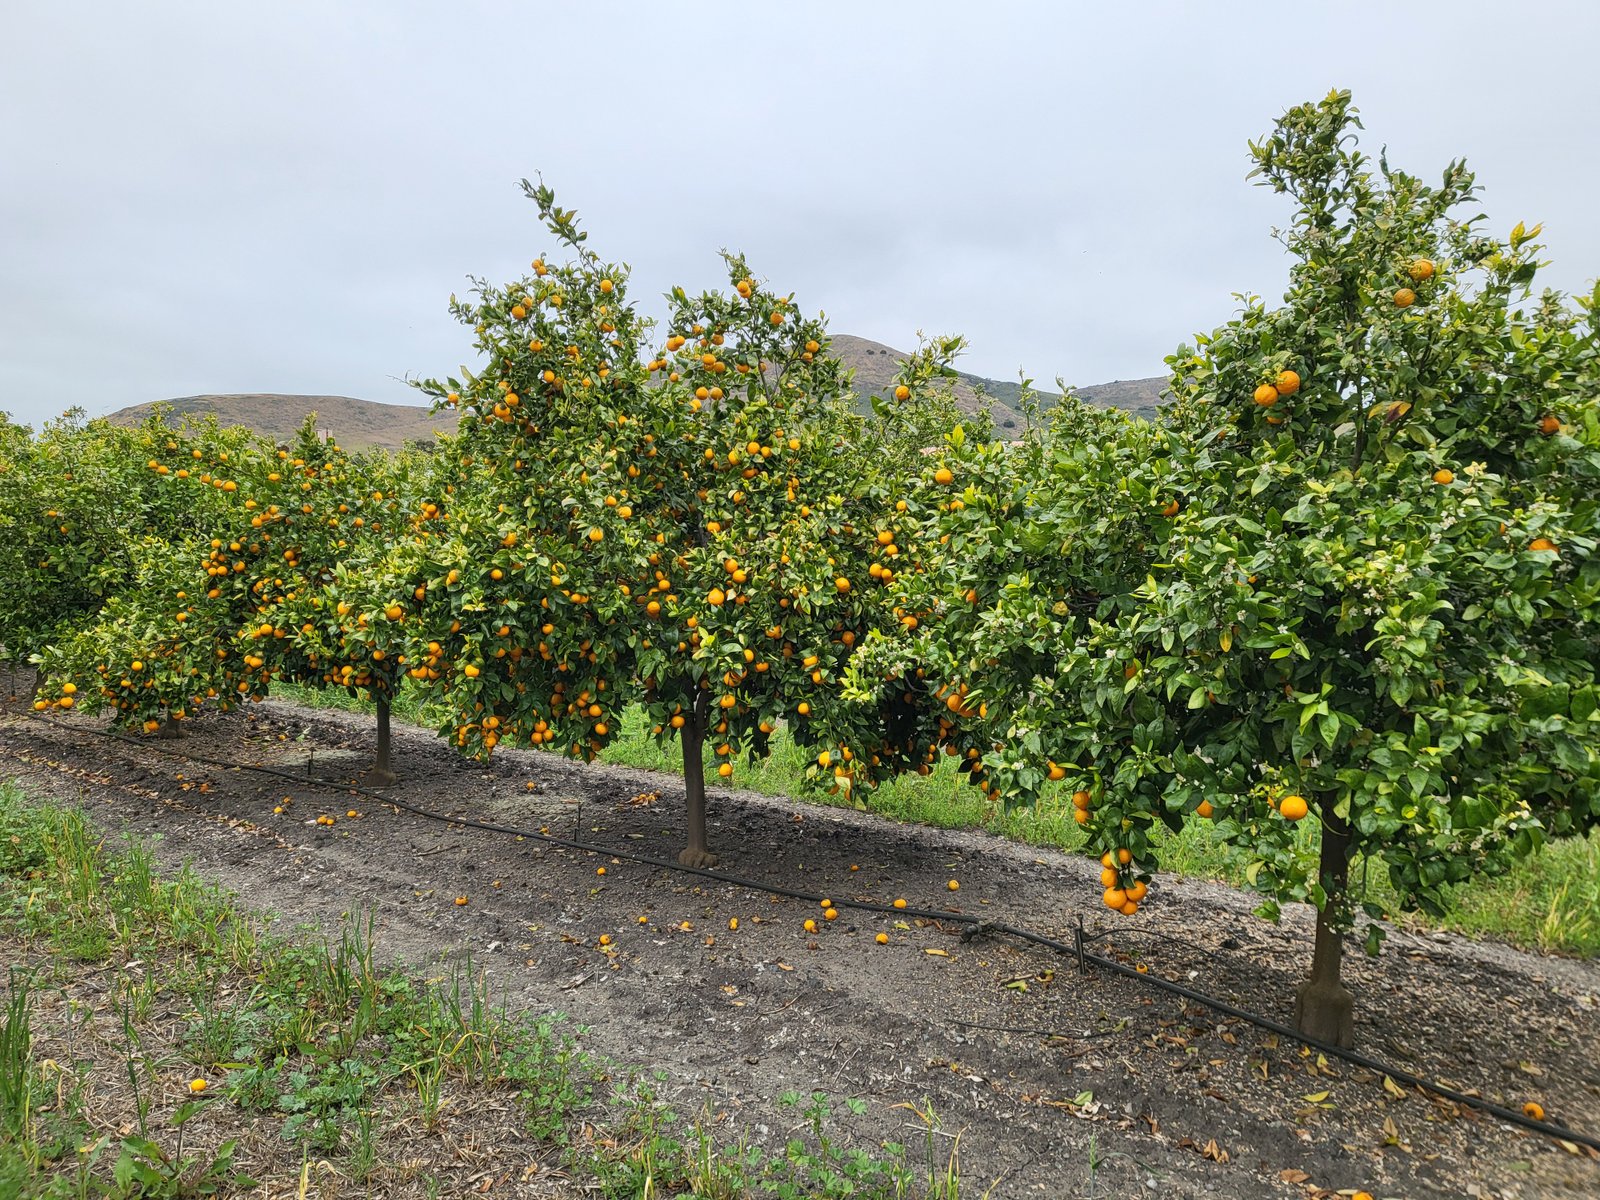
Unlike commercial operations, you can take your time harvesting your crops. Not every piece of fruit will be ready at the same time, so typically you’ll be able to harvest from the same plant multiple times.
Commercial farming harvests a plant one time and that’s it. If the fruit is not ready, it is discarded. If the fruit is over-ripe, it is also thrown away. They usually harvest early and spray ripening hormones on the fruit to ripen it after it’s been picked. This results in fewer nutrients and less flavor.
Your home garden can be much more efficient than that. Harvesting small amounts daily is what I like to do. It gives you a sense of accomplishment every single day and it’s extremely rewarding.
If you don’t have time to harvest daily, your plants will hold onto it all for you. No need to stress. It’s better to leave the fruit or vegetables on the plant than to pick it and let it rot on your counter.
Storing your Home harvest
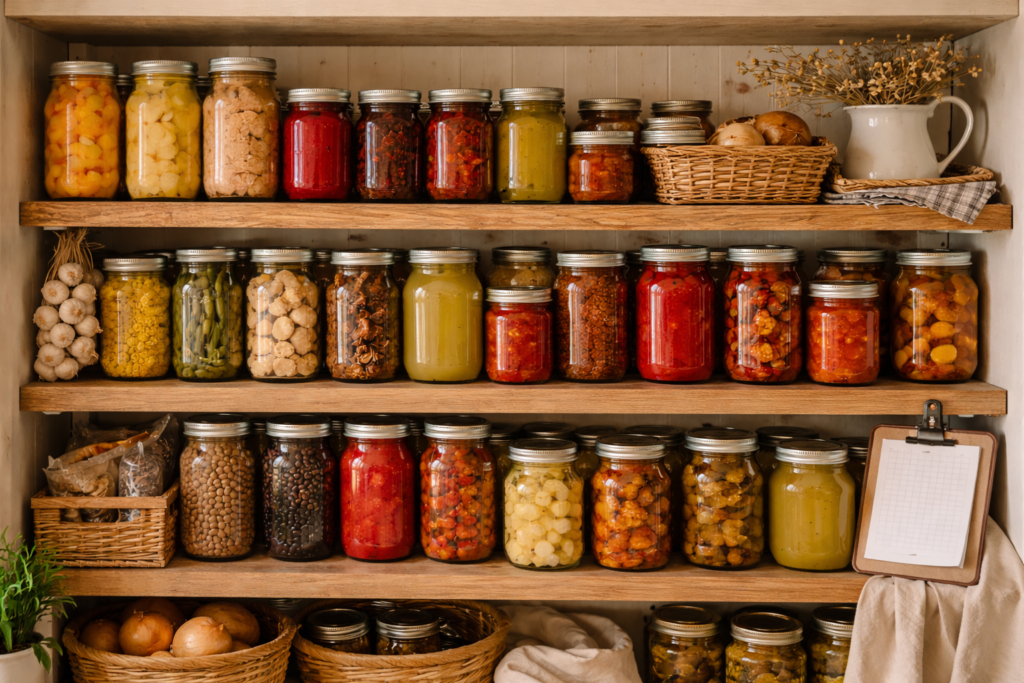
Until you can process your harvest, store it in a cool place, away from direct sunlight. Heat and sun will cause your harvest to go bad very quickly. Berries should be stored in the refrigerator, but most items can be stored in a pantry or just on your kitchen counter.
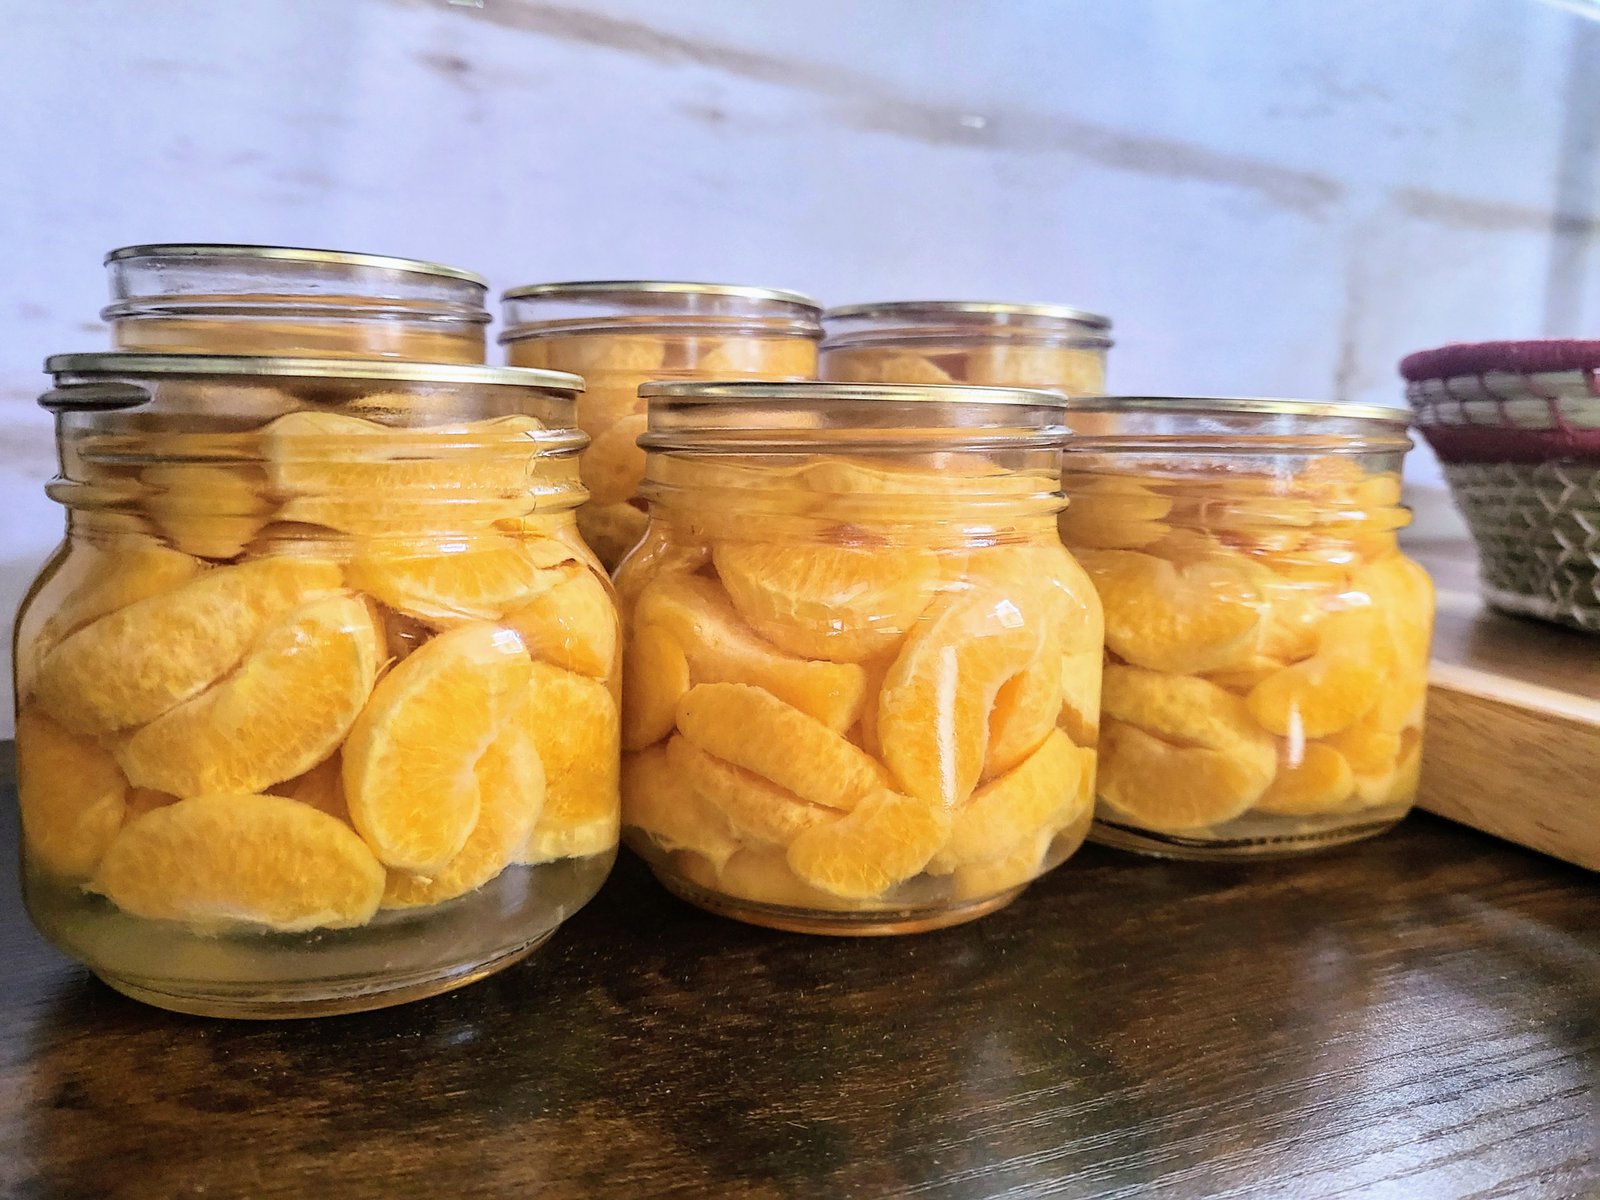
When you’re ready to process your harvest, it will all be there waiting to be jarred, dehydrated, used in recipes, or eaten fresh.

