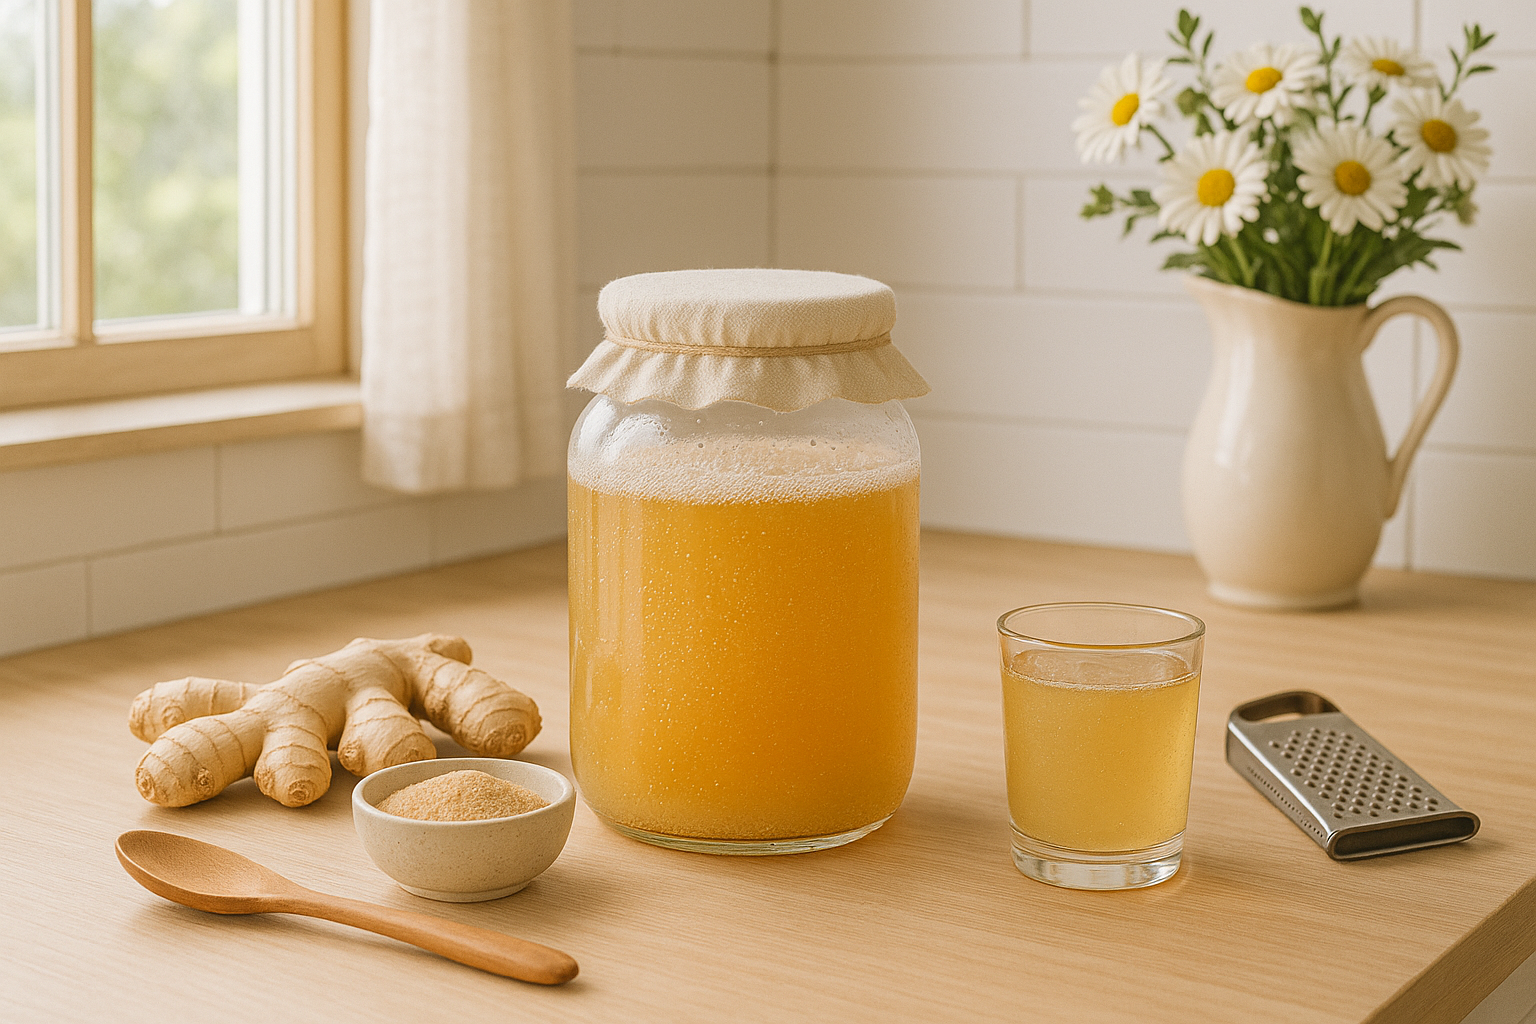
What is a Ginger Bug?
To put it simply, a ginger bug is used as a base for all-natural soda. It’s just water, sugar and chopped ginger that is left to ferment, creating natural carbonation. I’m sure you’ve heard of Ginger Ale. This is where that soda originally came from. While Ginger Ale has evolved and is now commercially produced just like every other soda, making it at home will create a probiotic-rich drink that’s actually good for you.
If you’ve ever done a sourdough starter, it’s just like that, only with a fizzy drink rather than a bubbly dough. Fermented food and drinks have this amazing reputation for being really good for us too! Ginger bugs contain very little sugar (the ginger eats the sugar to produce the carbonation), tons of probiotics and they support a healthy digestive system. Plus, they taste even better than store-bought sodas!

What You’ll Need To Get Started
Ingredients
Fresh, organic ginger (make sure it’s organic, or it won’t work), sugar, water (non-chlorinated).
Tools
A glass jar & a breathable cover like cheesecloth or a coffee filter with a rubber band.
Optional, but helpful
A kitchen scale, a grater and a warm place to ferment.
Step-by-step: How to make your Ginger Bug
Day 1
Make sure your water is non-chlorinated. If you aren’t sure, let it sit out on the counter overnight for the chlorine to evaporate.
Add 1 tsp ground ginger and 1 tsp sugar.
Stir and cover. Leave for 24 hours.
Day 2-5
Stir and cover. Leave for 24 hours.
By day 2-3, you should start seeing a few bubbles. If not, don’t worry. Sometimes, it can take a day or two longer.
If you don’t see any bubbles (carbonation) by day 5, start again.
Day 6+ (Maintaining Your Ginger Bug)
Alternatively, you can put your ginger bug in the fridge and feed it once a week instead.
When you’re ready to use it, feed it the day before and leave it on the counter. It will reactivate quickly.
Troubleshooting
What if it’s not bubbling?
If your ginger bug is still not bubbling after the first few days, there are some things you can check before starting all over again. Be sure your ginger bug is in a moderately warm place. The top of the refrigerator is a good spot for consistent warmth.
It could be that your water is chlorinated. Most tap water is chlorinated, so be sure to let it sit out on the counter at room temperature overnight. This will allow the chlorine to evaporate.
If you didn’t use organic ginger, your ginger bug may struggle. In the U.S., ginger is irradiated to prevent sprouting and extend shelf life. This radiation will often prevent the fermentation process, so be sure to use organic ginger in your starter.
Finally, be sure to feed your ginger bug consistently. Feed it at around the same time each day. This will help keep it strong and alive.
How to use and store your ginger bug
To use your ginger bug, you’ll typically need to strain out half a cup to a cup of the liquid. I use a mesh strainer over my measuring cup. Discard the ginger that’s in the strainer.
Once you use some of your ginger bug, add water to fill it back to what it was before you used it, then feed your ginger bug right away. The older it is, the faster it will carbonate your soda, so while it may take 2-3 days the first time, you might only have to wait overnight the fourth or fifth time you make soda.
Never use all of your ginger bug at once. Always leave some behind to maintain. Otherwise, you’re starting from scratch every time you want to make a soda and you’ll need to wait at least 5 days for it to ferment.

What About Alcohol?
If you’re new to fermented drinks, you might be wondering—does this create alcohol?
The answer is yes, but very little. When you make naturally fermented sodas with a ginger bug, the fermentation process does create trace amounts of alcohol. This happens because the natural yeasts consume the sugar and convert it into carbonation (carbon dioxide) and a small amount of alcohol.
For short fermentations (1–3 days in a sealed bottle after adding the bug), the alcohol content typically stays well under 1%—similar to what you might find in overripe fruit or even some store-bought kombucha.
However, the longer your drink sits fermenting, especially in warm conditions, the more sugar is converted—so alcohol content can rise. If you leave it for many days in a sealed container, it might climb up to 2–3%, depending on the recipe and conditions.
To keep things family-friendly:
Use bottles that can handle pressure (like swing-top bottles made for brewing).
Refrigerate your drinks after 1–3 days of bubbling in the bottle to slow fermentation and keep alcohol levels low.
Open cautiously—natural carbonation can build quickly!
For most home brewers, ginger bug sodas are considered non-alcoholic, especially when consumed fresh. But it’s good to understand what’s going on so you can feel confident serving it to your family or friends.
Conclusion
Making a ginger bug is one of those beautiful, simple kitchen traditions that connects us to the past while bringing something delightfully fizzy into the present. It doesn’t require fancy tools or complicated steps—just a little time, attention, and a few humble ingredients.
Whether you’re dreaming of homemade ginger ale, experimenting with berry sodas, or just excited to add a touch of probiotic goodness to your family’s routine, your ginger bug is the perfect place to start. Watch it bubble to life on your countertop, and before long, you’ll be sipping your own handcrafted, naturally fermented sodas.
So go ahead—grate that ginger, feed it a little sugar, and enjoy the process. It’s old-fashioned, a little bit magical, and entirely worth it.
To learn more about the art and science of fermentation, I recommend checking out Sandor Katz’s work here.