How To Make Your Own Beeswax Wraps
I still remember the first time I used a beeswax wrap instead of plastic wrap. I folded it over a bowl of rising bread dough, smoothed it into place with warm hands, and thought…why didn’t I start doing this years ago? It smelled faintly of honey and looked downright charming. Ever since that day, I’ve never gone back to cling wrap, and I don’t think you will either. Beeswax wraps are a staple in my kitchen.
In this post, I’ll walk you through the why and how of making beeswax wraps at home. And if DIY isn’t your thing? No worries. I’ve got you covered with lovingly handcrafted wraps you can buy directly from the homestead. Let’s dive in!
*If you purchase an item through a link provided on this site, I may earn a small commission.
Why Switch To Reusable Beeswax Wraps
We’ve all seen the news: plastic is everywhere. It clogs our oceans, sneaks into our food system, and takes hundreds of years to break down. Every time we use plastic wrap, we’re tossing another single-use item into a trash can that leads to… well, who knows where.
Beeswax wraps offer a beautiful alternative. They’re reusable, washable, compostable, and made from natural materials. Wrap up sandwiches, veggies, cheese, or leftovers. Cover bowls or fold them into snack pouches. Not only are they functional, they’re also just plain pretty.
Why Make Them Yourself
You might be thinking: can’t I just buy these? (You can, and we’ll talk about that in a minute.)
But there’s something satisfying about making things with your own hands. When you craft your own wraps, you get to pick the fabric (hello, gingham and florals!), melt your beeswax blend just right, and know exactly what’s touching your food. It’s a simple, satisfying project you can do in a single afternoon.
Plus, if you’re like me, it just feels good to do something that brings you closer to the slower, more sustainable way of living we’re all aiming for.
What You Need: Skills & Supplies
Skill level: Beginner-friendly! If you can use an iron or melt wax safely, you can make beeswax wraps.
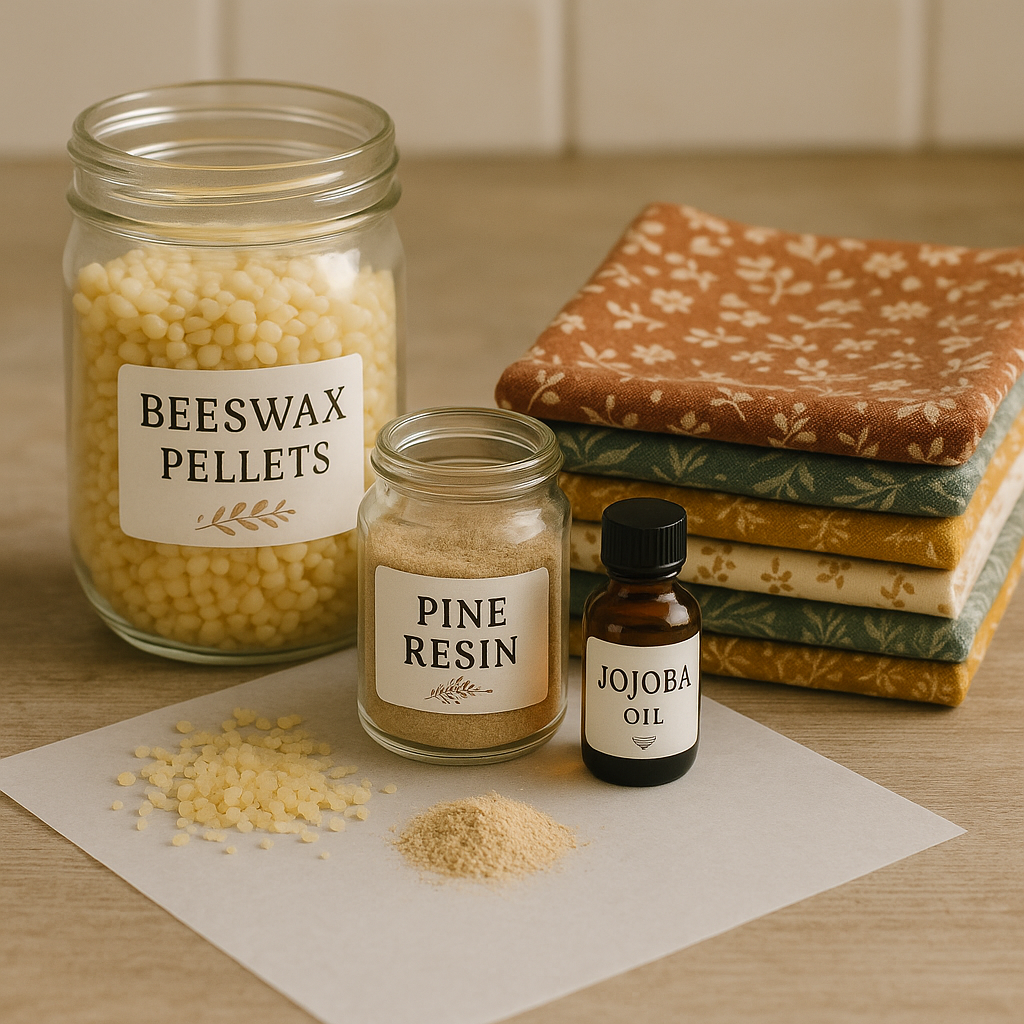
Supplies:
100% cotton fabric (pre-washed and cut to size; fat quarters work great)
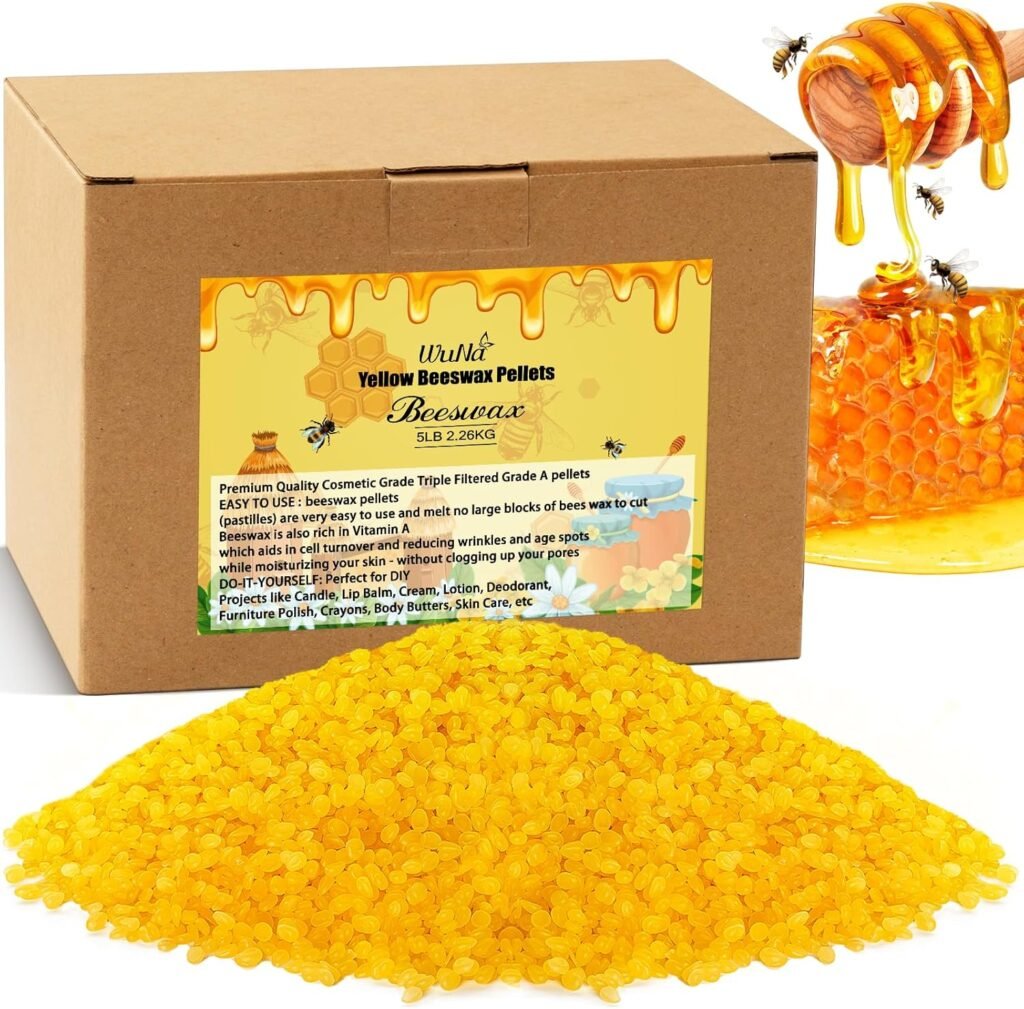
Beeswax pellets (yellow or white, filtered for food use)
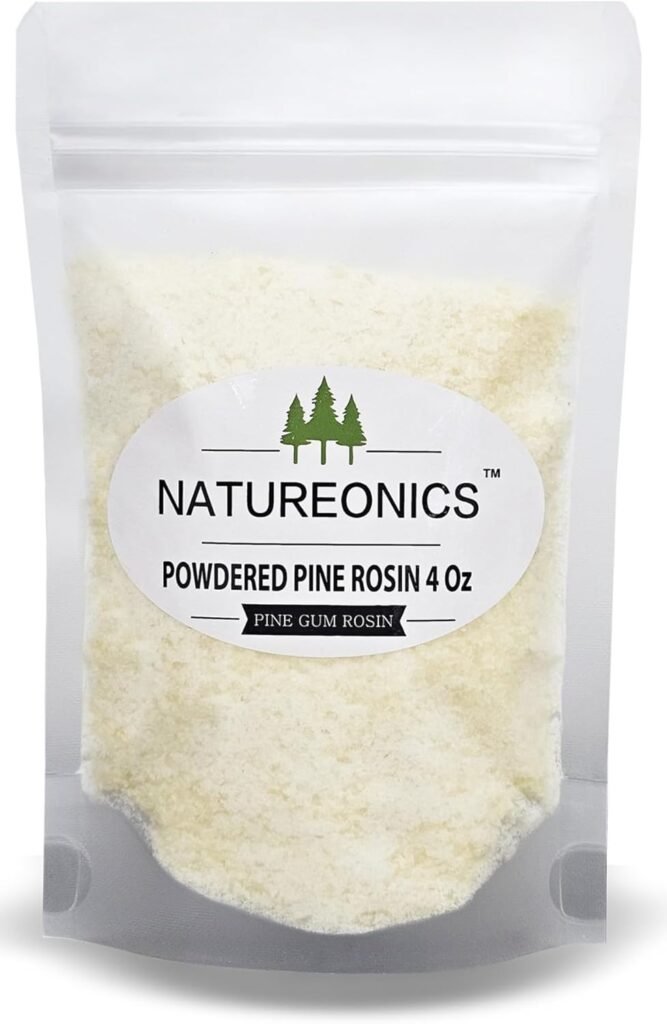
Pine resin (helps the wraps stick better, optional but recommended)
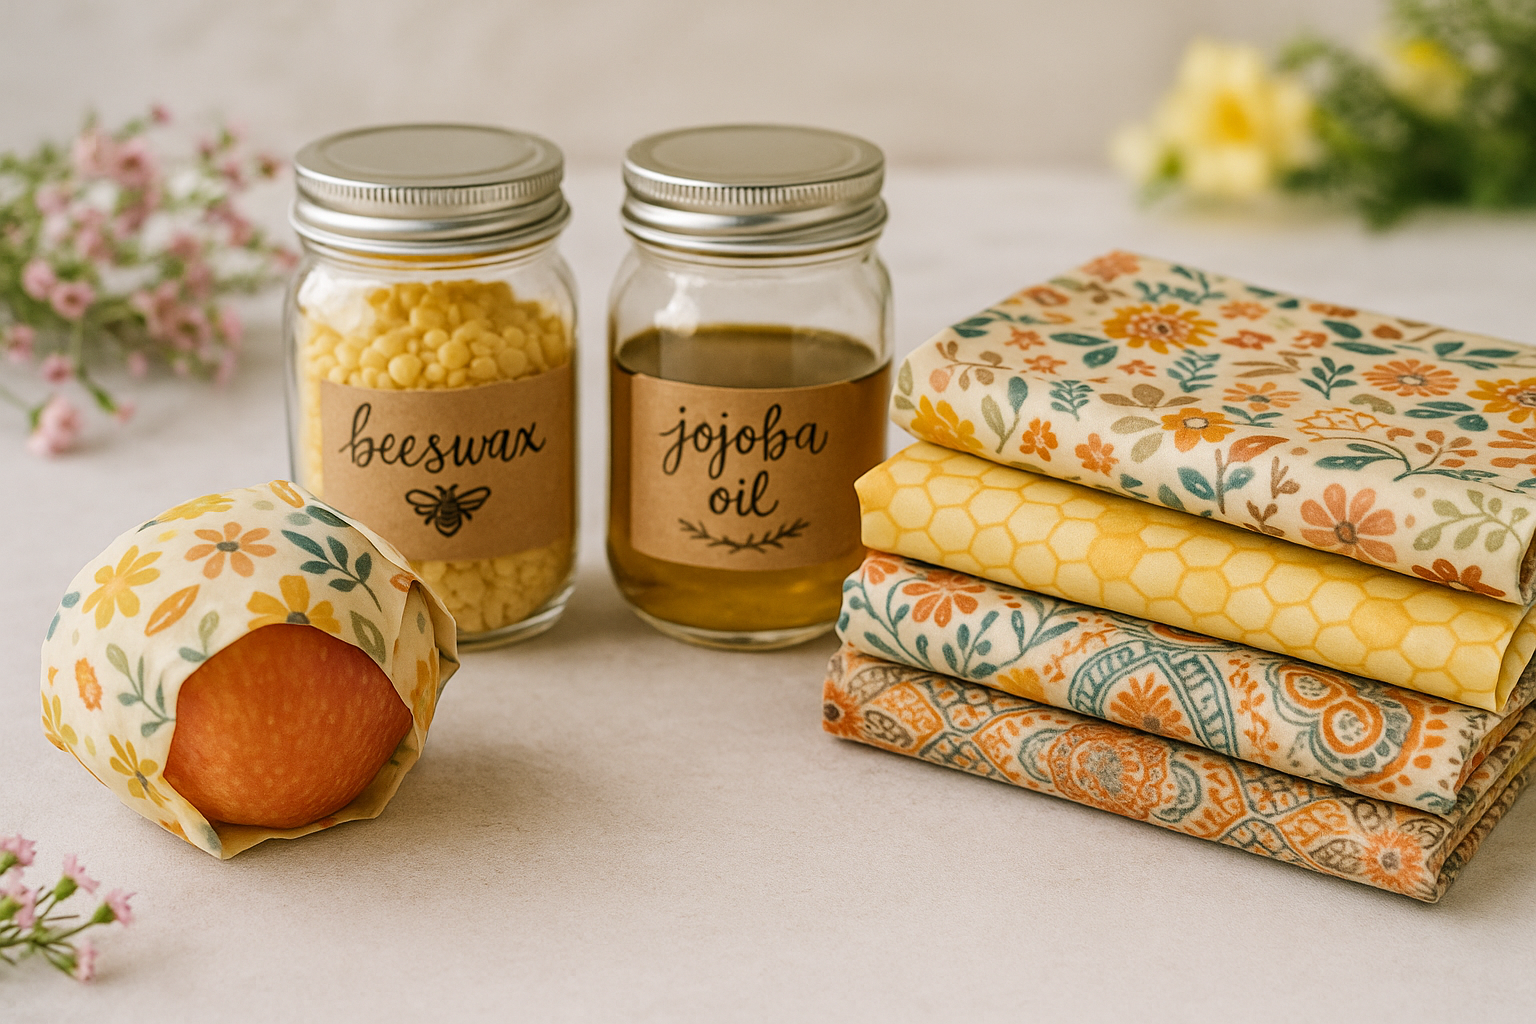
Jojoba oil or coconut oil (adds pliability)
Old baking sheet or parchment paper
An iron or oven
A dedicated paintbrush (if using the oven method)
Don’t worry if you don’t have pine resin or jojoba oil on hand—some people make wraps with just beeswax. They still work, just not quite as sticky.
Where To Get Your Supplies
You can find most ingredients online (Mountain Rose Herbs, Amazon, or Etsy are good sources). Local beekeepers often sell beeswax in blocks or pellets—always ask if it’s food-grade. For fabric, you can use old cotton sheets, quilting scraps, or browse your local craft store for new patterns that match your kitchen vibe.
If you’re trying to go plastic-free, look for vendors who ship in paper-based or recyclable packaging.
WHere To Get your supplies
You can find most ingredients online (Mountain Rose Herbs, Amazon, or Etsy are good sources). Local beekeepers often sell beeswax in blocks or pellets—always ask if it’s food-grade. For fabric, you can use old cotton sheets, quilting scraps, or browse your local craft store for new patterns that match your kitchen vibe.
If you’re trying to go plastic-free, look for vendors who ship in paper-based or recyclable packaging.
How To store and Use Beeswax Wraps
Beeswax wraps love room temperature. To keep them in good shape, store them folded in a drawer or rolled up in a jar. Avoid heat—no microwave, dishwasher, or hot water! Just wash them gently in cool water with mild soap, air dry, and reuse.
How to use them:
– Press a wrap around a bowl with the warmth of your hands
– Fold it around half a lemon, a block of cheese, or that last slice of sourdough
– Make little snack envelopes for on-the-go nibbles
With a little care, each wrap lasts 6–12 months or more. When they wear out, refresh them in the oven, compost them or cut them into fire starters.
How To Make Beeswx Wraps, Step-by-step
If you’re ready to dive in and make your own beeswax wraps, I’ve got you covered. Fair warning… it gets a little melty, a little sticky, and your kitchen may smell like honey and pine trees for a day. But hey, worse things have happened.
There are two main methods: the oven method and the iron method. I’ll walk you through both, but the iron method tends to be a little tidier (and more family-friendly if you’ve got little ones underfoot).
Before You Begin
Prepping your fabric:
Use 100% cotton (quilter’s cotton or old sheets work best).
Wash and dry it to remove any residue or sizing.
Cut into desired sizes—popular choices are:
8×8″ for snack-sized wraps
10×10″ for sandwich wraps
13×13″ for bowl covers
Use pinking shears to prevent fraying, or regular scissors if you plan to finish the edges.
Set up your workspace:
You’ll want to protect your countertops and prepare for potential drips. Beeswax is not fun to scrub off hard surfaces, so line your area with parchment paper or kraft paper you can toss after.
The Iron Method
You’ll need:
-Cotton fabric squares
-Beeswax pellets (2–3 Tbsp per wrap)
-Pine resin (about 1–2 tsp per wrap)
-Jojoba or coconut oil (½ tsp per wrap)
-Old towel or ironing board
-Two sheets of parchment paper
-Clothes iron (no steam)
-Cheese grater (if you have a beeswax block)
1. Lay down protection.
Place an old towel on your ironing board or countertop. On top of that, lay a sheet of parchment paper.
2. Place the fabric.
Set your cotton fabric square on the parchment. Sprinkle beeswax evenly across the fabric. Add bits of pine resin and a few drops of oil.
3. Cover it.
Place the second sheet of parchment on top to create a wax-and-fabric sandwich.
4. Iron carefully.
Set your iron to cotton (no steam) and slowly press it over the parchment. Move in circular motions to melt and spread the wax mixture. You’ll see it liquify and soak through the fabric.
5. Spread evenly.
If there are dry spots, lift the parchment and sprinkle a little more wax. Re-iron until the entire fabric is saturated. Use a brush to help spread, if needed.
6. Lift and dry.
Once it looks fully coated, carefully lift the wrap by the corners (it’ll be hot!) and wave it around for 30–60 seconds until dry.
7. Cool and cure.
Lay the wrap flat to finish cooling. You’re done!
Oven Method (Beeswax Wraps)
You’ll need:
Same ingredients as above, plus a baking sheet (one you don’t mind dedicating to beeswax projects forever) and parchment paper.
Step-by-Step:
Preheat your oven.
Set it to 200°F (93°C).
Line your tray.
Cover a baking sheet with parchment paper and lay a fabric square on top.
Add your ingredients.
Sprinkle beeswax pellets, pine resin, and a bit of oil evenly over the fabric.
Melt it down.
Place the tray in the oven for 5–8 minutes. Watch closely—the wax melts quickly.
Brush and spread.
Remove the tray and use a paintbrush (dedicated to wax only!) to spread the melted mixture evenly across the fabric. Be sure to get the edges and corners.
Dry and cool.
Carefully lift the fabric off the tray with tongs or fingers and wave it gently until it stiffens and cools. You’ll know it’s done when it’s dry to the touch.
Repeat with remaining pieces.
Add new fabric to the same parchment and repeat the process.
Not into DIY? I’ve Got You Covered
Now, if you’re here thinking, This all sounds great, but I’ve got zero time and even less desire to melt wax in my kitchen. I totally get it.
That’s exactly why I offer handmade beeswax wraps right here on the homestead. I use high-quality beeswax, pine resin, and jojoba oil, all melted into thoughtfully chosen cotton prints. Each wrap is crafted with care. No factory lines, just one mama in an apron and a kitchen full of good intentions.
These wraps make perfect gifts too! Pair them with a loaf of homemade bread, a block of local cheese, or a jar of jam for a hostess gift that’s useful and beautiful.
You can browse the shop and order a set that’s already made and ready to ship. That way, you can skip the DIY and still enjoy all the benefits of this eco-friendly kitchen upgrade.
A Small Switch That Makes A Big Difference
Making the switch from plastic to beeswax wraps is a small act, but it’s one that ripples out. It changes the way you think about waste, the way you pack your lunch, the way you care for what’s in your fridge. It’s one of those little changes that adds up to something pretty big.
So whether you’re melting wax yourself or ordering a handmade set from my kitchen to yours, I hope these wraps bring a little more beauty and intention to your daily rhythm.
10 Ways To Use Beeswax Wraps
If you’re new to beeswax wraps, it’s easy to assume they’re just for covering bowls. But these little wonders are surprisingly versatile—and once you start using them, you’ll find yourself reaching for them again and again. Here are ten clever ways to put your wraps to work:
1. Cover Bowls, Jars, and Plates
The classic use! Whether it’s dough rising in a bowl or leftovers on a dinner plate, press your wrap around the edges and seal it with the warmth of your hands.
2. Wrap Cut Produce
Cover half an avocado, a sliced apple, or a wedge of lemon. Beeswax wraps help slow down browning without plastic bags or wrap.
3. Make Snack Pouches
Fold a square wrap into a little envelope or cone and seal with a quick press. Perfect for trail mix, crackers, or apple slices on the go.
4. Wrap Blocks of Cheese
Cheese keeps beautifully in beeswax wraps. It breathes just enough to prevent condensation but keeps it from drying out.
5. Cover Bread Loaves or Baked Goods
Keep that homemade sourdough soft on the inside and crusty on the outside by wrapping it in a large beeswax wrap. Cookies and muffins love them too.
6. Take a Sandwich to Go
Lunch just got a lot prettier. Wrap your sandwich burrito-style in a wax wrap, and it doubles as a placemat when you eat.
7. Freeze-Friendly Short-Term Wraps
Yes, you can freeze with them, just not for months at a time. Use them to pre-wrap items like chopped fruit or baked goods for a week or two.
8. Open Jars with Grip
This one’s unexpected, but handy: beeswax wraps give just enough grip to help open stubborn jars without breaking your wrist.
9. Line Fridge Drawers
Cut an older wrap to fit the bottom of your crisper drawer. It’ll help absorb moisture, reduce plastic use, and make cleanup a breeze.
10. Gift Wrap or Hostess Touch
Wrap a bar of homemade soap, a bundle of herbs, or a snack in one of your prettiest wraps and give it as part of a thoughtful, sustainable gift.
You can see now—these aren’t just kitchen tools. They’re little lifestyle upgrades. Whether you DIY your own wraps or order a handmade set from my homestead shop, you’ll quickly fall in love with how easy it is to swap out the plastic and replace it with something beautiful and reusable.
Click here to shop my handmade wraps →
Recent Posts
-
How To Bake With Fresh Milled Flour
Fresh-Milled When I first started using fresh-milled flour, I assumed it would behave similarly to store-bought flour. I was wildly…
-
10 Foods I jar to Make Dinner Easy
Easy peasy Dinner First of all, let me be clear: I don’t can food because I’m waiting for an apocalypse….
-
Apple Nachos
Apple Nachos – The Perfect Snack It started as a desperate attempt to make apple slices seem more exciting. I…