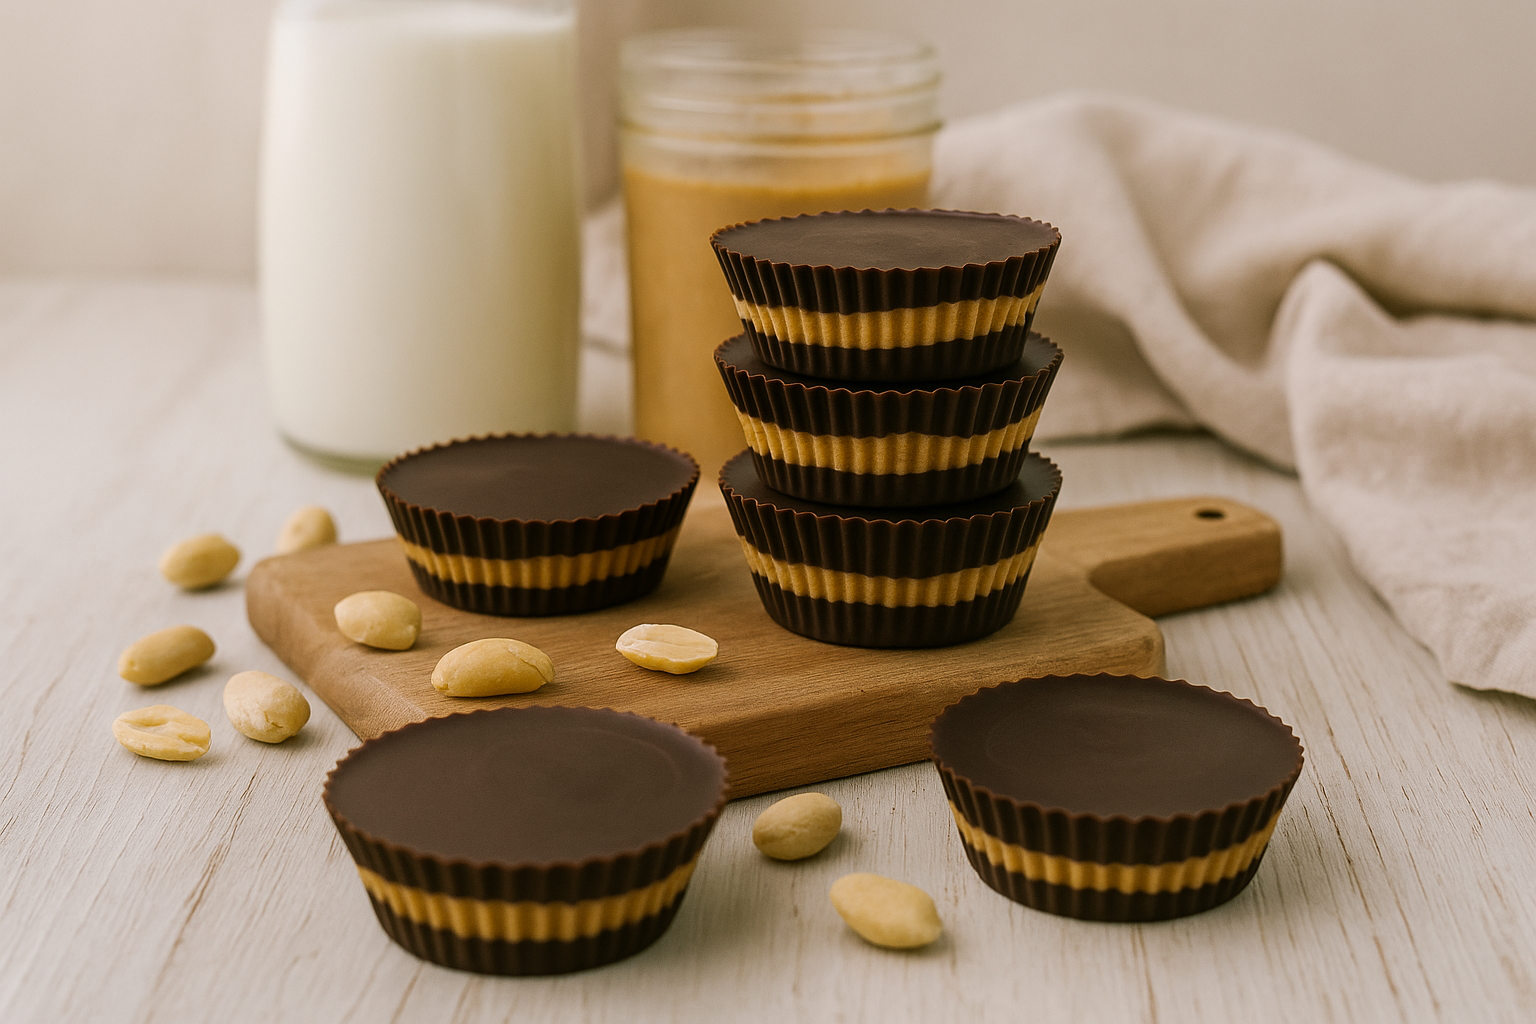
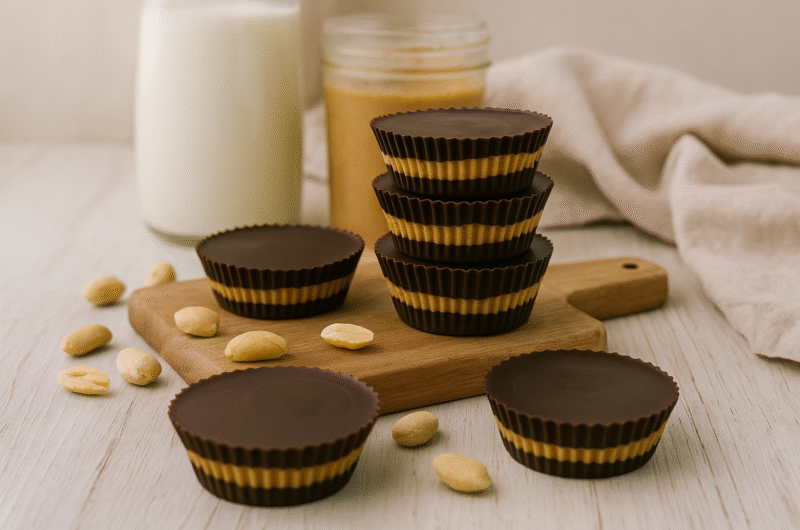
Honey-Sweetened Peanut Butter Cups
Peanut butter cups are one of those snacks that almost everyone secretly hopes will be left over after a party. Unfortunately, the store-bought ones usually come with a side of refined sugar, plastic wrappers, and a host of ingredients no grandma ever stocked in her pantry.
But what if you could make your own — with simple, real ingredients — and they tasted even better?
That’s what these honey-sweetened peanut butter cups bring to the table: all the nostalgia, none of the junk. They’re rich, chocolatey, perfectly sweet, and made with ingredients you can feel good about serving to your kids… or eating alone in the pantry. No judgment.
Why Make Peanut Butter Cups from Scratch?
Let’s just say that if Reese’s ever went homesteader, this is what they’d be selling.
Here’s why you might just ditch the store-bought versions for good:
Refined sugar-free: Sweetened with honey, not corn syrup or processed sugar
Customizable: Make them mini, jumbo, layered, swirled — you’re the boss here
Fresh-milled flour friendly: Want to add a cookie crust? No problem!
No plastic packaging: Make ‘em, store ‘em, snack without guilt
Kids love them. Adults pretend they’re for the kids.
You can use silicone muffin liners for easy cleanup and zero waste — and they store beautifully in the fridge or freezer. Just sayin’.
Let’s Talk Texture (Because It Matters)
There’s something magical about biting into a soft, creamy peanut butter center wrapped in smooth chocolate. These cups hit that sweet spot (pun very much intended) with:
A soft, slightly salted peanut butter filling that isn’t overly sweet
A chocolate shell made from real chocolate and a little coconut oil for that perfect snap
Optional layers of crushed nuts, sea salt, or even a surprise center (mini banana chip, anyone?)
Flavor Variations To Try
Once you’ve made the classic version, don’t be surprised if your brain starts dreaming up new combos. Here are a few favorites:
Honey Cinnamon Swirl
Add 1/4 teaspoon cinnamon to the peanut butter filling. It tastes like a warm hug in candy form.
Sea Salt Crunch
Top with flaky salt and add crushed roasted peanuts for texture.
Banana Bliss
Tuck a thin slice of banana into the center of each cup before sealing with chocolate.
Coconut Dream
Stir a tablespoon of shredded coconut into the filling. Toasted coconut on top is next-level.
PB&J-Inspired
Add a tiny dollop of jam (strawberry or raspberry) into the middle of the peanut butter layer. Think of it as the ultimate lunchbox rebellion.
Nut-Free Version
Use sunflower seed butter or tahini instead of peanut butter — same satisfaction, allergy-friendly.

Kitchen Help for Little Hands
This is a great recipe to make with kids. They can:
Stir the filling
Spoon chocolate into the liners
Help press in toppings
Taste test “just in case” (very important job)
It’s a snack-making memory wrapped in chocolate.
Storage & Serving Tips
These keep best in the fridge or freezer (just let them sit out a few minutes before eating if frozen). I love stacking them in a glass jar with parchment between the layers. They make a lovely gift too — especially wrapped in beeswax or paper and tied with twine.
Pro tip: make a double batch. You will wish you had.
Faith + Food
Peanut butter cups might not be spiritual, but they do remind me of a sweet truth: the best things in life are often simple, intentional, and quietly joyful. Just like our walk with God — not always loud or flashy, but filled with peace when we keep things real. (Micah 6:8 — Walk humbly with your God.)
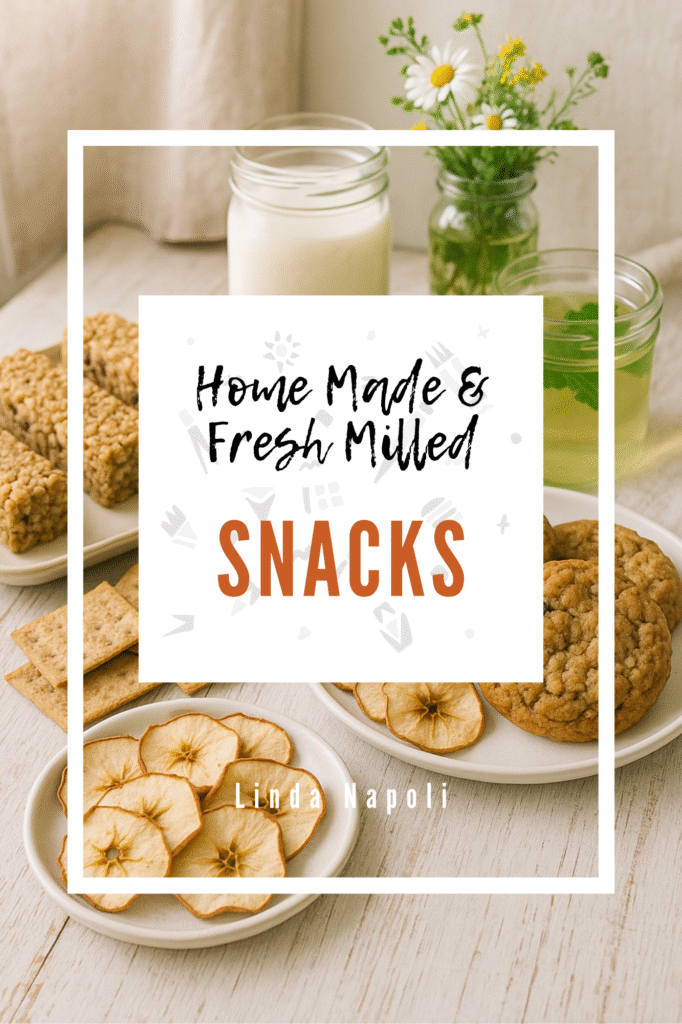
Homemade Snacks Cookbook
Wholesome Snacks Made From Scratch
EBook Price
This cookbook is packed with kid-approved, real-food recipes that are easy to make, fresh-milled flour friendly, and free from the junk you’re trying to avoid.
Over 65 recipes full of homemade goodness!
Recipe Name
12
servings15
minutes20
minutesIngredients
- Chocolate Shell
1 cup dark chocolate chips or chopped chocolate
1 tbsp coconut oil
- Filling
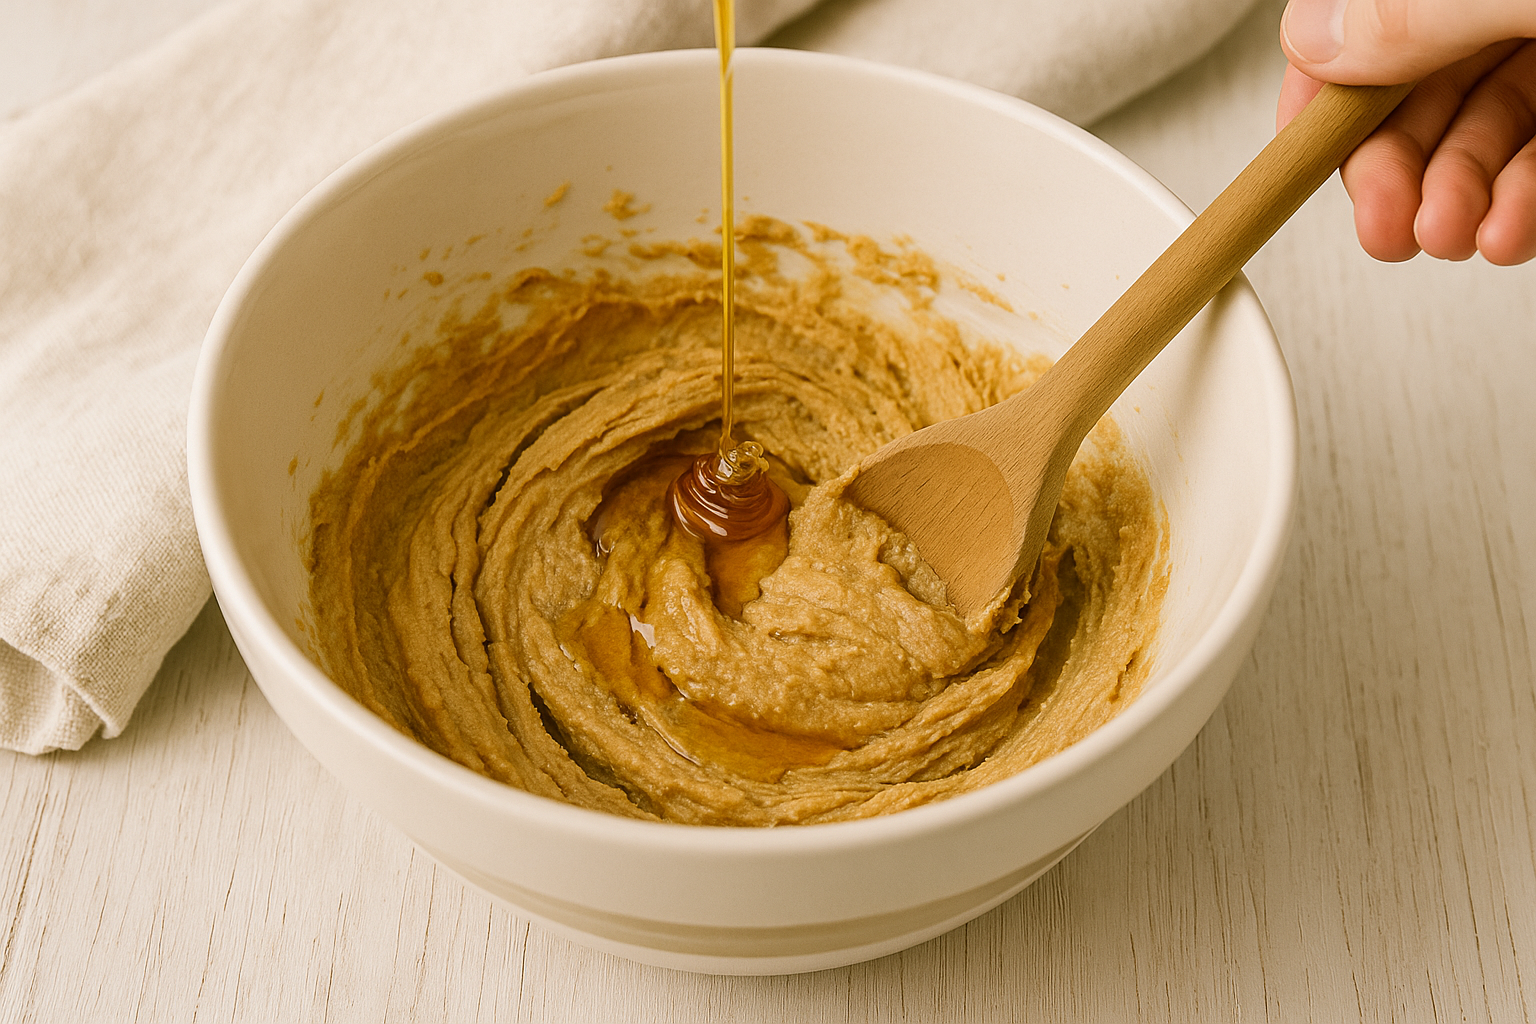
½ cup natural peanut butter
2 tbsp honey
Pinch of salt
Optional: 1 tbsp coconut flour (for thicker filling)
Directions
- Line a mini muffin tin with paper liners or use silicone molds.
- In a small saucepan or microwave, melt chocolate and coconut oil together until smooth. Spoon about 1 tsp into each liner and tilt to coat the sides. Freeze for 5–10 minutes.
- Stir peanut butter, honey, and salt together until smooth. If too runny, stir in a little coconut flour.
- Drop about 1 tsp of peanut butter filling into each chilled shell. Flatten gently.
- Cover with remaining chocolate (about 1 tsp each) and smooth the tops. Freeze or refrigerate until firm.
Notes
- Store in the fridge up to 2 weeks or freezer up to 2 months. Try not to “test” all of them in one sitting.
Posts I think You’ll Love
Recent Posts
-
How To Bake With Fresh Milled Flour
Fresh-Milled When I first started using fresh-milled flour, I assumed it would behave similarly to store-bought flour. I was wildly…
-
10 Foods I jar to Make Dinner Easy
Easy peasy Dinner First of all, let me be clear: I don’t can food because I’m waiting for an apocalypse….
-
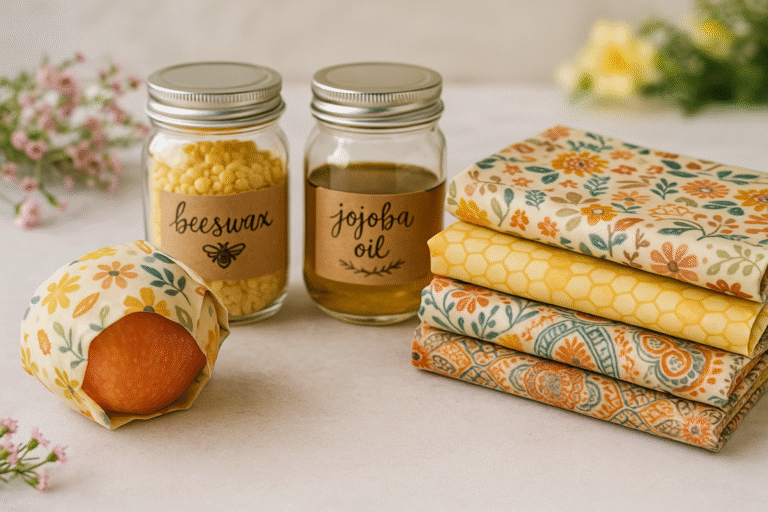
How To Make Beeswax Food Wraps
How To Make Your Own Beeswax Wraps I still remember the first time I used a beeswax wrap instead of…